The use of modern technology has changed a lot in the field of event registration forms.
Firstly, everything has gone online for an easy experience for the user. Nowadays, a person can easily find out about an event and book their slots directly from the internet.
Secondly, the event management form gives enough information to the organizers to enhance their strategy and to provide a better experience to the customers.
Events can be of many types like Seminars, Tournaments, Parties, Screenings, festivals, and many more. Moreover, events fall under multiple categories like business, cultural, sports & fitness, lifestyle, charity, and family events, etc.
Let’s have a more detailed, close, and inside look at the whole scenario of event registration forms.
What is an Event Registration Form?
The event registration form is used to collect the basic and required information of the attendees. The form can be a boon to the planners as they can keep a track of the people attending the event as well as give them more insight information about the audience and their preferences.
Why are Event Registration Forms used?
An event registration form helps the organizers to make better strategies and enhance the experience for the required event and upcoming events because it does not only build a contact database for them, but as previously stated, it can give deep information about the attendee behaviour.
Most importantly, the multiple reasons for the use of event registration forms are:
- Quick and easy participants’ registration.
- Saves Time and Money
- Data Management
- Detailed Reporting
- Collecting required information
- Less Error
How can Organizers and Participants benefit from an Event Registration Form?
There were days when the event registration process was done through people physically signing up the paper forms or collecting tickets at the venue because there was no other way. And it resulted in long registration queues. However, those days are far gone and the whole online registration process has made the sign-up easy. It added value to both the event organizers and the participants.
The benefits are:
For Organizer
- Saves Time
- Free Online Registration
- 24/7 Secure Online Payment Process
- Centralized Data Management
- Customized Online Registration
- Improves efficiency of the event
- Detailed Reporting
- Better Marketing Efforts
- Donation Option
- Sets up Online Surveys
For Participants
- Receives Better Customer Support
- Secure and hassle-free Online Payment
- Receives automated confirmation slip
- Access to early prices
- Saves Time
- Access to discounts
- Receives E-mails and notifications
- Easy Group Registration
How to create a Registration Form for an event?
There are many ways to create an Event Registration Form.
RegistrationMagic is one of the leading and most user-friendly WordPress Form plugins that can be used for creating any kind of form.
RegistrationMagic delivers multiple features to manage the forms:
- Create Unlimited Forms
- Innovative Form ‘Cards View’ with at-the-glance information
- Quick form creator
- Built-in Login system
- Submission counter on form card
- Default form selector
- Shortcodes system for forms
- Dashboard Widget
- Sort – alphabetically or chronologically
- Duplicate forms
- Broadcast email messaging
- Form analytics
- 52 field types
- Deep form customization
- Field duplication
- A table with visitor IP visiting time, submission status, submission time, and filling time information
- Track Geolocation of the visitor
- Piechart of conversion percentage of the visitors
- Piechart of the browsers used by the visitor
- The failure rate in percentage
- Average filling time in seconds
- Browser-wise conversion rate
- Field analytics preview
- Separate manager to create and manage products forms
- Attachment browser
- User Manager with a tabular view
- Detailed form customization.
How to create an Event Registration Form with RegistrationMagic?
RegistrationMagic plugin can be used to create simple as well as an advanced event registration form.
It has an option to create a multipage registration form too.
A simple guide to build an event registration form
Prerequisites:
- A website based on WordPress: Click here to start with WordPress.
- Free RegistrationMagic plugin: Download/ Install it from here.
- Premium RegistrationMagic plugin (Optional): For enabling more advanced features.
We will focus on adding important fields to the event registration form. You can further customize the form according to your needs.
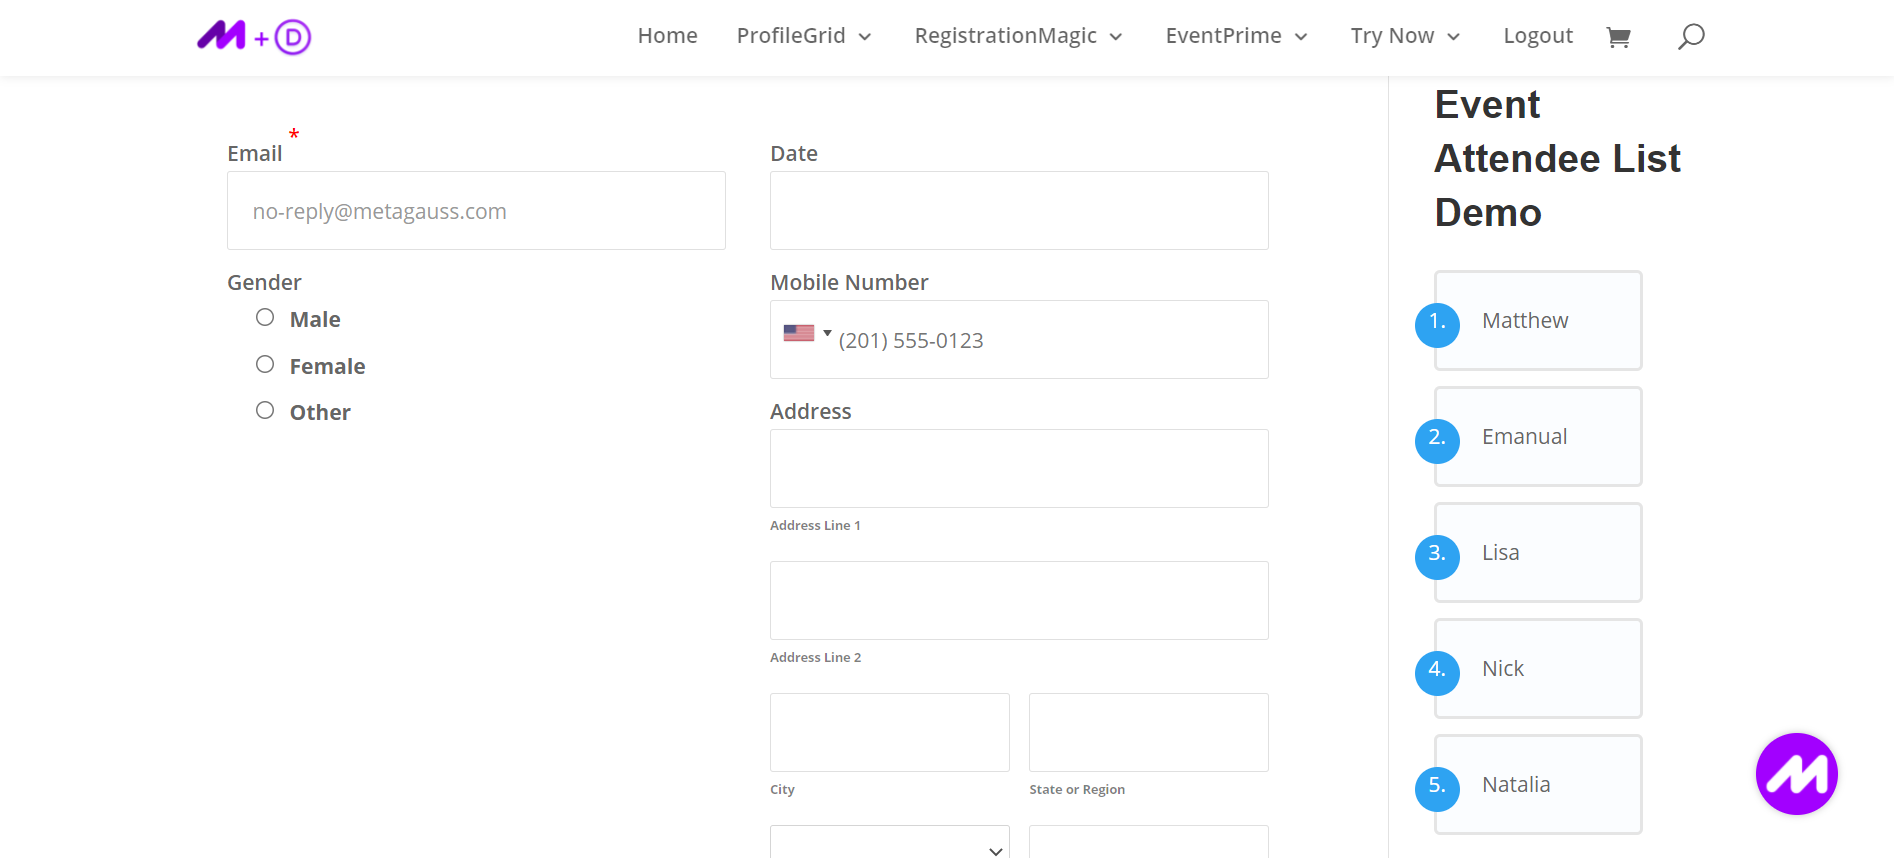
The important fields are:
- First name
- Last name
- Date
- Mobile number
- Gender
- Address
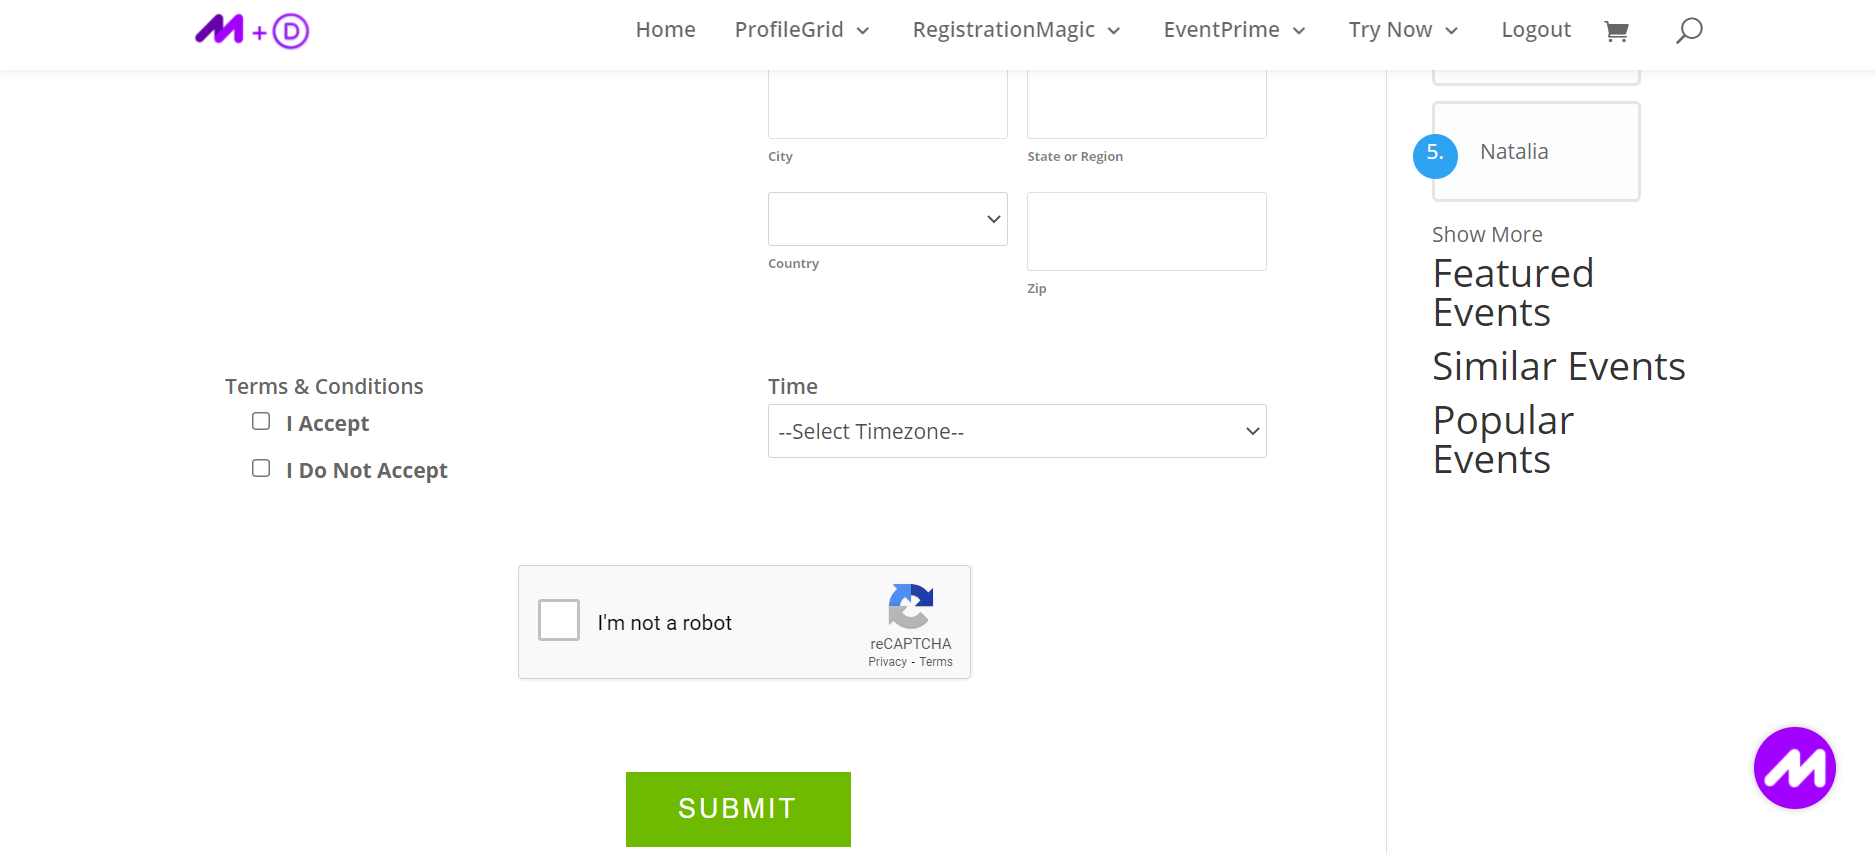
- Time
- Map (for an offline event)
- Payments (Paypal, stripe, offline payments etc)
- Terms and Conditions
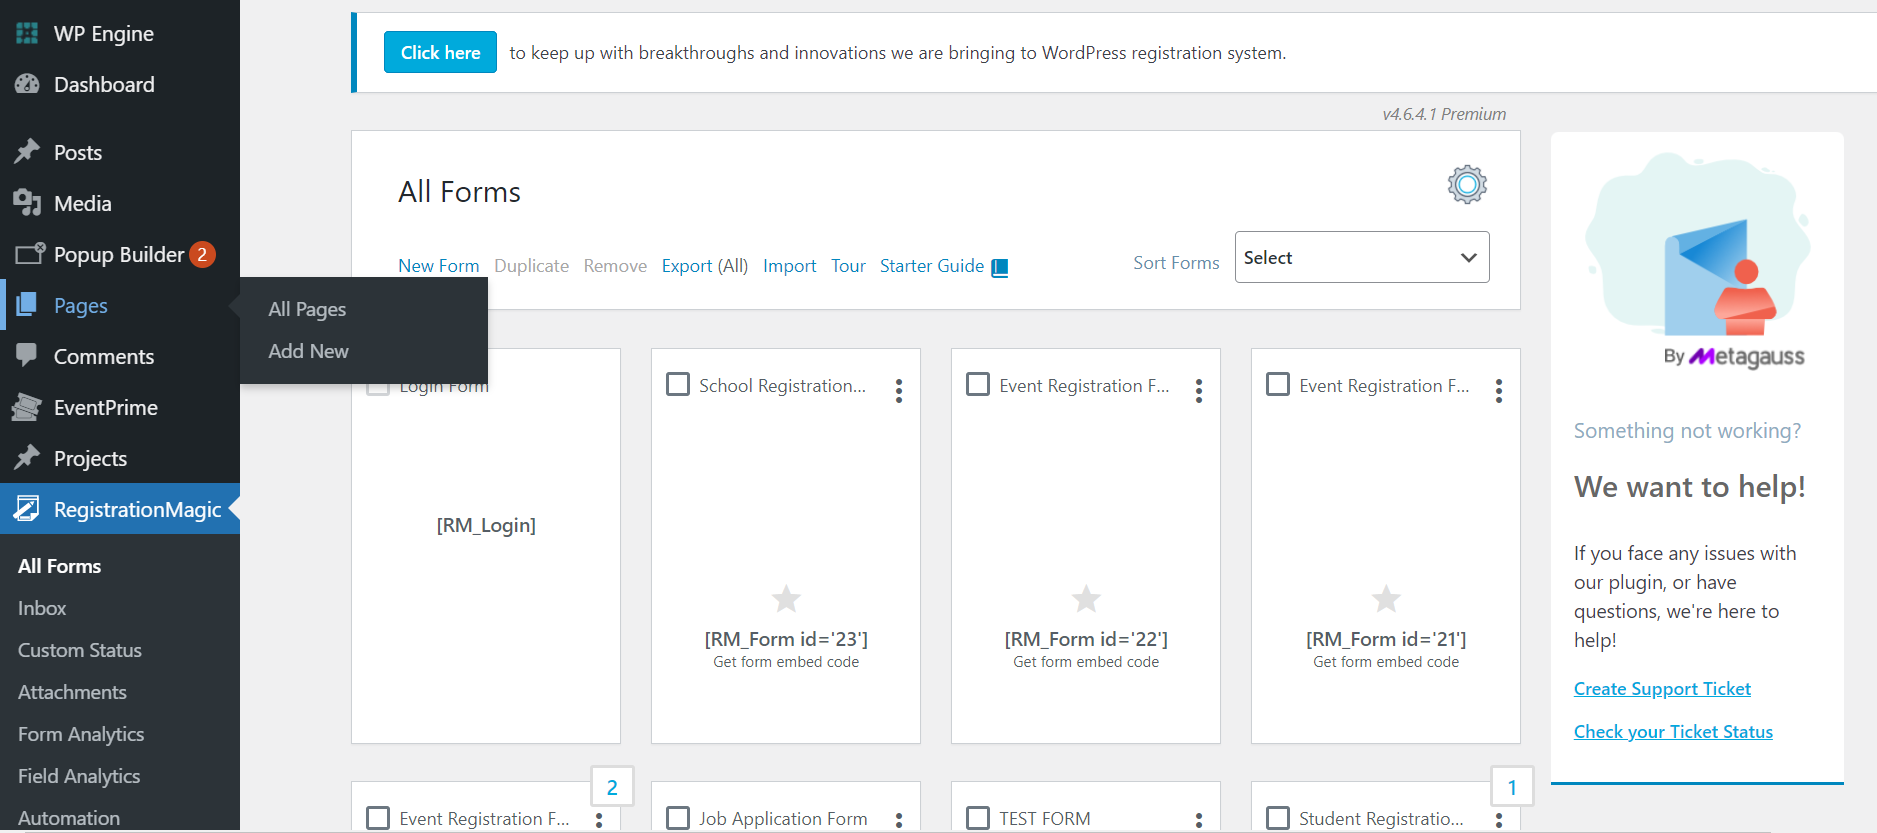
Step 1: From the dashboard, click on the RegistrationMagic option.
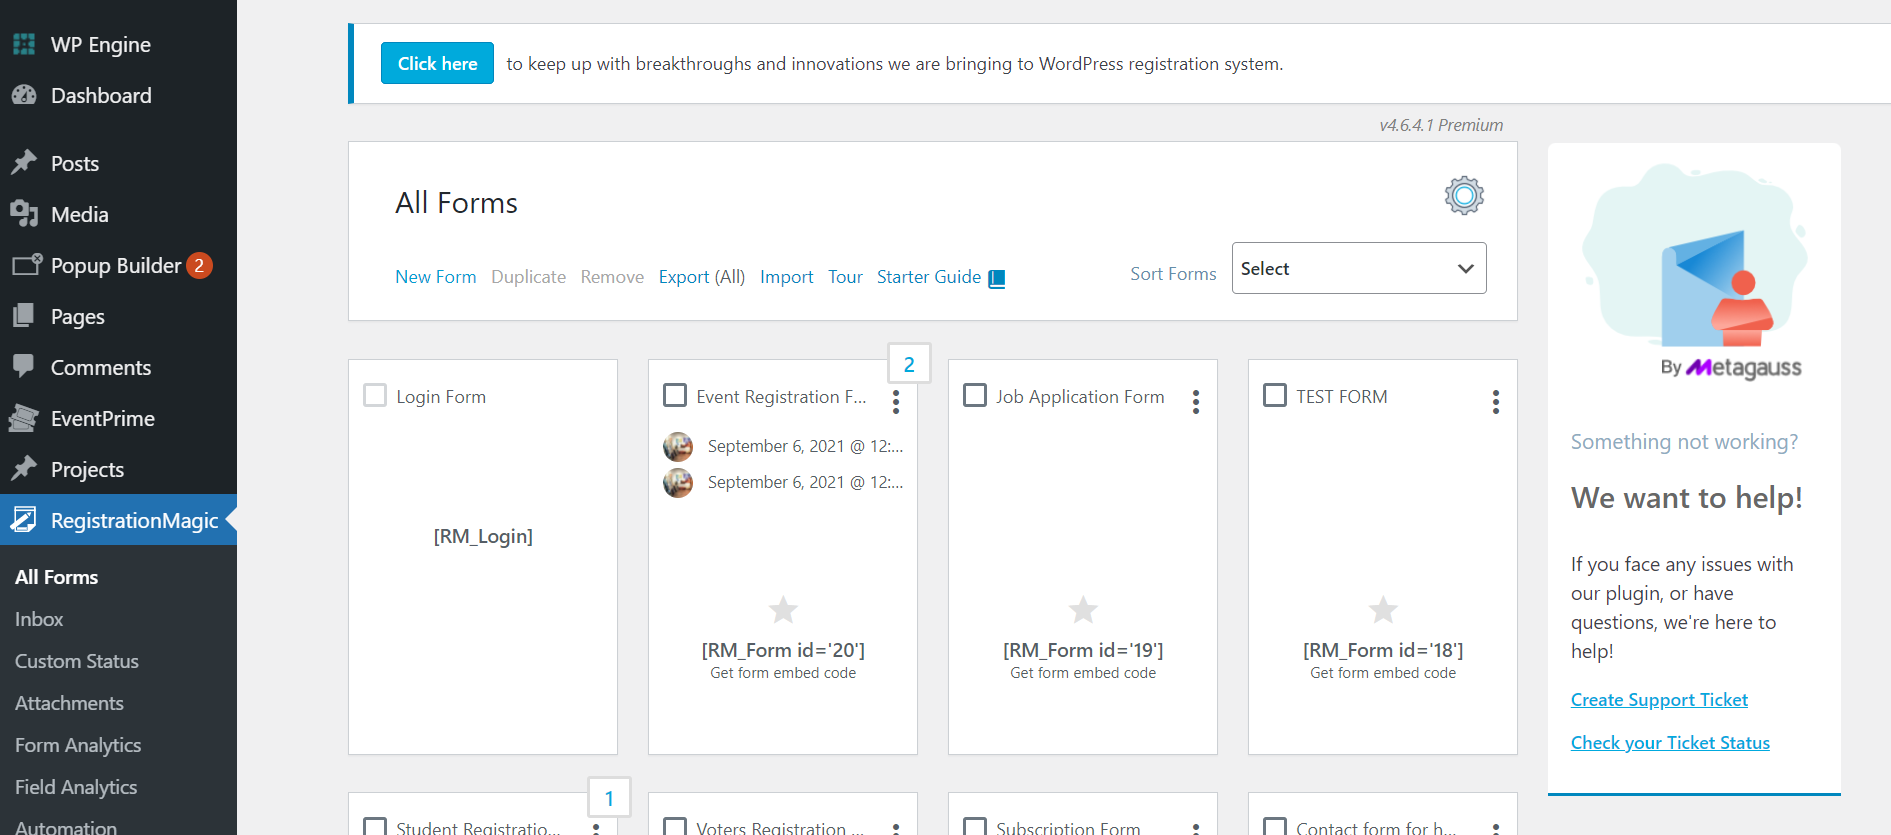
Step 2: Click on the New Form option to create an online event registration form.
- Give a name to your form.
For example, we have named it as Event Registration Form and click Save.
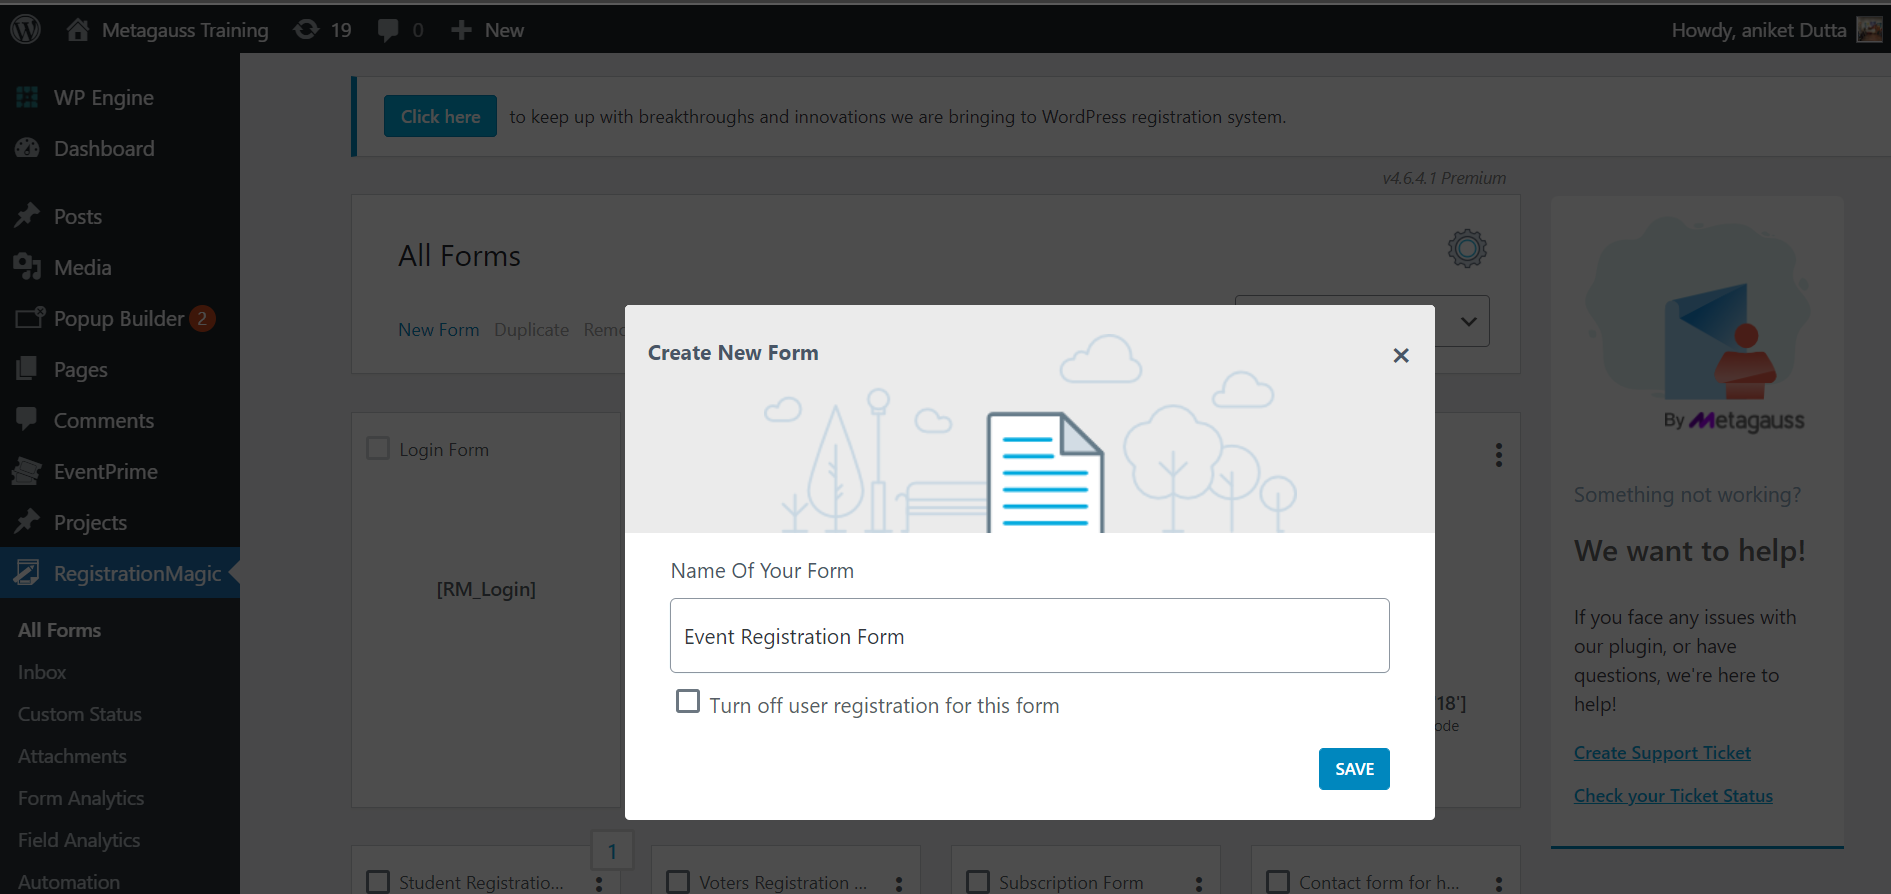
- Your event registration form is successfully created.
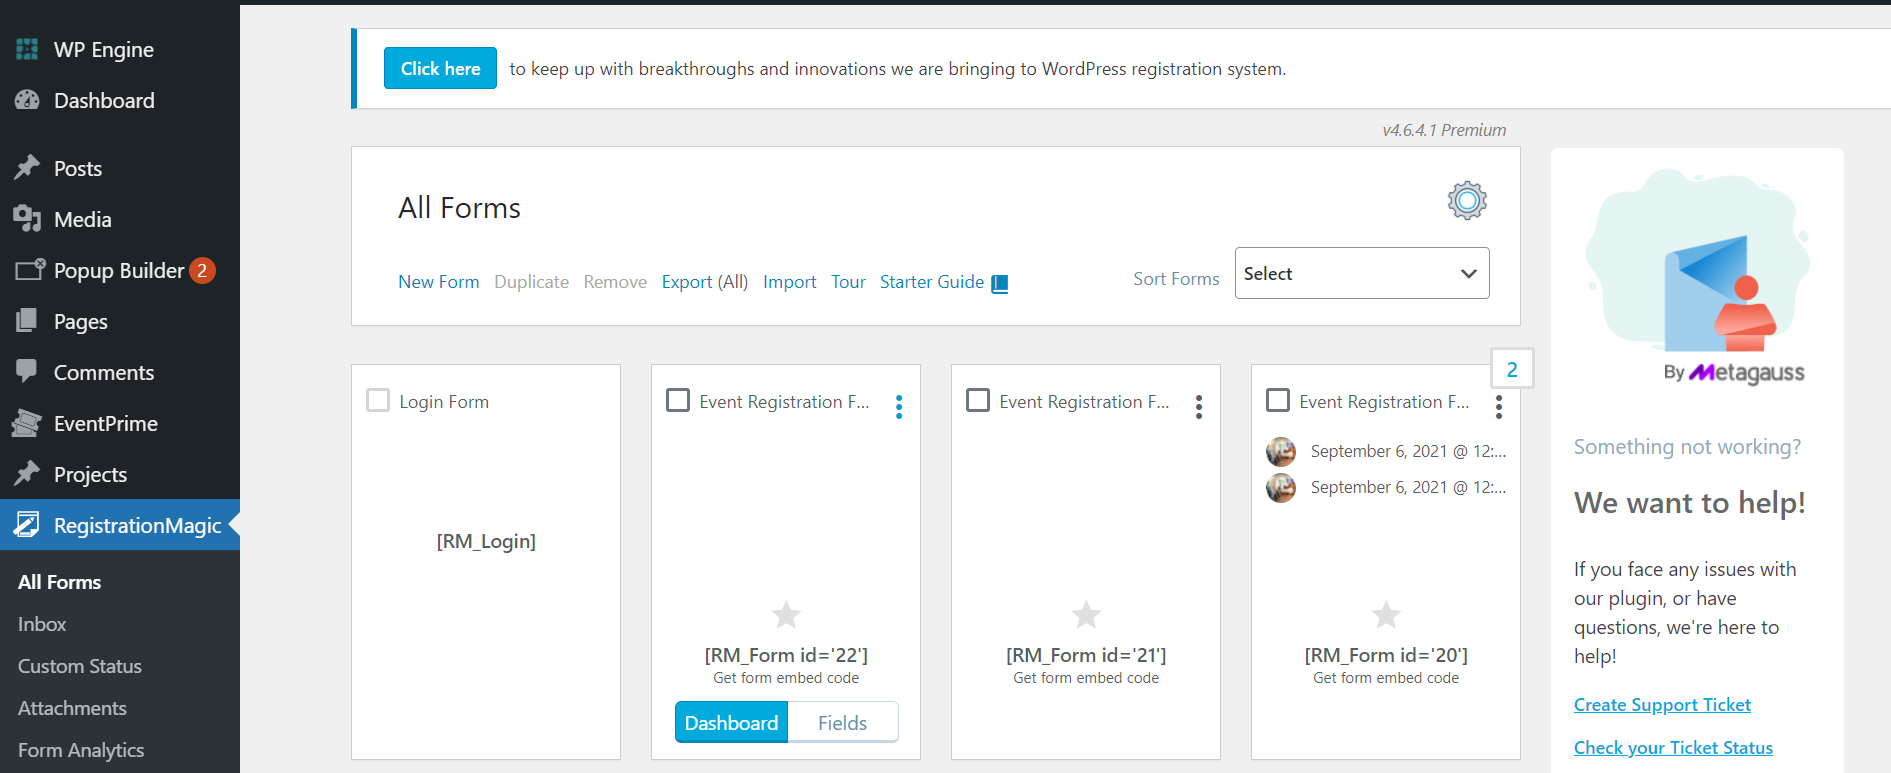
Step 3: Hover your cursor over the new form that you just created and click on Fields.
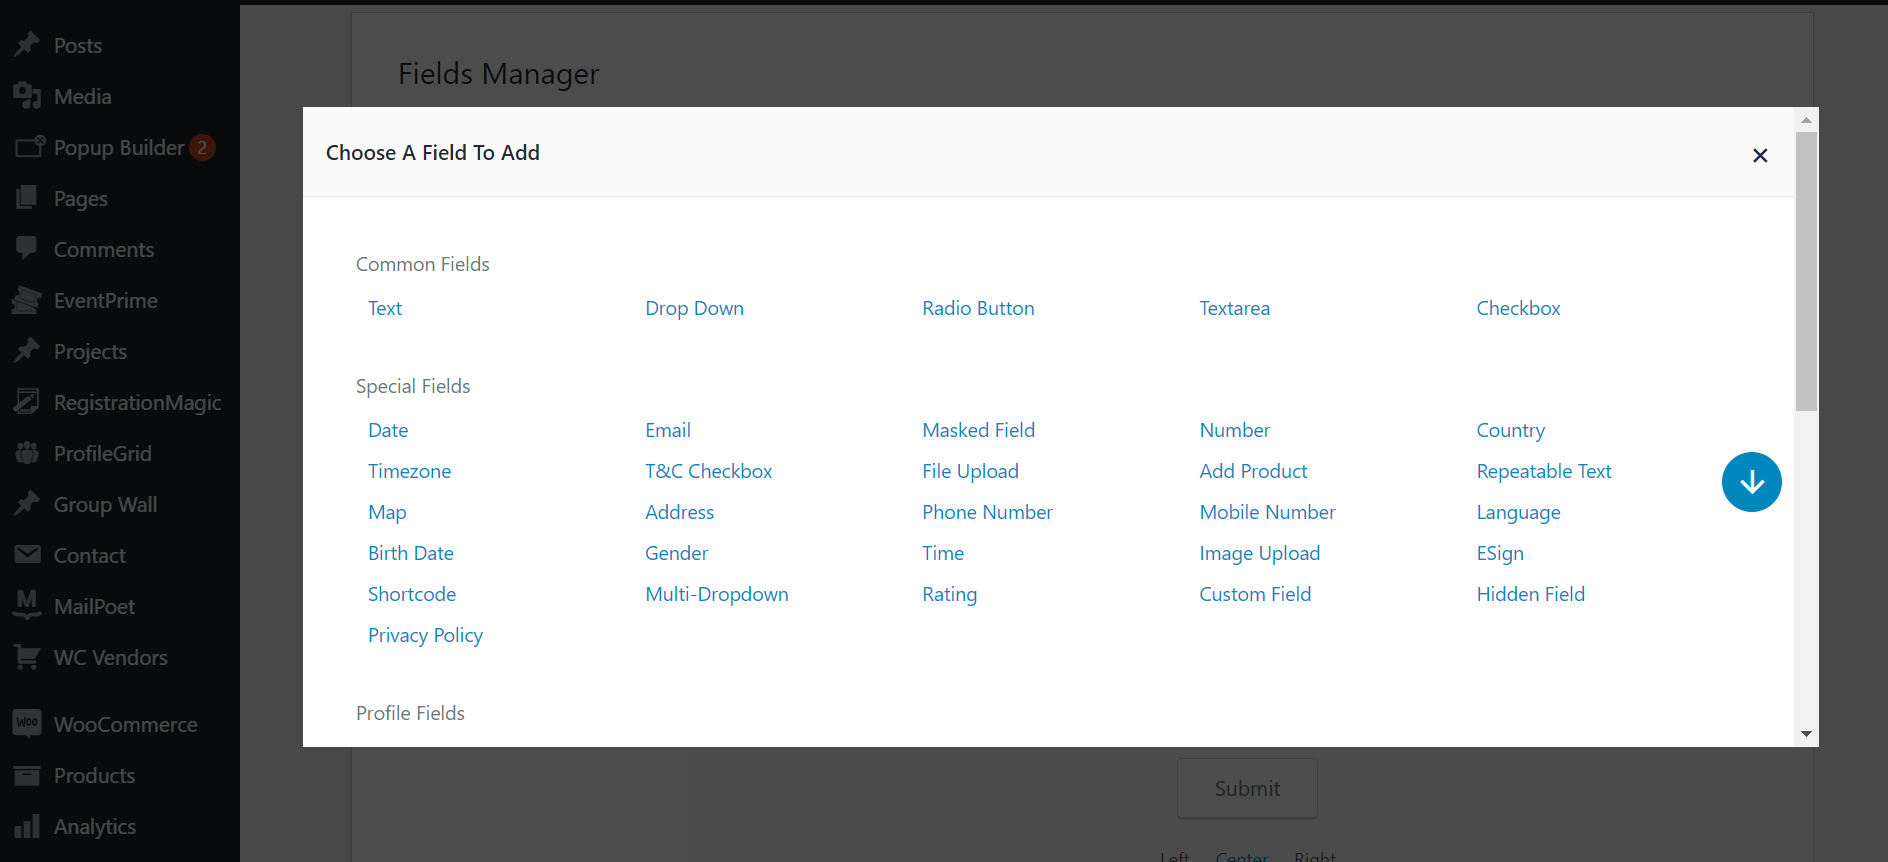
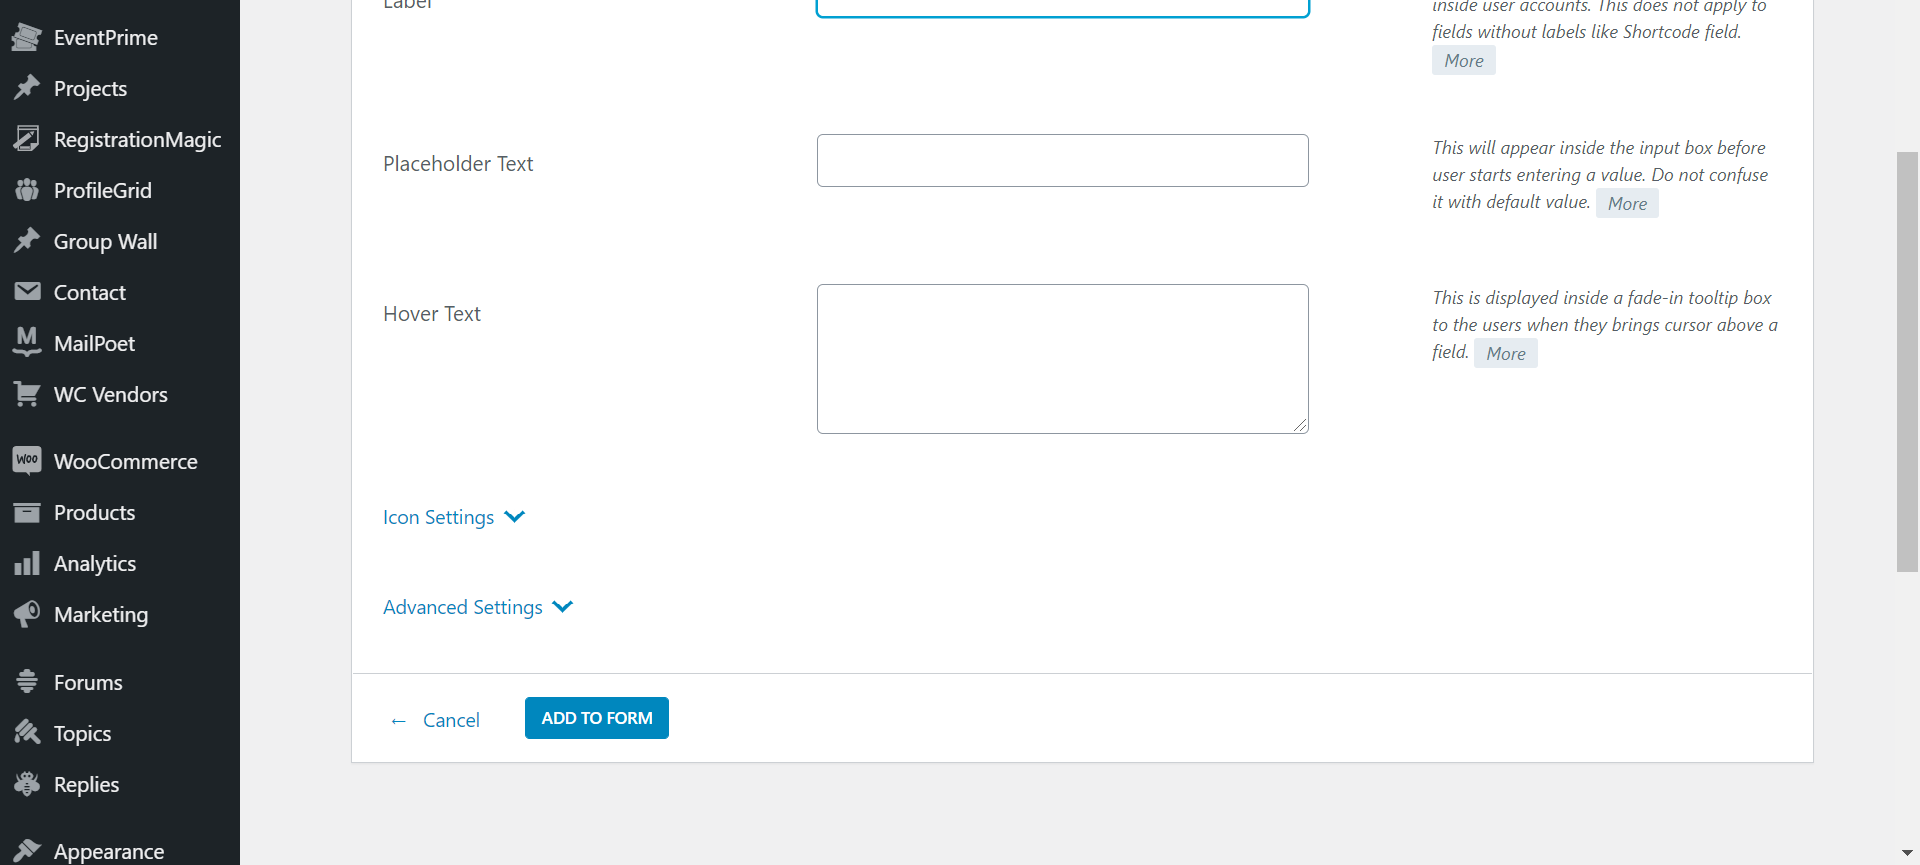
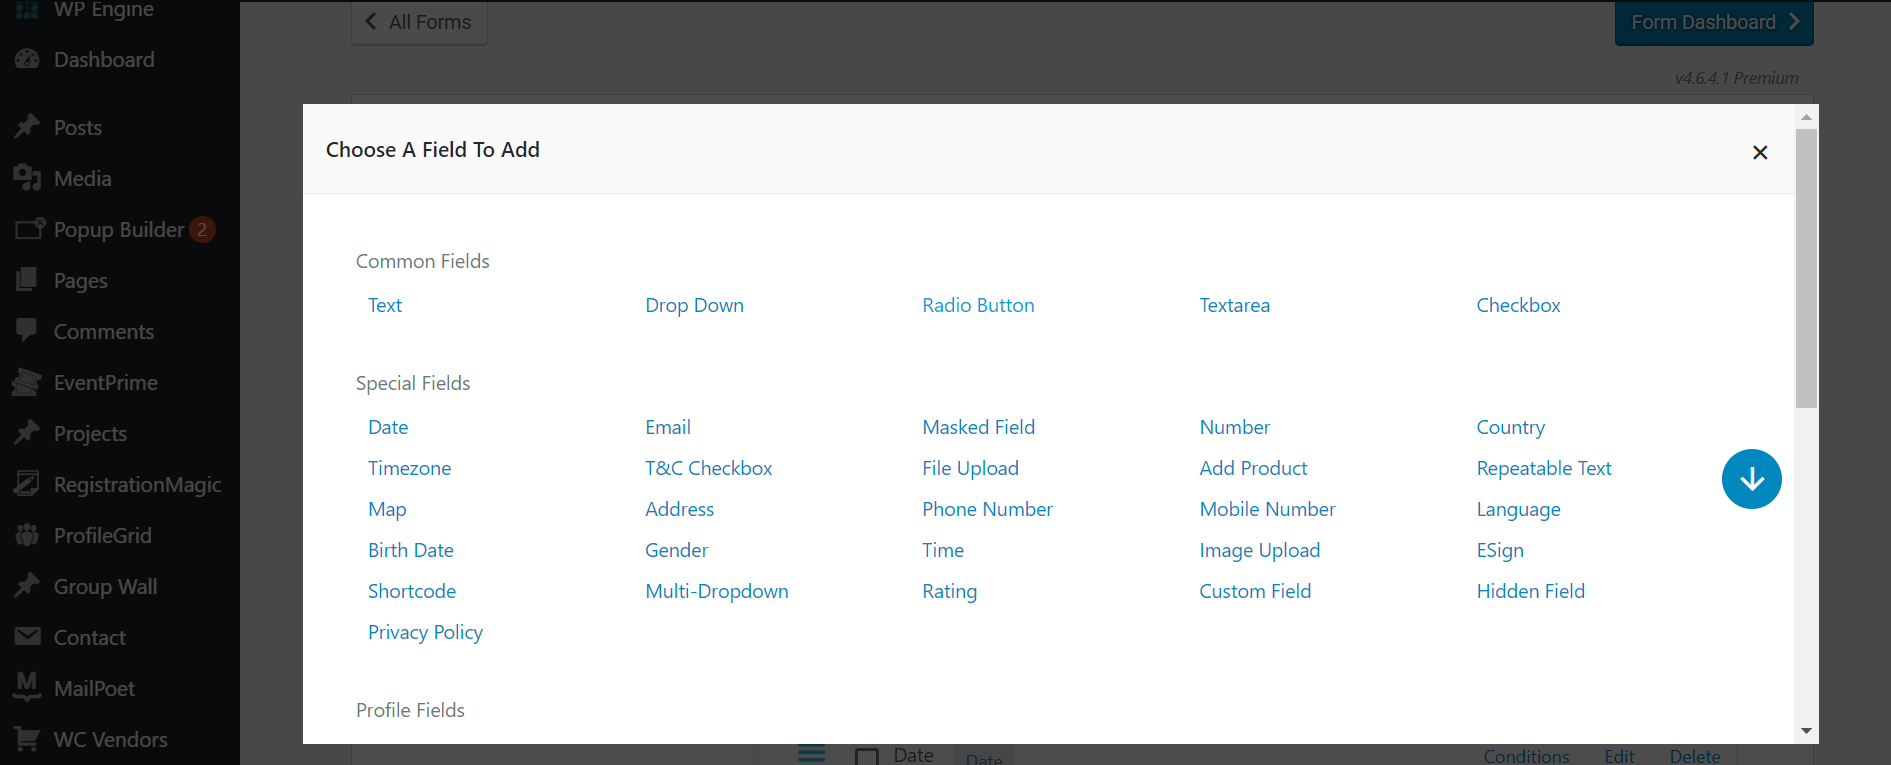
- From the Fields Manager page, click on Add Field to add new fields that you need for your form.
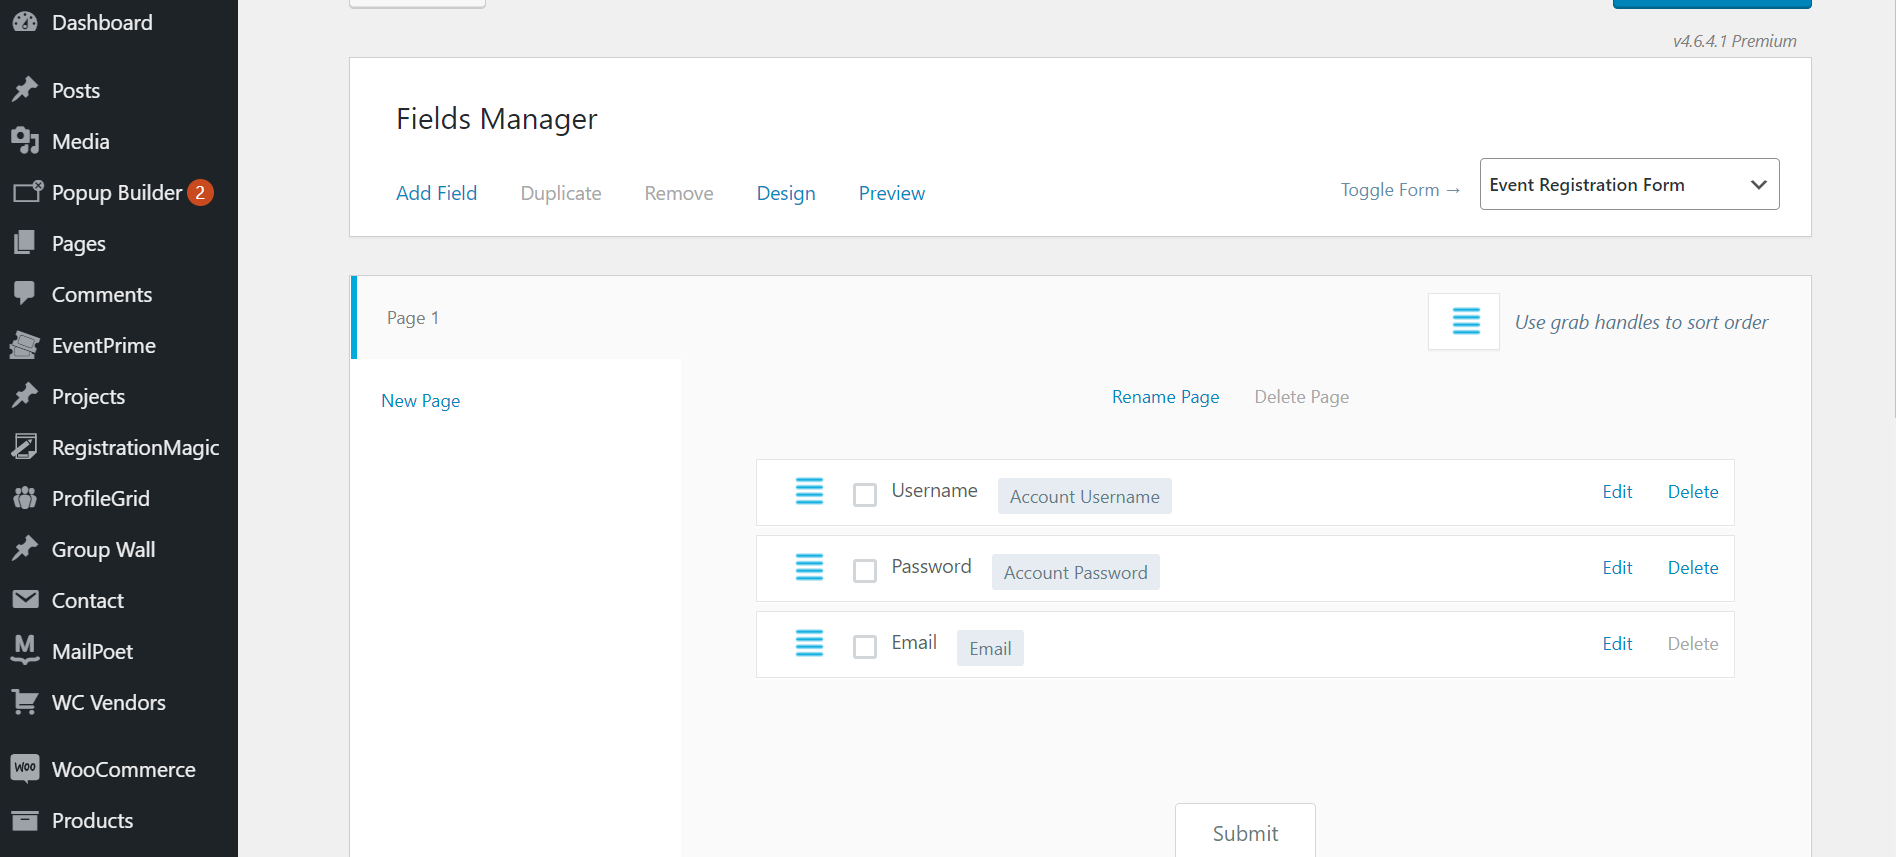
- You can add any field just by clicking on the required fields.
The username, password, and email fields are already added, we’ll add the other required fields for the event registration form.
-
First Name
Add the First Name field by clicking the First name on the fields page.
This option can be used to gather the first name of the attendees.
After Clicking on the First Name field you can Label the field.
For example, we will name it the First Name.
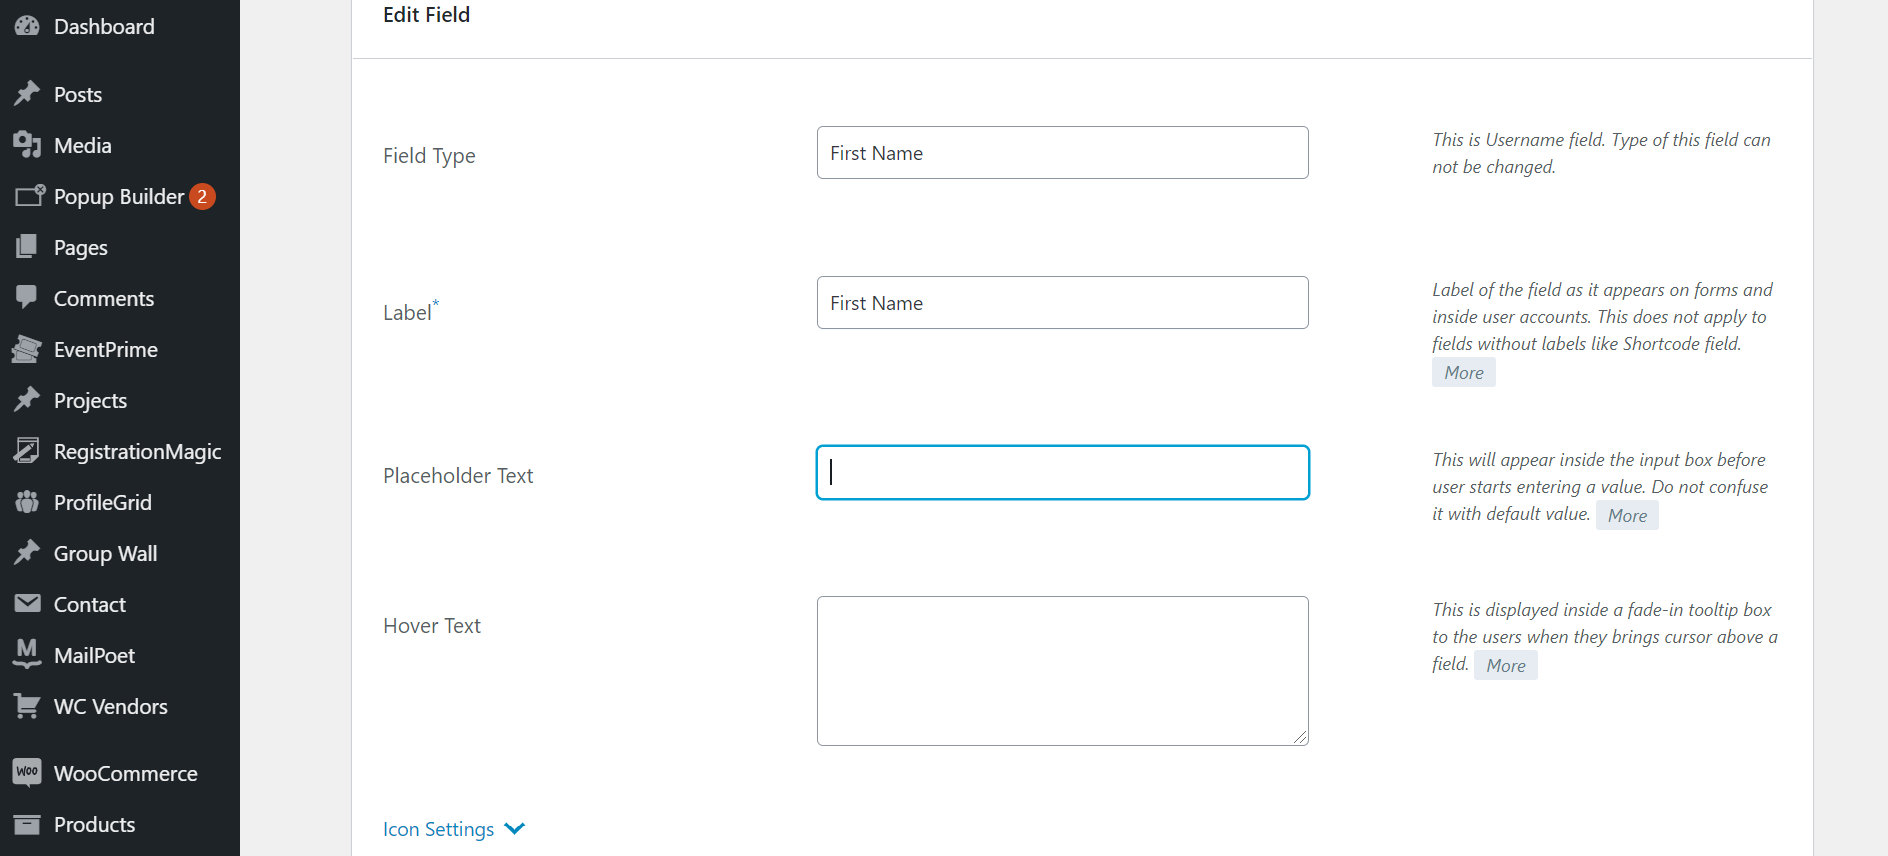
- Click on Add To Form to add the field to your event registration form.
-
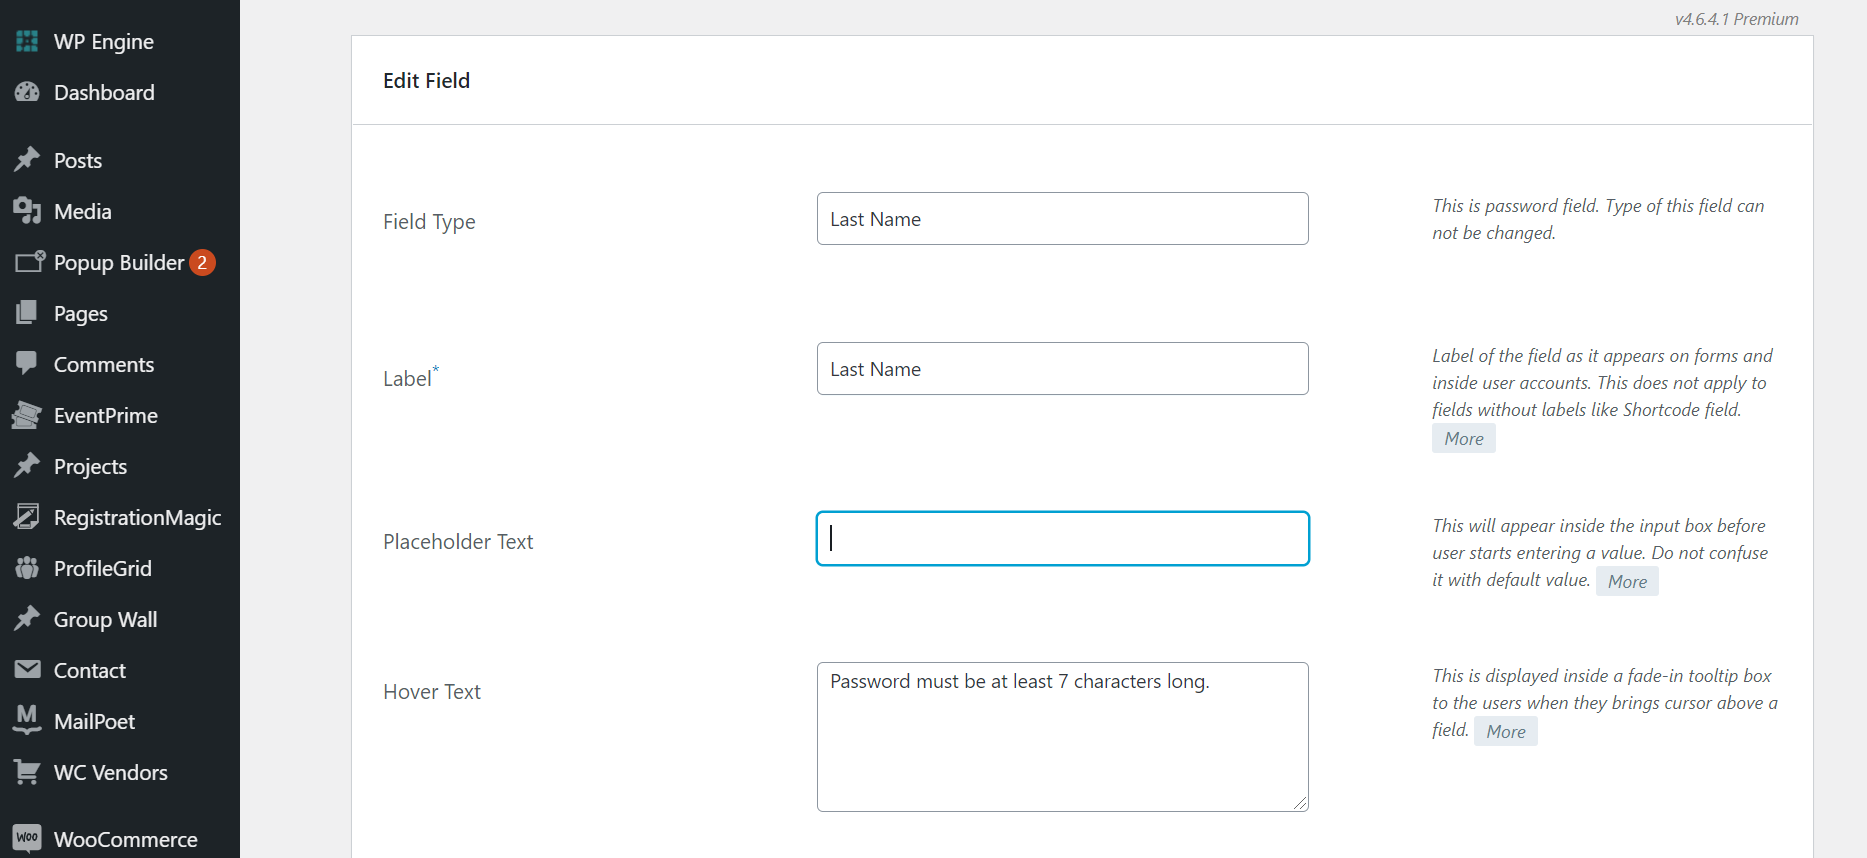
Last Name
Add the Last Name field by clicking the Last Name on the fields page.
This option can be used to gather the last name of the attendees.
-
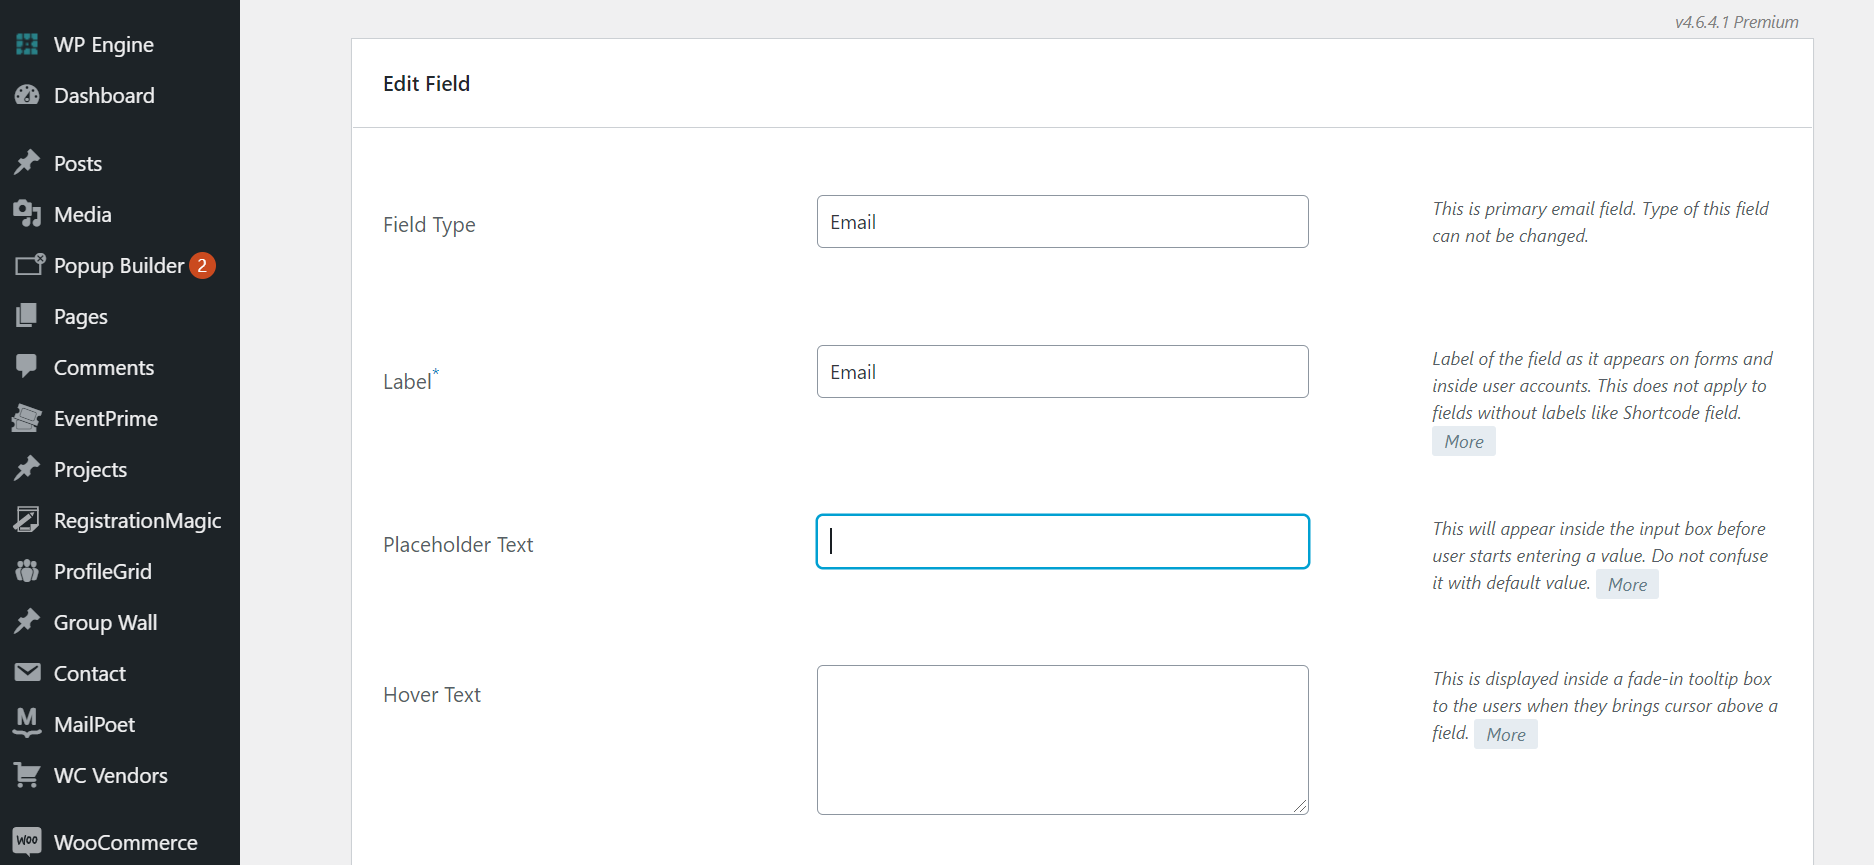
Email
Add the Email field by clicking the Email on the fields page.
-
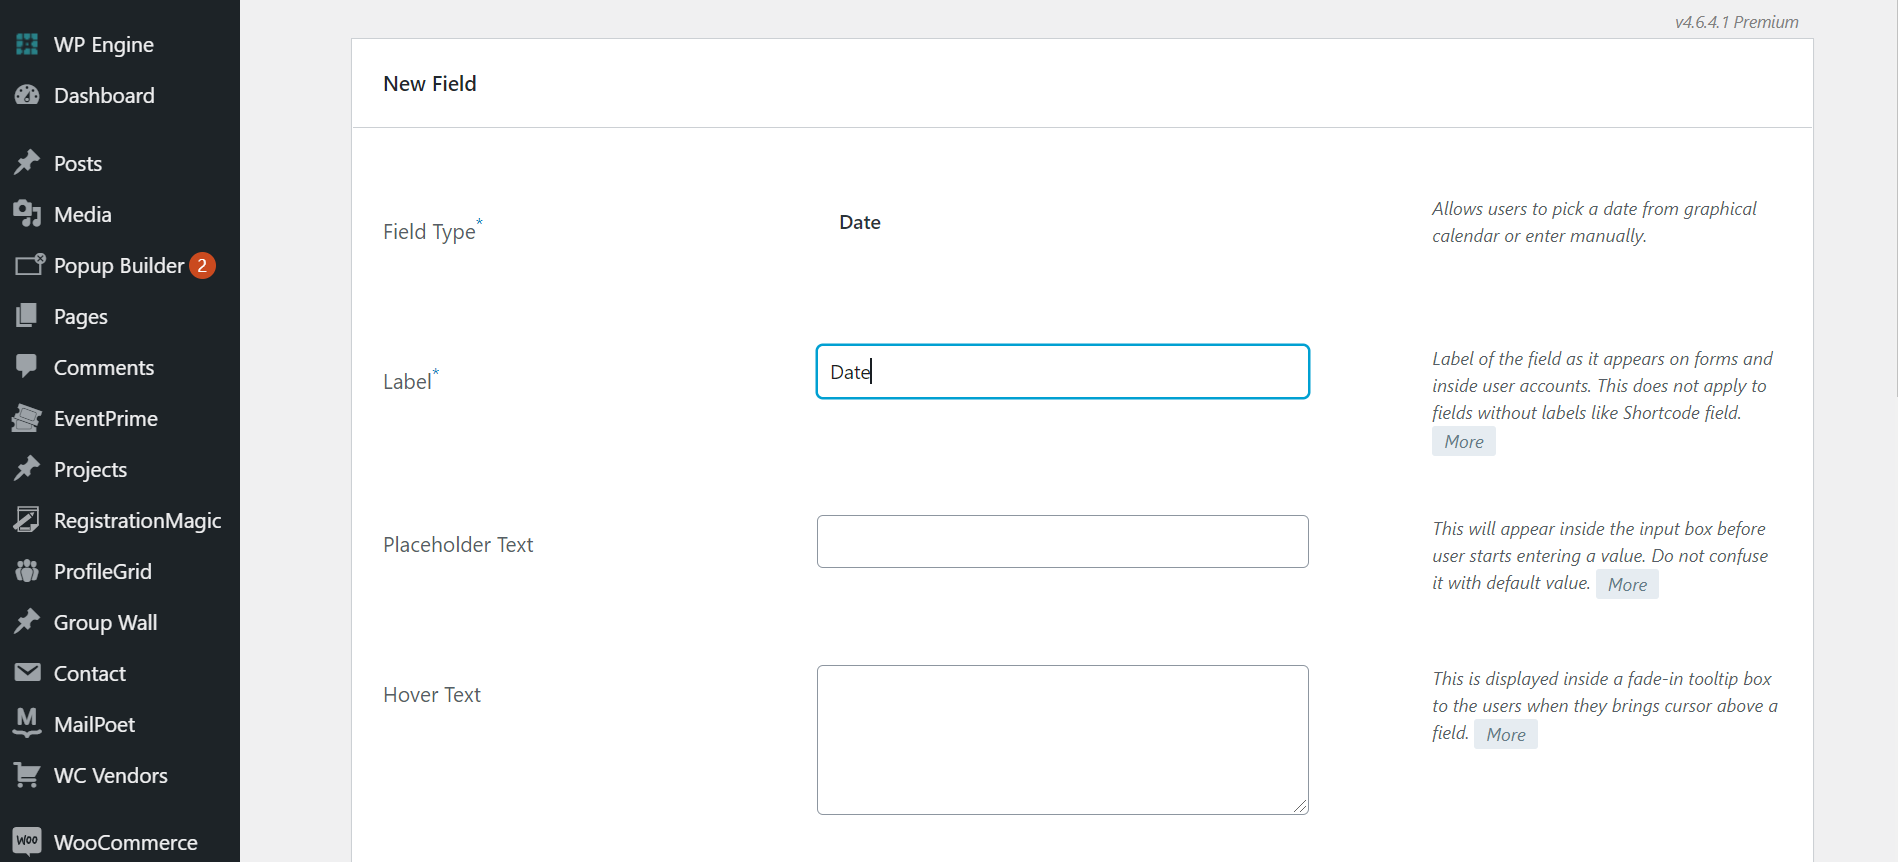
Date
Add the Date Field by clicking Date on the fields page.
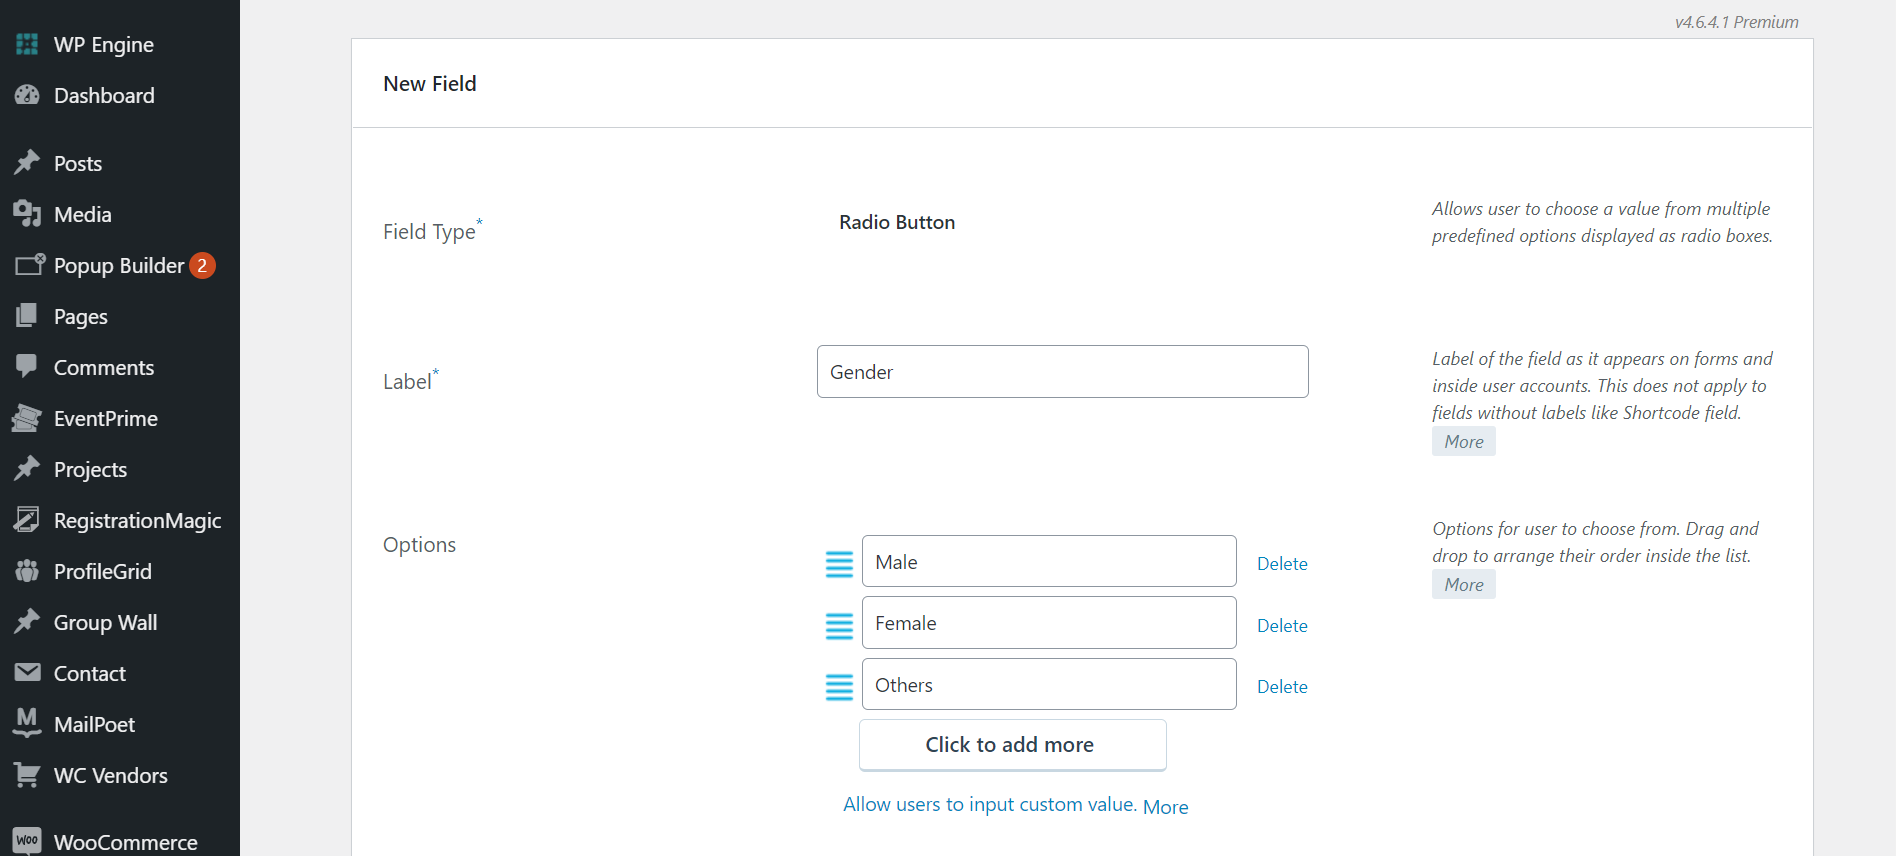
Step 5: Next, let’s add the radio button.
Select the Radio Button field from the fields list.
- Add Label for the Radio Button
For example, we will name it Gender
-
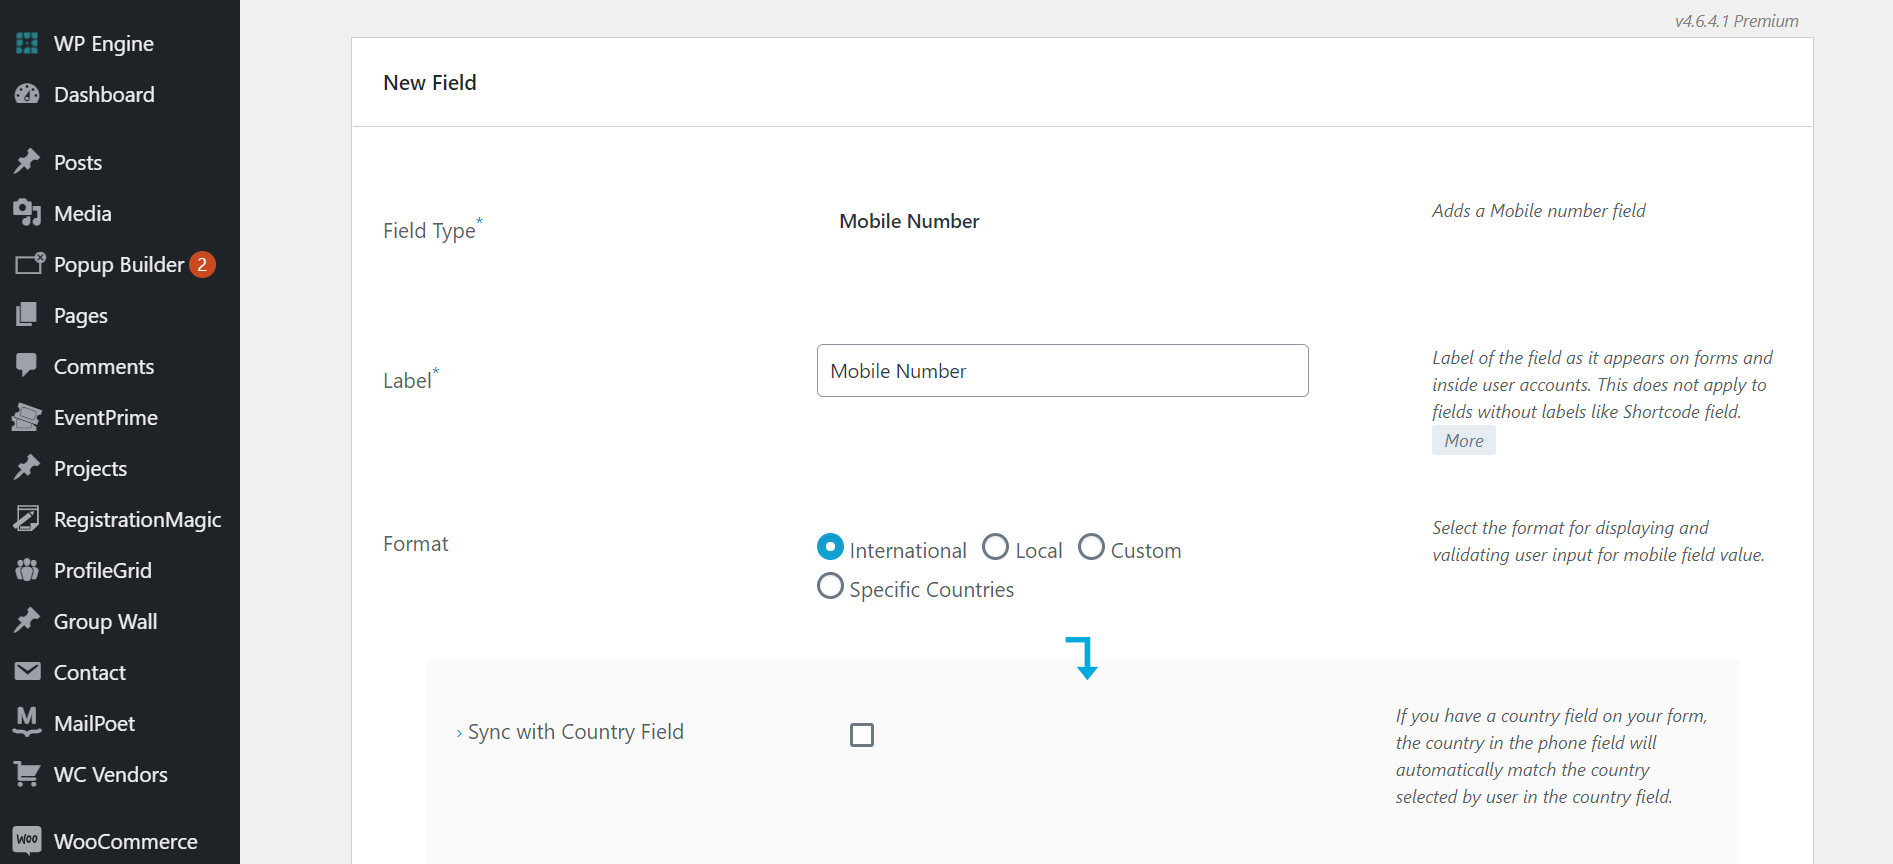
Mobile Number
Step7: Adding the Mobile Number field
- Add the Mobile Number field by clicking the Mobile Number option.
This option can be used to gather the contact details of the attendees.
-
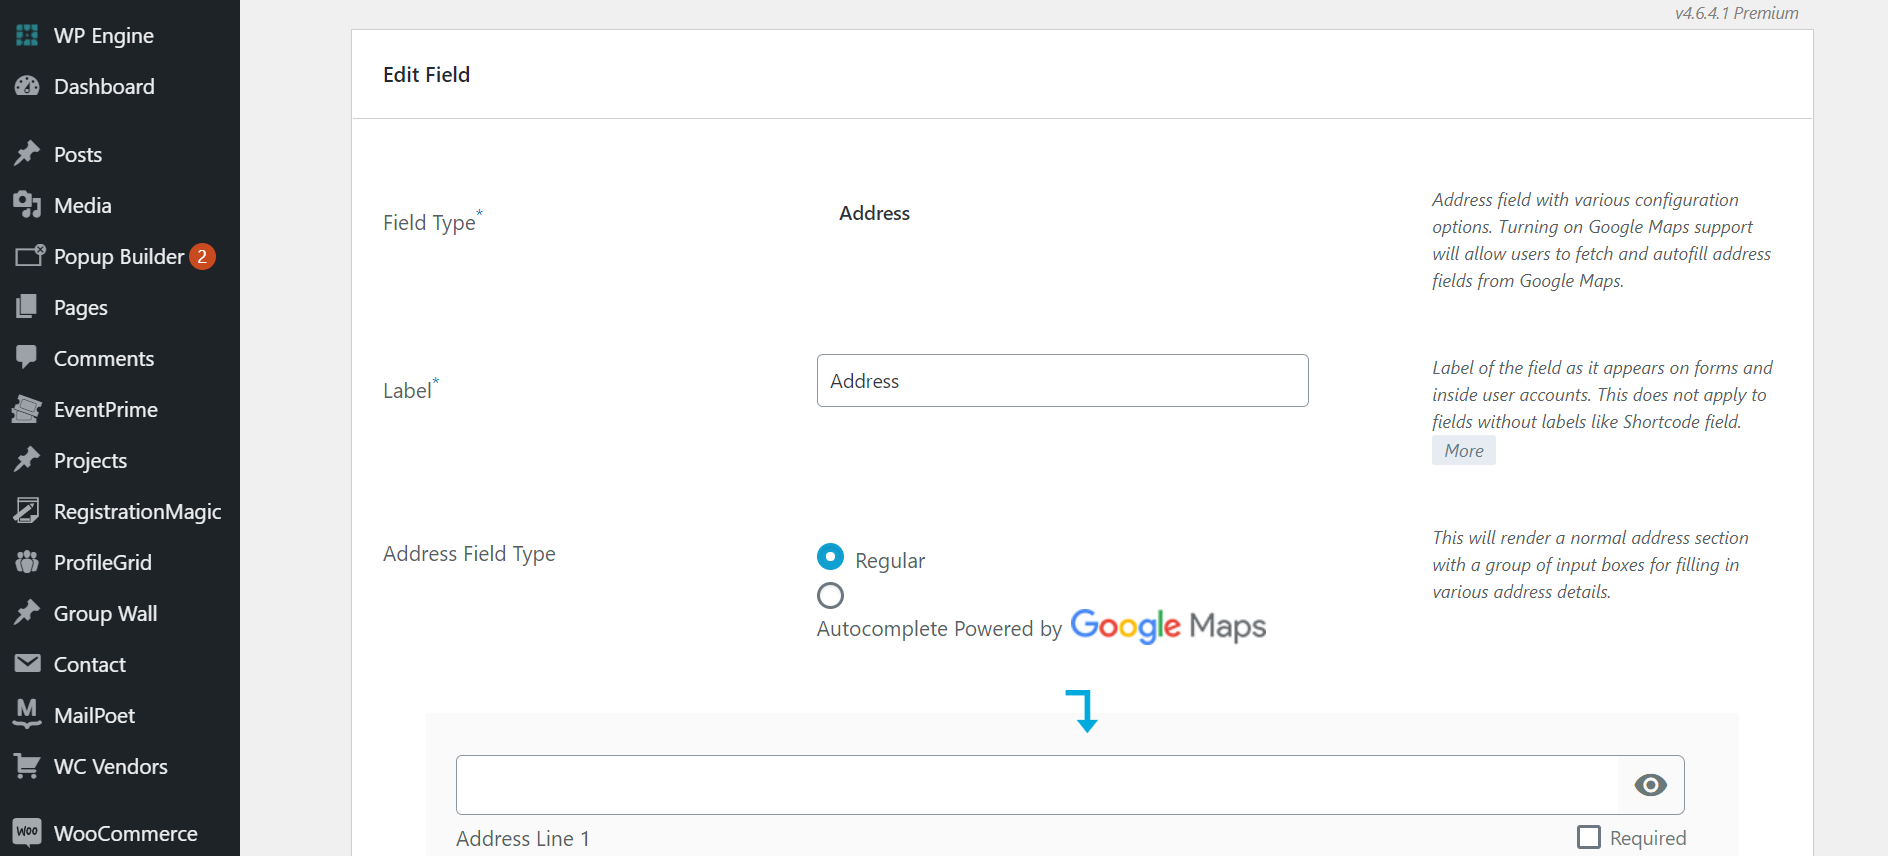
Address
Step 8: For adding the Address field, click on Address from the list of fields.
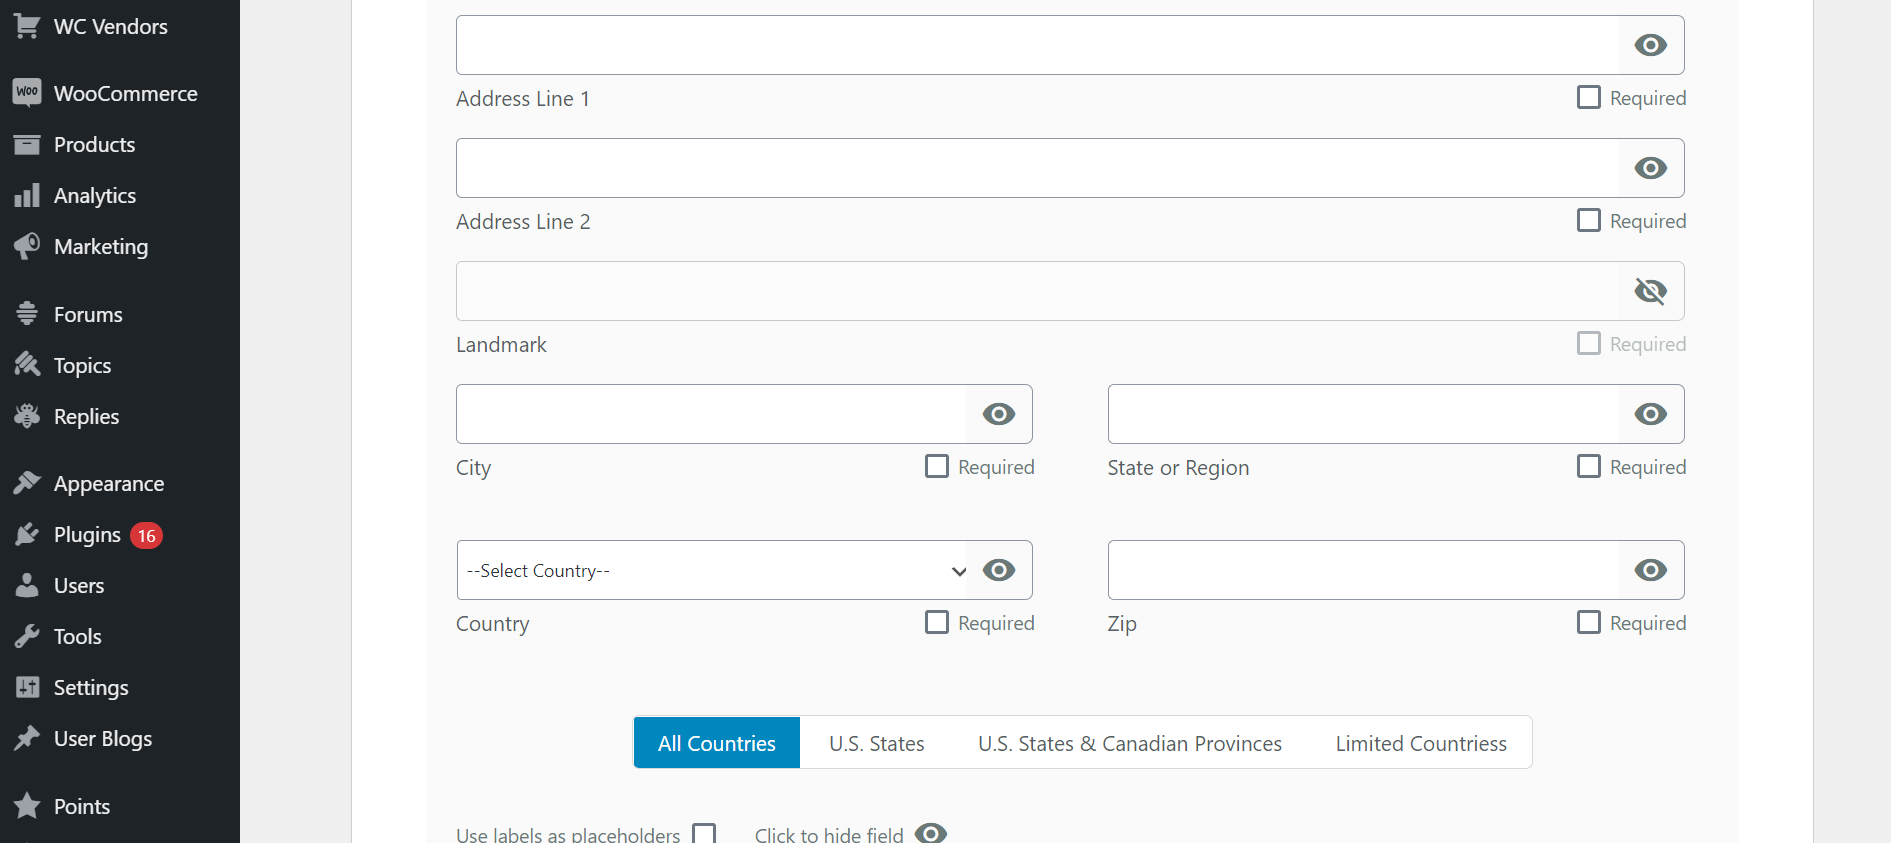
- Address: Add the address field by clicking on the Address field option. Label the field as per your requirements. For example, we will keep it as an Address. Here, there are two options:
- Option 1: Use traditional address boxes
- Option 2: Use Google Maps autofill
You can select any one and click on Add to form.
-
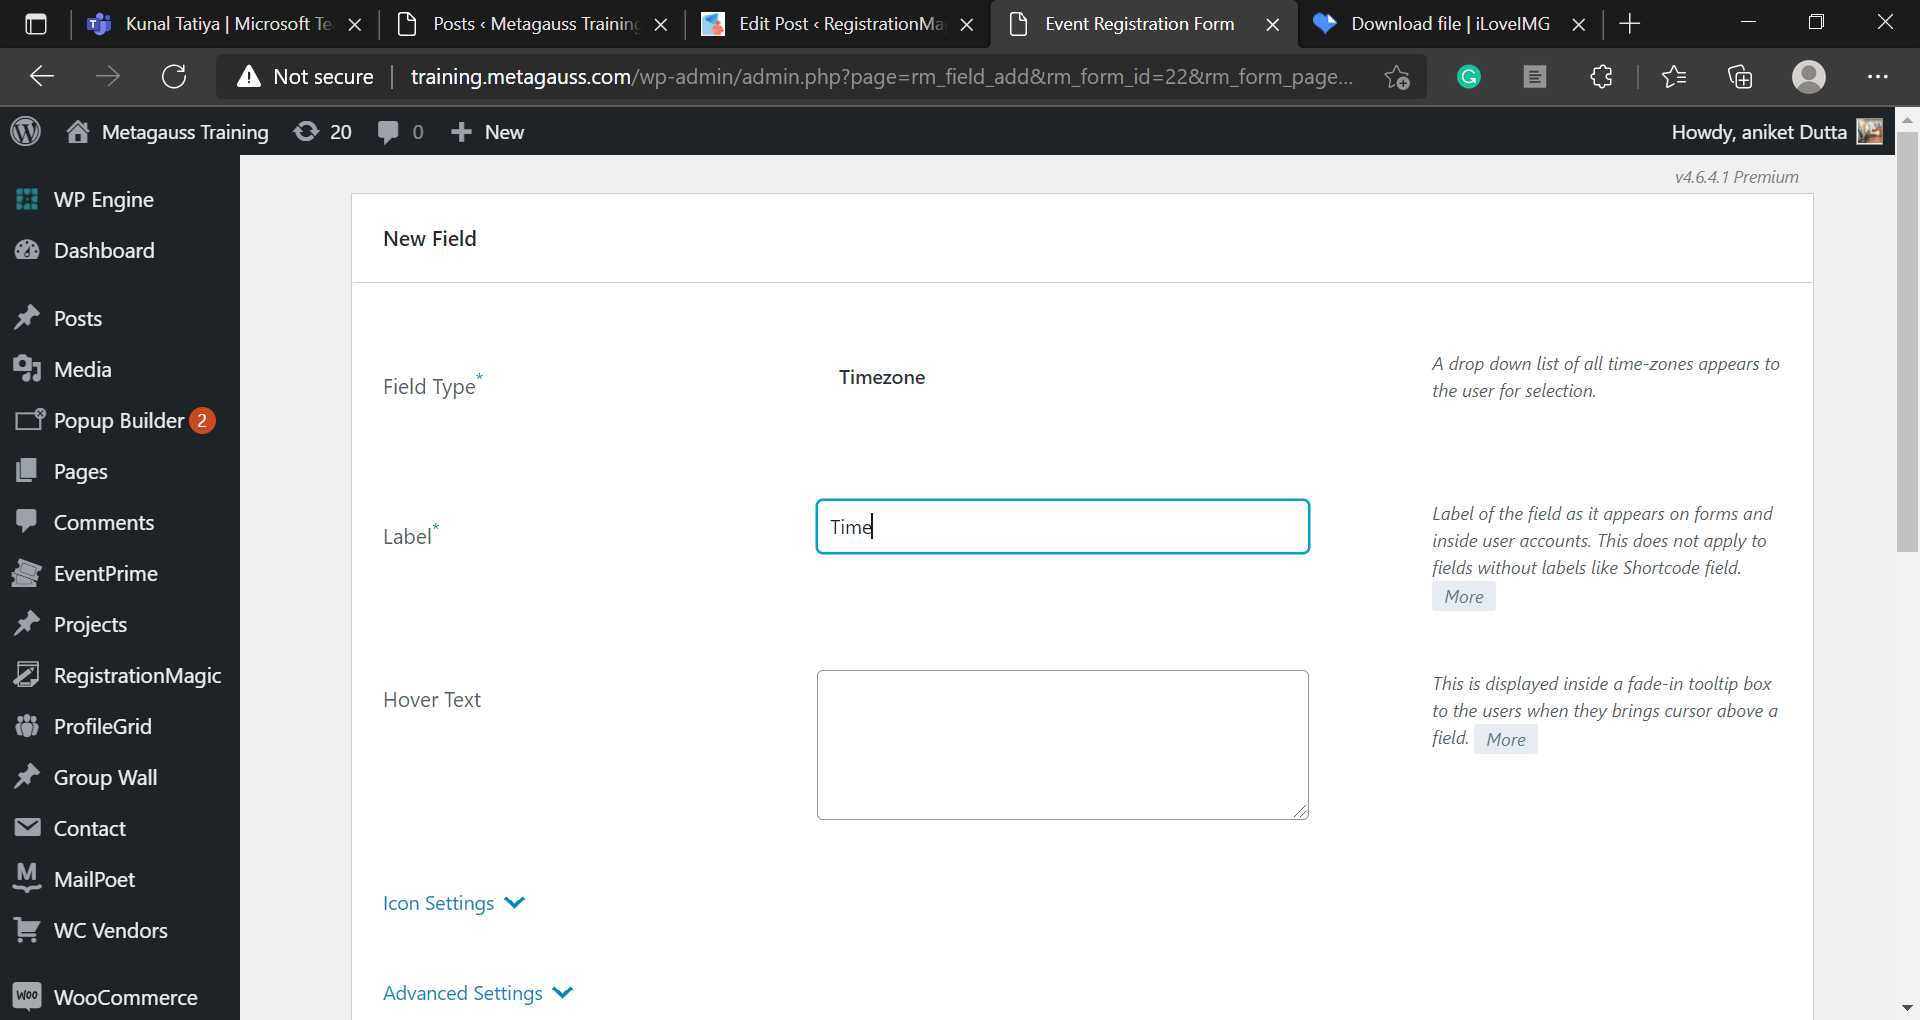
Time
Step 9: Since it’s an event registration form, the time field will be required.
Add the Time field by clicking the Timezone field option.
Step 10 (optional): RegistrationMagic also provides an option to add payments to your event registration forms or any other types of registration forms. There are a few inbuilt payment options like PayPal, Stripe, Authorize.net, and Offline payments.
-
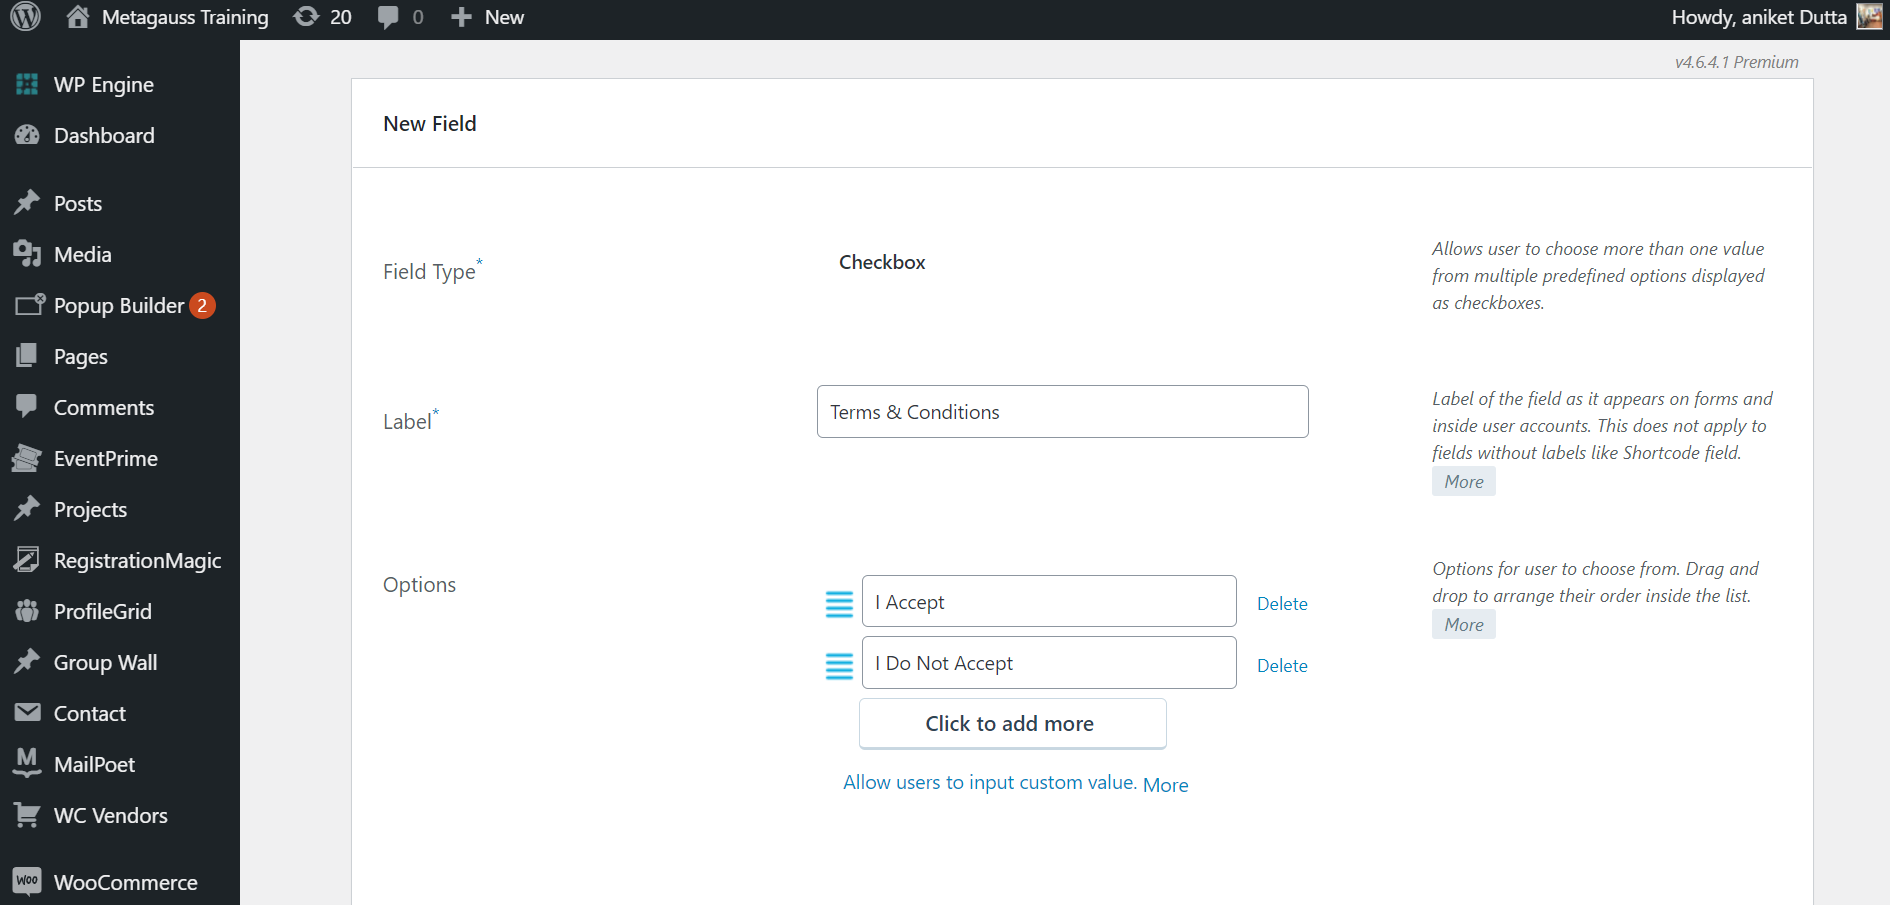
Terms and Conditions
Step 11: For any type of registration form, the Terms and Conditions field is crucial to describe all the policies. To add terms and conditions, add the Checkbox field and customize it as per your needs.
-
Multi-page form
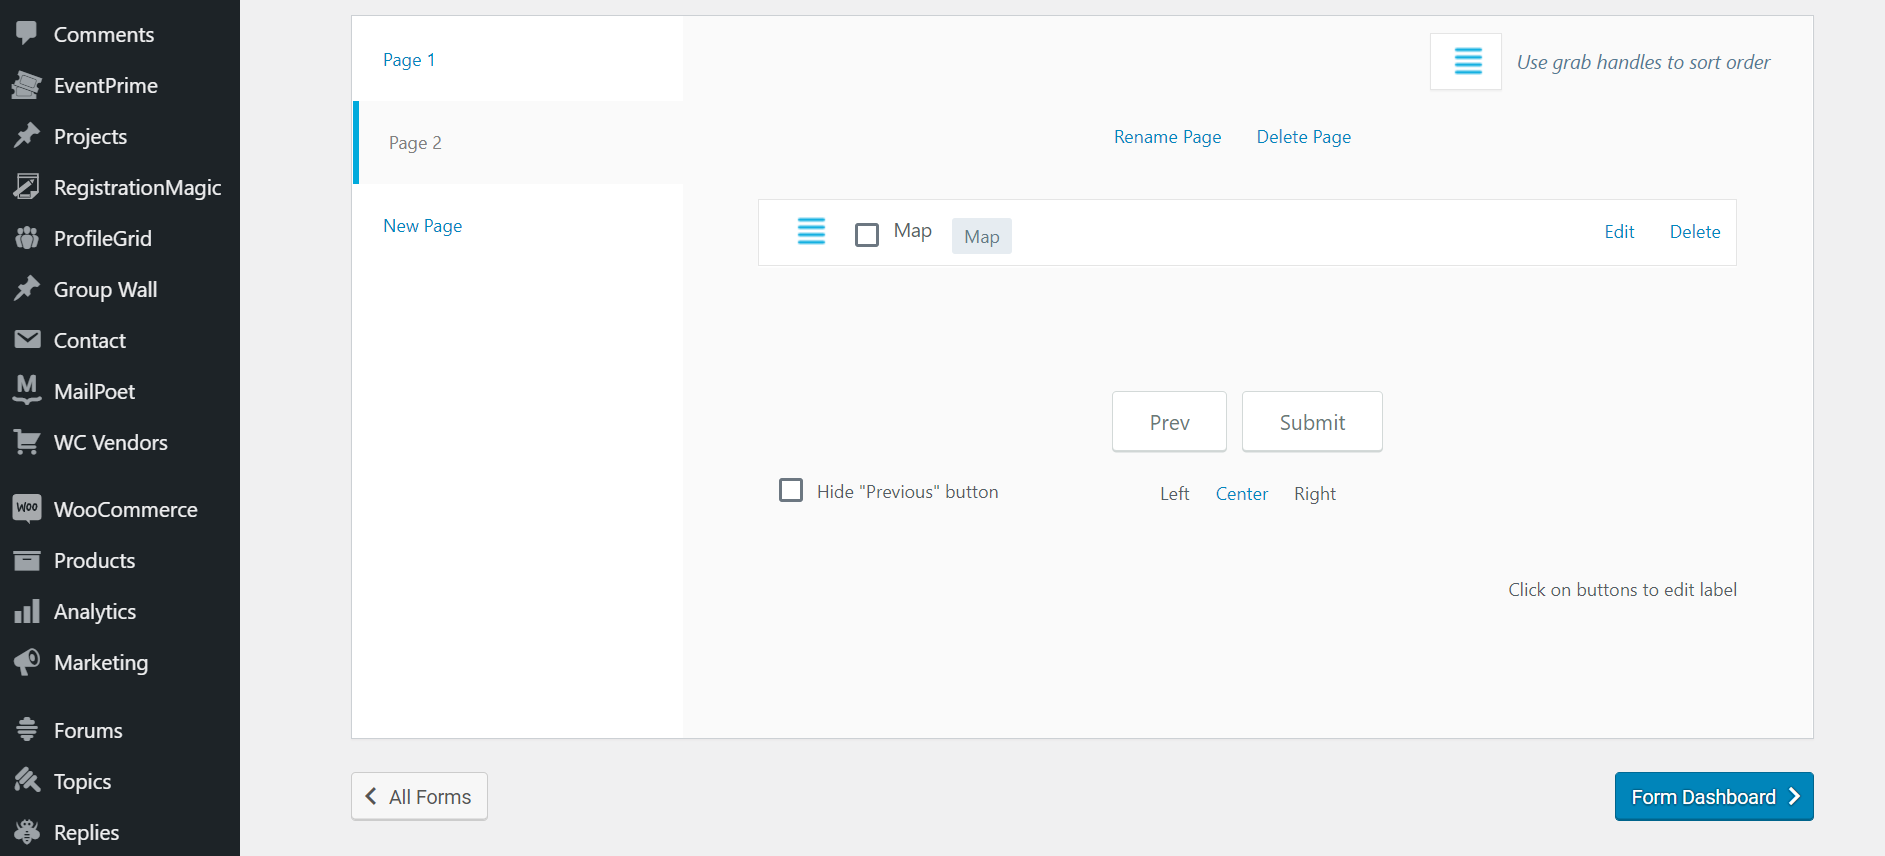
Step 12: RegistrationMagic also comes with an option of Multipage forms. Use this option to create an immersive multipage registration system on your website.
- To add an extra page in the form Tap on the New Page option.
- For example, we’ve added the Map option on the next page. (Optional)
Customization option
Step 13: You can easily customize your form by clicking on the Dashboard and then the Design option.
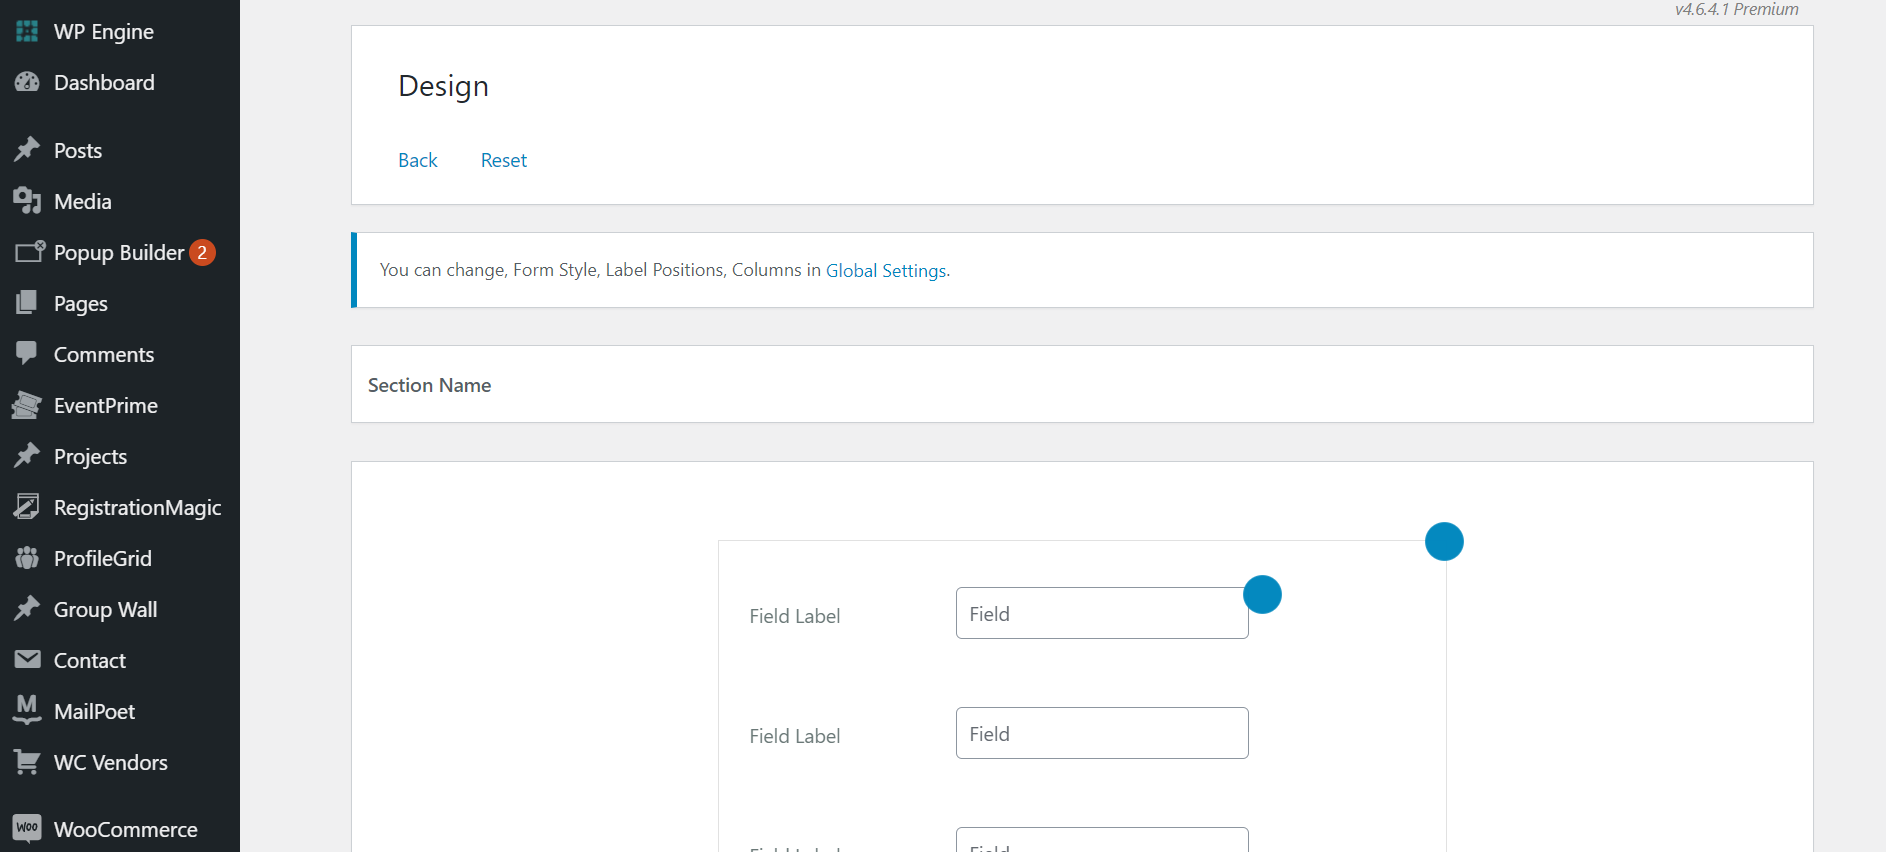
We will leave it up to you to explore all the designing options.
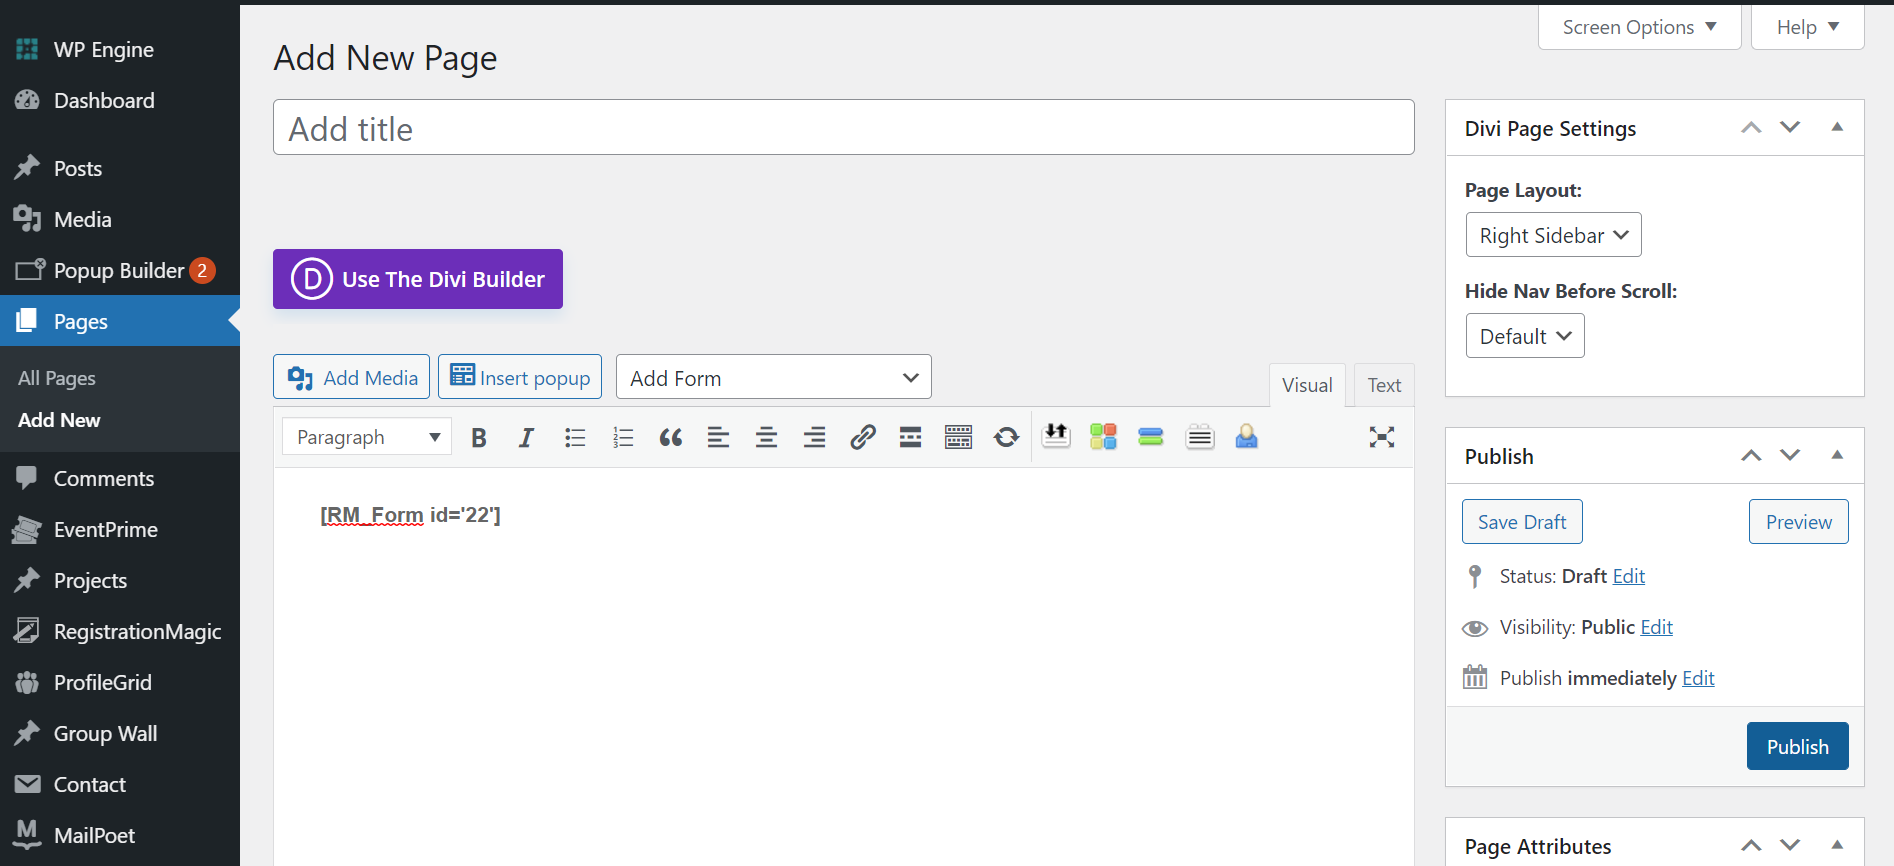
Step 14: Copy the shortcode and paste it anywhere you want, we will paste it on the new page
- Go to Pages and select New Page or Posts->New Post.
- Paste The Shortcode on the New Page or New Post
Final Preview of The Event registration Form.
Conclusion
You can use a piece of paper to collect the data of event registration, or you can use an advanced registration system like RegistrationMagic and make things easy for yourself. It will shape the event registration forms as per the preference of the user.
Other plugins to consider:
EventPrime: It is an easy-to-use, beginner-friendly WordPress Events Calendar plugin. It can create events with just a couple of clicks.
EventPrime supports free event bookings, paid event bookings, single-day events, multi-day events, event performers, event sites, event galleries, event registration, event calendar widget, and a lot more.
ProfileGrid: A power-packed user profile, member, and directory plugin.
It creates frontend user profiles, groups, communities, paid memberships, directories, WooCommerce user-profiles, and bbPress profiles, restrict content, register members through sign-up pages, allow users to submit and share blogs, enables notifications, social activity, and private messaging with a beautiful threaded interface for the user and a lot more!
- How to Manage User Registration Status in WordPress - August 8, 2023
- Send Emails to Registered Users in WordPress with Ease - August 6, 2023
- How to Create a User Registration Form on WordPress - September 22, 2022
- Registration Based WordPress Contact Form Plugins - September 15, 2022
- Create a Job Application Form on WordPress Website- In Depth Guide - September 14, 2022
- How to create an efficient Marriage Registration Form in WordPress - November 26, 2021
- How to make a flexible vendor registration form for your business - November 24, 2021
- Creating a Smart Membership Form for Your WordPress Website - November 22, 2021
- How to create a digital Preschool Registration Form - November 18, 2021
- How to make a creative Dance Registration Form with RegistrationMagic - November 16, 2021