
RegistrationMagic -WordPress Class Registration Plugin
Looking for a WordPress class registration plugin to create a snazzy form for your next course enrolment? A form that offers payment options and sign up charges? Then you are the right place.
Often free online form templates limit the users from making dynamic customized course registration forms. An extra bit of something always attracts users.
Also, once you have a user base how do you utilize them? A WordPress registration plugin that offers smart user management can sort all of that. And I consider RegistrationMagic as the best WordPress class registration plugin due to its efficiency in custom form creation and user data management.
Create WordPress Course Registration Form
Creating a WordPress Course Registration form is easier than you thought with RegistrationMagic Plugin. Right after installing this WordPress course registration plugin, you will find the RegistrationMagic menu on your dashboard.
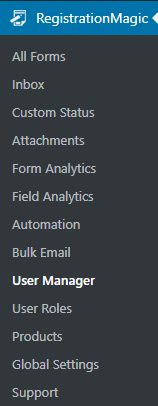
Click on the RegistrationMagic menu item and you will land on the All Forms page of the plugin.
On the left corner of the page, you will find the New Form link. When you click on it, a pop up will appear with two form options. One will let you create a WordPress user account on form submission and one that does not create a user account on your site. Which means if you want to create a WordPress registration form or a WordPress contact form.
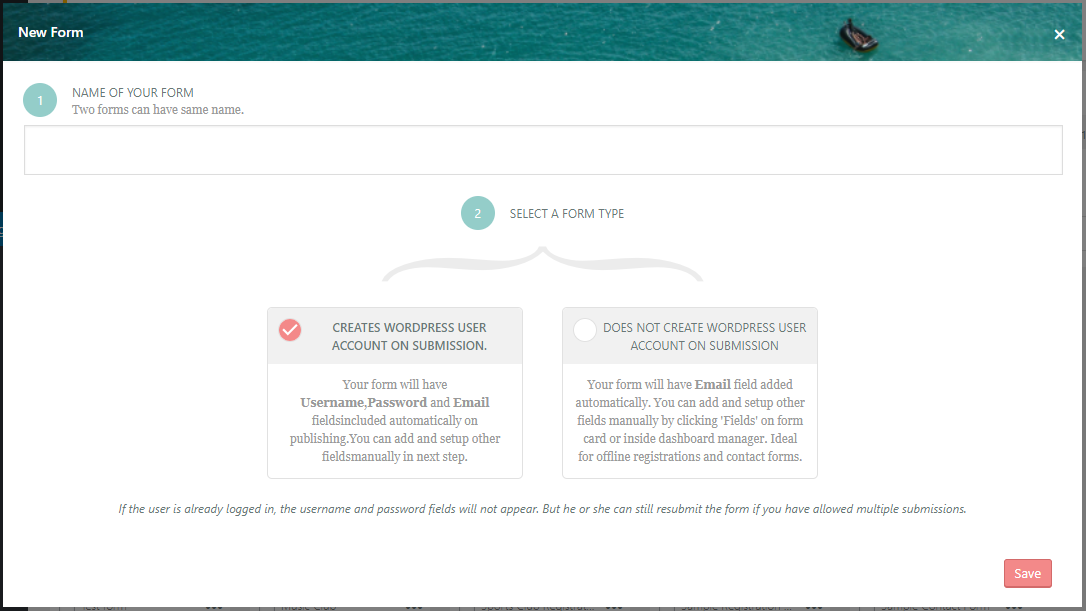
Based on your requirement, choose your type of form and name it. Next, you will find your WordPress class registration form appear on the All Forms page. Now, if you hover on the form cover, you will find two links appearing at the bottom — Fields and Dashboard. You will also find a shortcode that will later help you publish this form on the frontend.
Now, comes the best part, building the form that is, creating the content and design of your WordPress course registration page.
Adding Custom User Fields to Your Form
Click on the Fields link to land on the form’s Field Manager page. The fields that you add to this form from here will stay unique to this form.
Click on Add Field at the top corner of the page to start. Once again, a pop up will appear with all the custom fields that come with this WordPress class registration plugin.
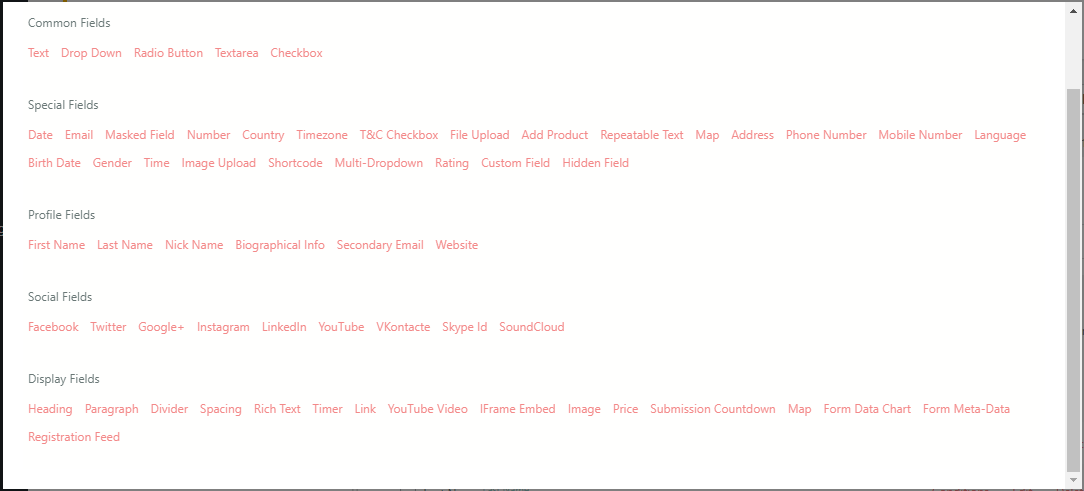
The first field that you see is the Common Fields, this adds fields to your form which will contain the content. Common Fields differ from the other form fields as they are not used to take input from users. Instead, you use them to display content to the user, such as a text, drop-down, radio button, text area or a checkbox. Next comes, the Special Fields it contains date, email timezone, file upload, add product, map etc fields. Then comes Profile Fields consisting first name, last name, website, biographical info, etc. Next is Social Fields this helps you to add social media registration options (like Facebook, Instagram etc.) on the form. Finally comes Display Fields like Heading, Paragraph, Spacing, Timer, YouTube videos etc which help you determine how your form should appear on the frontend.
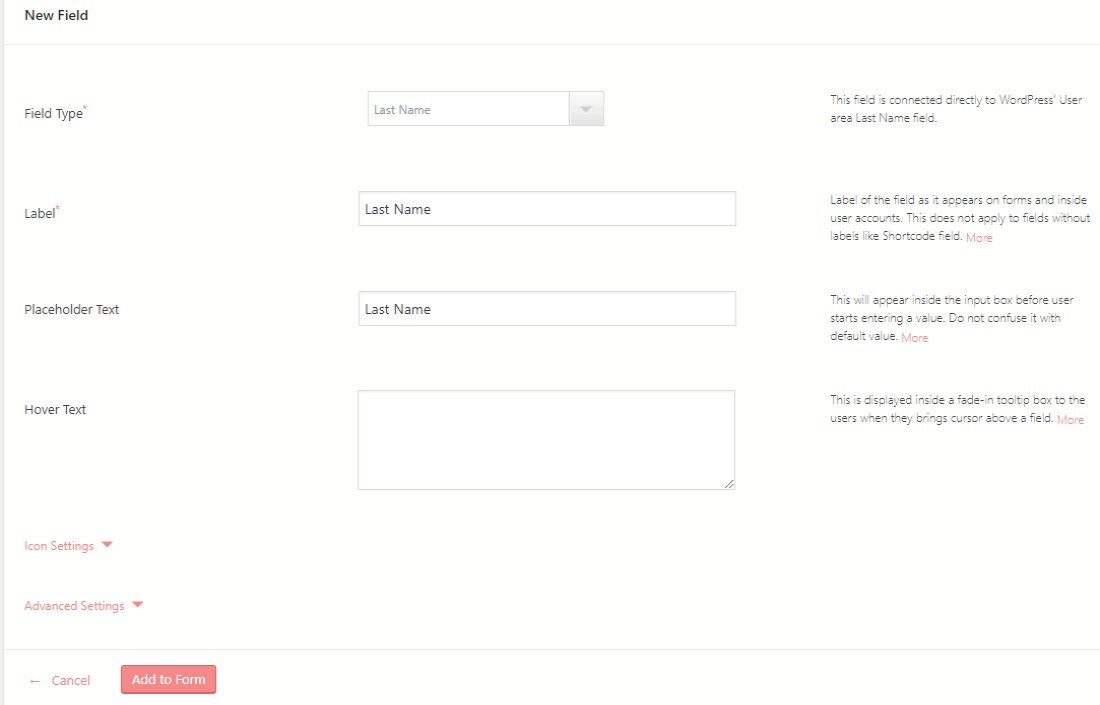
After adding any field a New Field page will appear where users can configure this field.
In the Field Manager page, I should also mention the Design and Preview links. The Design link will help you in your complete WordPress form design. Thus allowing you to customize your form by adding your own choice of font style, color, border, background images, etc.
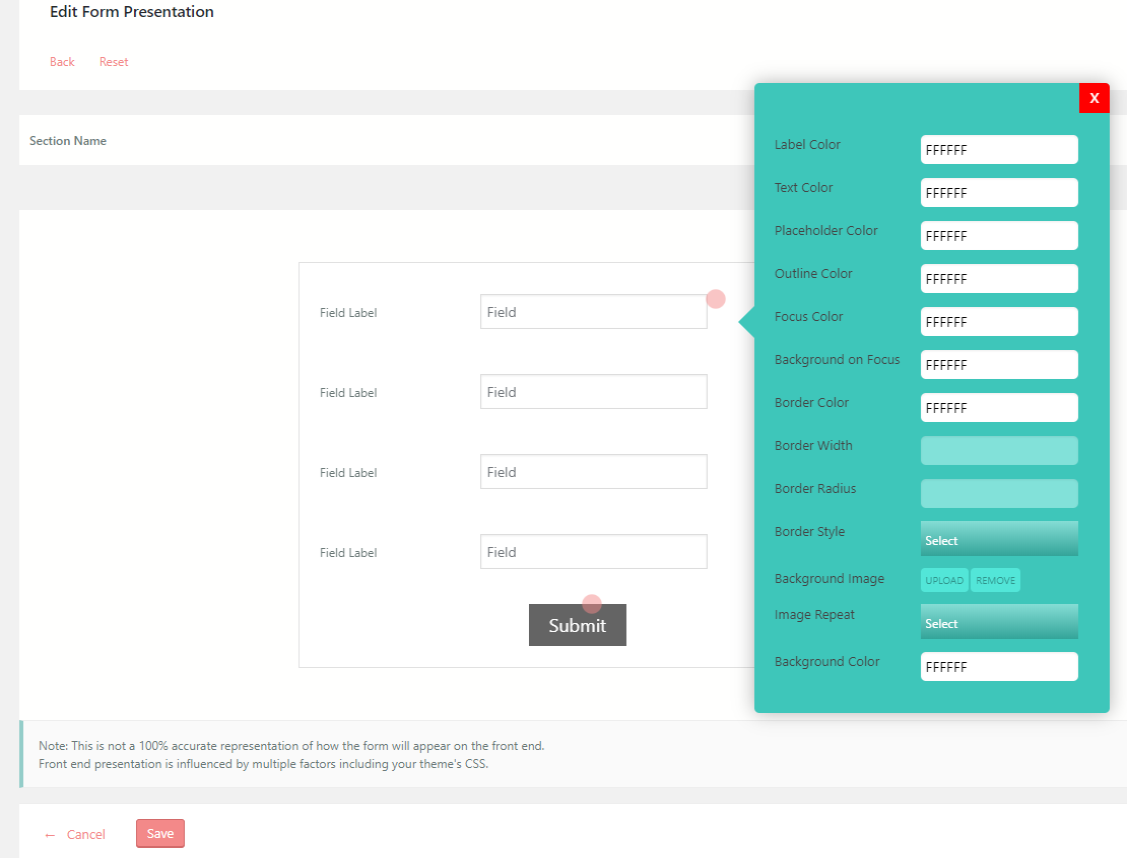
Based on the purpose of your WordPress class registration form, you can create your design here.
While the Preview link helps you to check out your form as you keep modifying it. It’s actually quite a fun affair!
Adding Products to Your Form
Now, with this WordPress plugin class registration becomes so easy since it helps you add products and payment systems on your form effortlessly.
On the RegistrationMagic menu, you will find a Products menu item. Click on it to land on the Products page. From the New Product link on the top corner of the page, you can add your products on the dashboard.
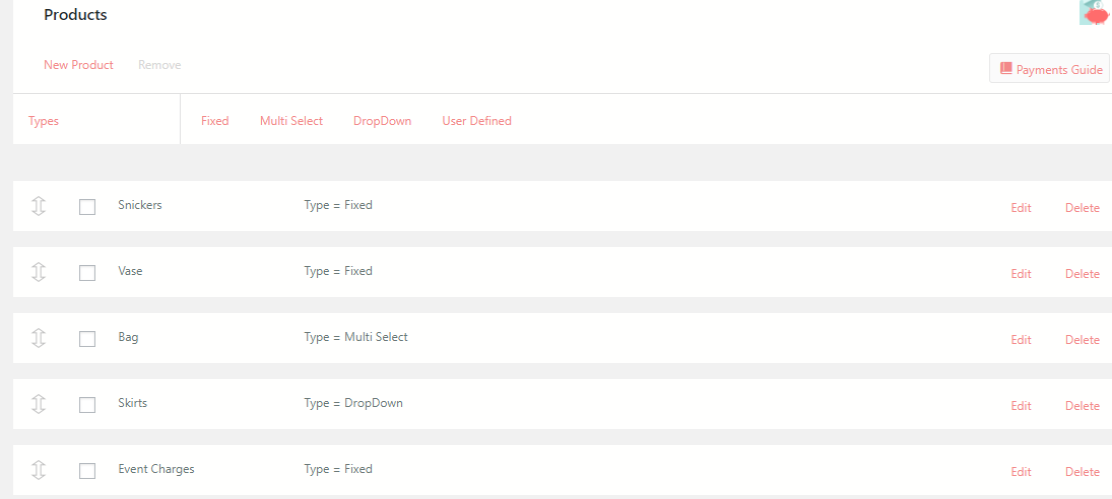
This WordPress class registration plugin, allows users to classify their products into the following types:
Fixed – When a certain product is part of the form and users have to pay for it while submitting the form.
Multi-select – When users get options to select more than one product on their forms.
Drop Down – Users can select their products from a drop down list on the form.
User Defined – When users select their own products and pay the amount through the form.
Configure your product as per your choice from the New Product page.
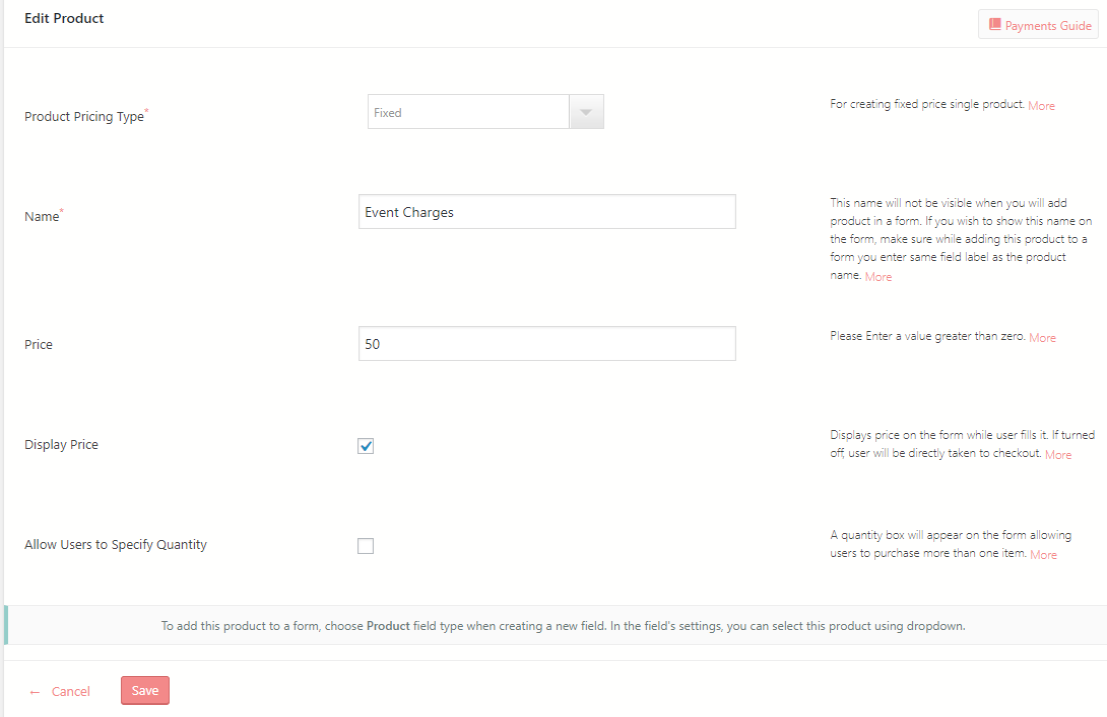
After you add your products it adds up to the Product list at the bottom of the page. From there you can delete any product at any point in time.
Now, that you have created your product, go back to the All Forms page and add Products from the Fields menu.
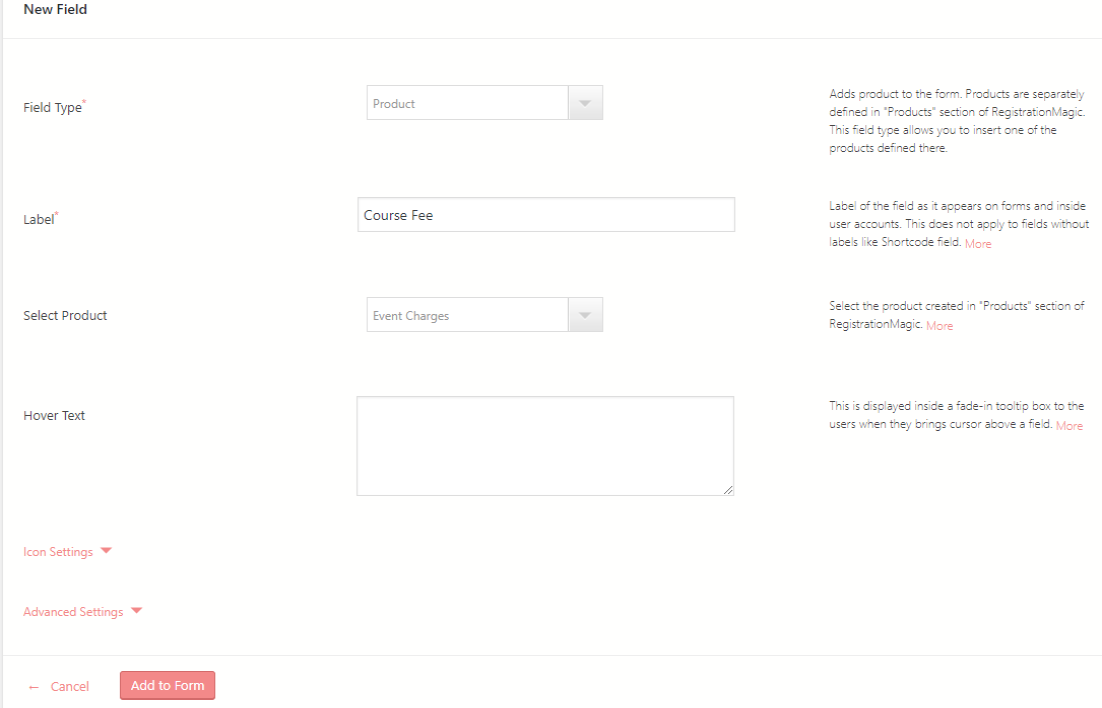
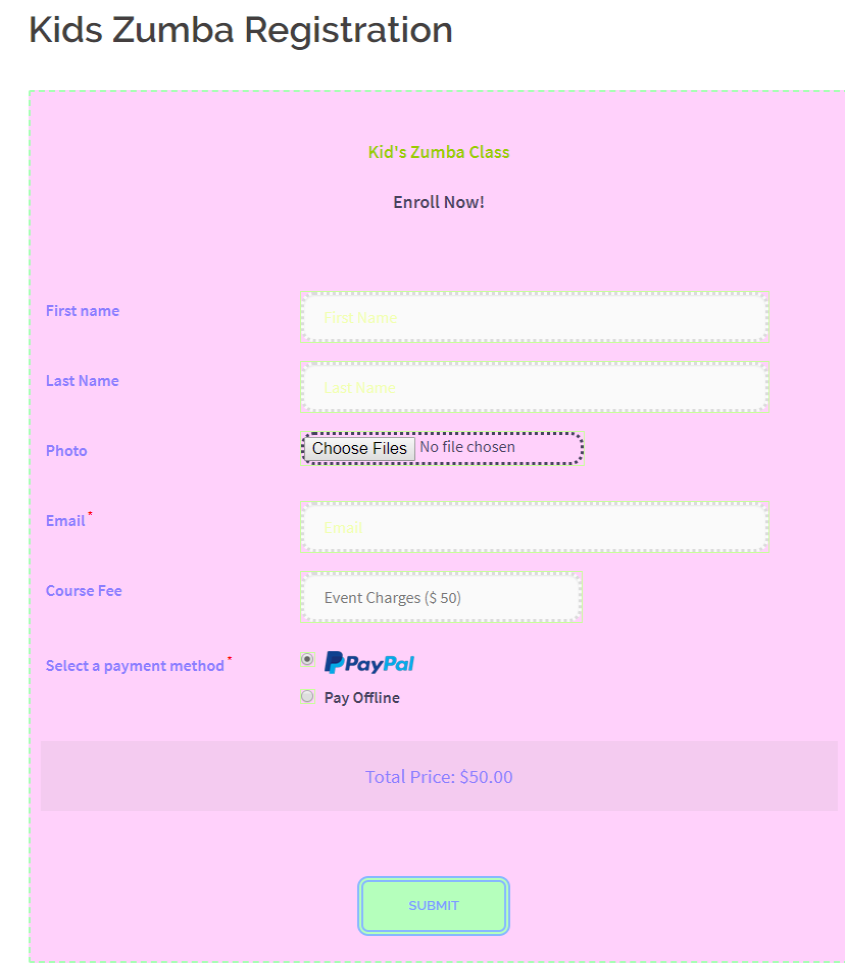
You can see in the above image, that I added Course fee as my product on the form.
You can also add a WordPress form payment system through this WordPress course registration plugin. So that your users can pay their course fees or buy course materials while registering.
Now that you have added your fields, products, and payment options, your form is almost ready. The only thing left is to publish it on the frontend.
Publishing a WordPress Course Registration Form
So, first, we copy the shortcode from the cover of the form. Then we add a new WordPress page and paste the shortcode on it.
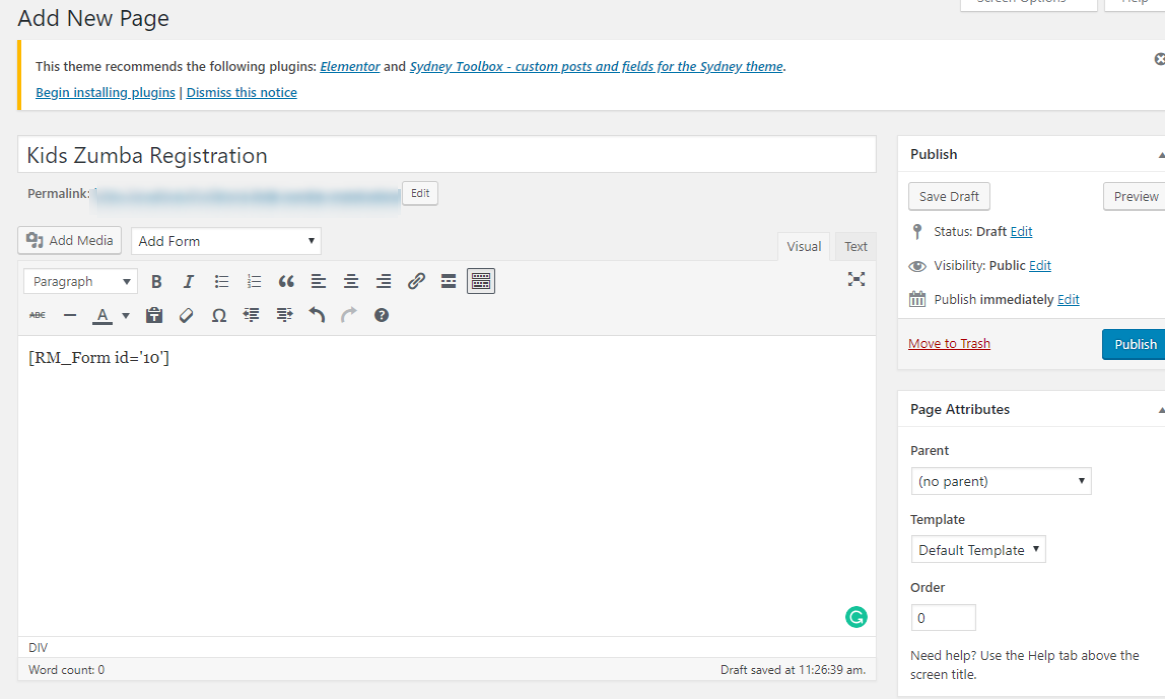
Name the page the way you want your WordPress class registration page to be named. Then click on the publish button.
Given below is an example of my Kids Zumba Class form complete with event charges and payment options.
Post Submission Settings
From the form Dashboard, users get to configure each form individually.
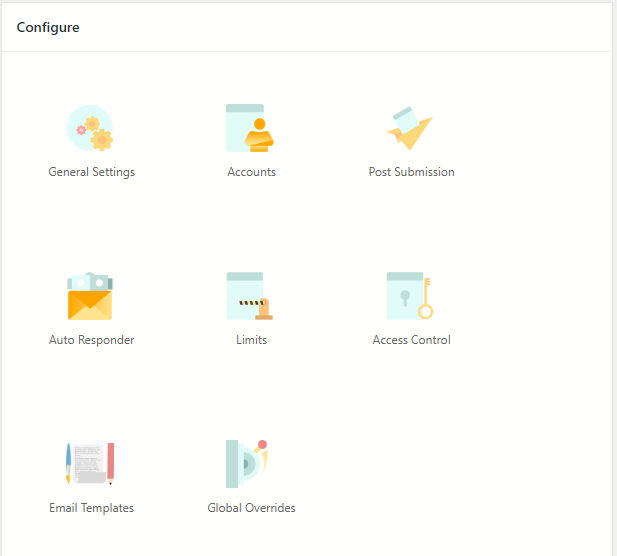
From the Post Submission link, you can configure what message to display on the frontend, where you want to redirect the user, etc.
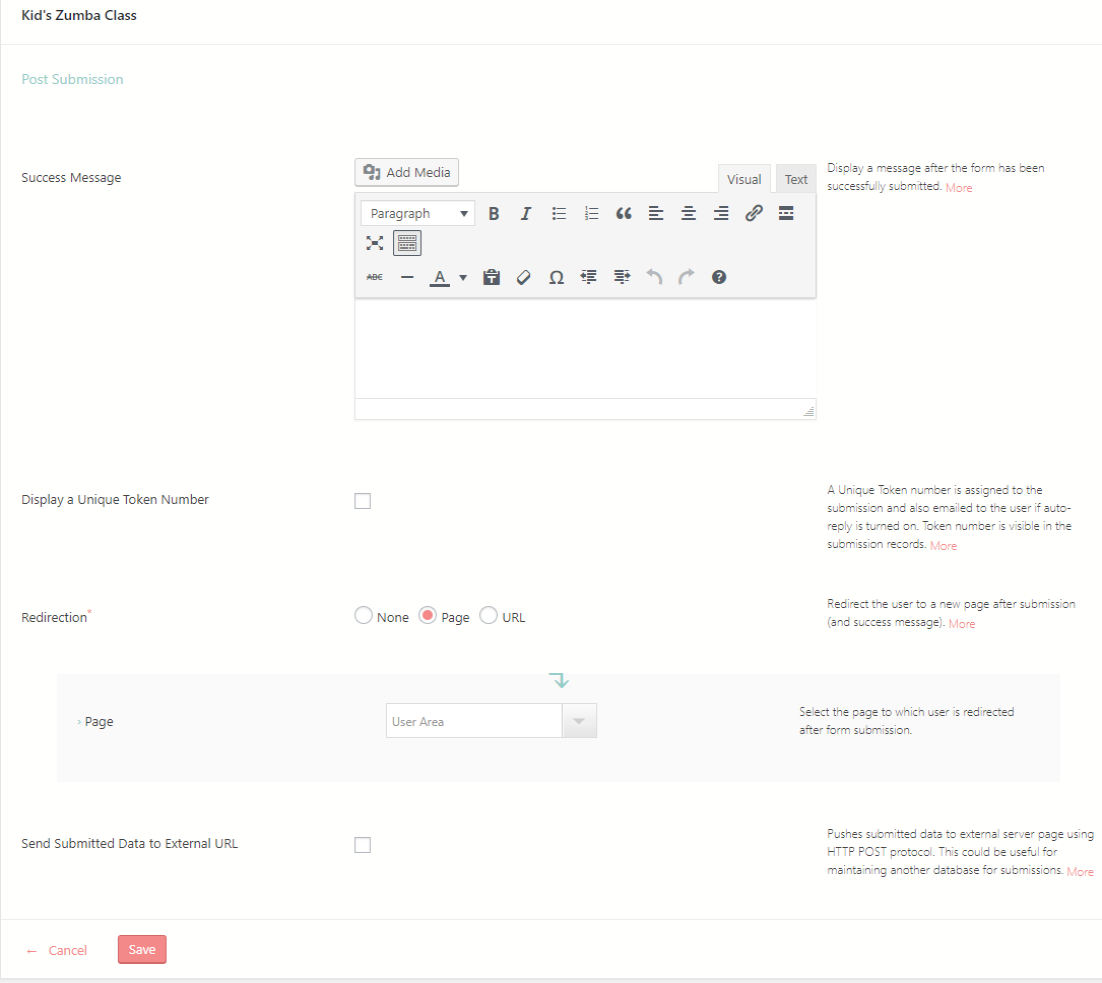
Since I redirected the user to the User Area, the user will land on a page similar to the one given below.

Here, the data of a user gets listed and post-registration, they can edit all their information from here.
Next, from the Limit link, an admin can set various limits to the form. For example, by limiting form submissions by numbers, one can take as many entries as is necessary for a class/course.
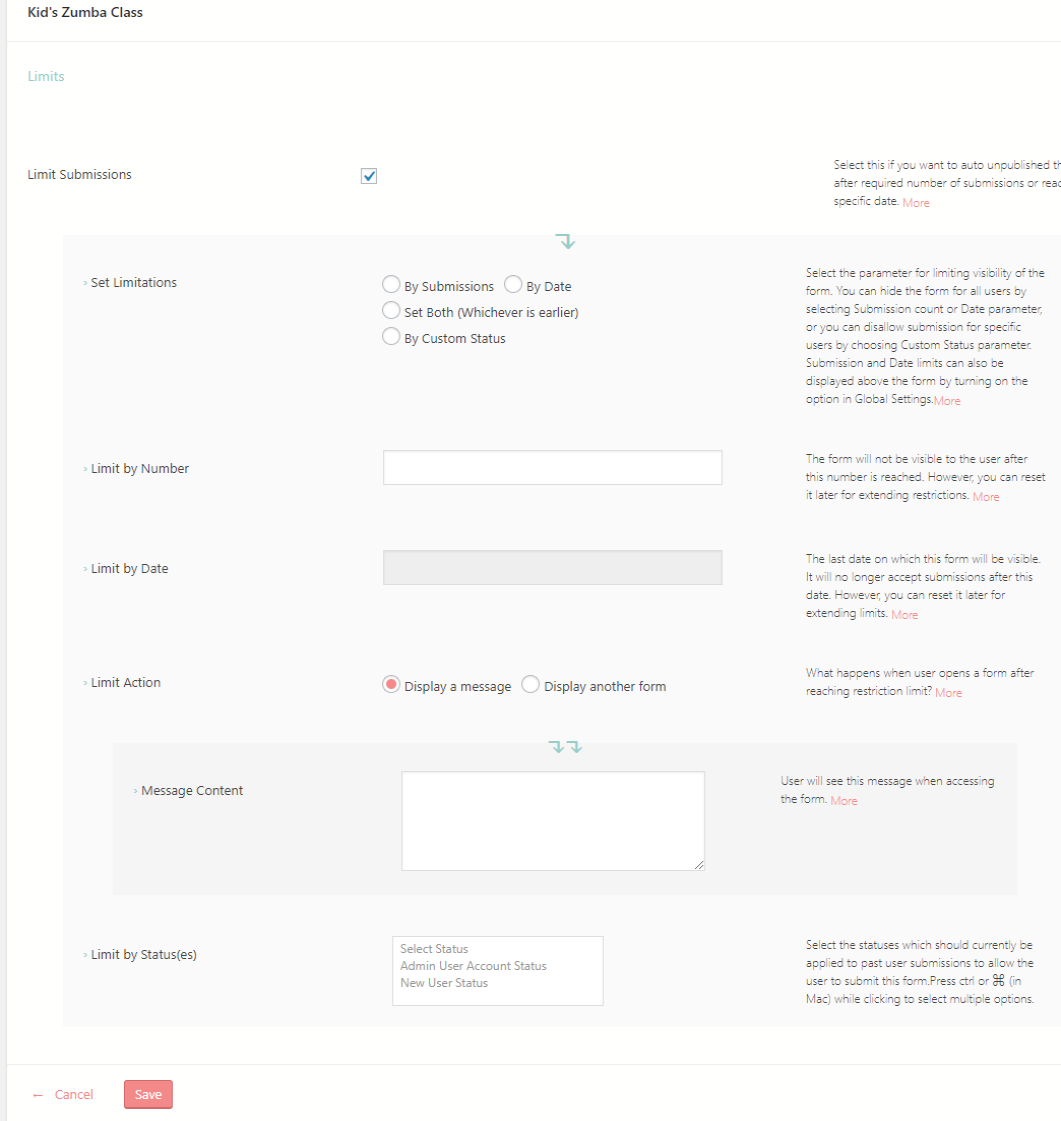
Similarly, By Date, admins can set the last date for submitting forms, after that the form will cease to exist. They can also create the content of the message that will be shown after users get restricted to access the form.
Contact Forms For Course Registration
I have told you earlier, that this WordPress class registration plugin, can also create smart contact forms. Not just that!
It becomes very convenient at times when you do not want to register users on your site but just take feedbacks and contact details of your users.
Contact forms help you reduce spams on your site. Since your email address will not be available to spammers. So they cannot exploit it as easily.
Also, Information Control is another factor why your site visitors will prefer it more often. Since you specify the information that you want from your customer you can utilize the exact information that they provide.
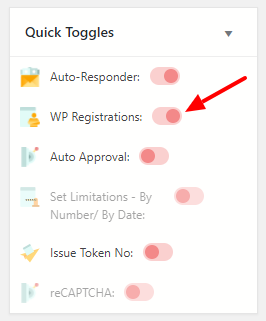
Moreover, if you want your WordPress course registration form to not create user accounts on your site, you can always transform them into contact forms. That too in just one click!
Nurturing Leads For Future
Be it WordPress user registration forms or contact forms, user management and utilizing their data for further growth is what keeps going. This WordPress Course registration plugin makes your Summer Camp, Dance Class or Gym registrations easy and profitable.
RegistrationMagic systematically lists user metadata and makes it easy to manage them and harvest for future programmes. So that the ones who enroll on a Summer Course can be later contacted for more courses in the future.
The admin can effortlessly send customized automated messages. With just a few clicks they can set up WordPress form automation and also send email notifications to existing users in one go.
So, what’s the wait for? This WordPress class registration plugin is your solution to create and manage your user base. Build customized dynamic forms and maintain complete user database for steady growth.
- Complete Automation Guide for WordPress Forms - July 20, 2024
- WordPress User Management Plugin Guide - July 18, 2024
- Add CAPTCHA in WordPress Login and Registration Form? - July 16, 2024
- How to Send Automated Welcome Emails in WordPress - July 15, 2024
- WordPress User Roles, Permissions & Role Editor [Complete Guide] - July 14, 2024
- How to Display Custom Success Message in WordPress Forms - July 12, 2024
- Publish Registration Forms and Display Registered Users - July 11, 2024
- How to Approve WordPress User Accounts Without Logging Into Dashboard - January 25, 2021
- How to Set up Two Factor Authentication in WordPress - April 4, 2019
- How to Edit or Replace Default WordPress Registration Form - April 2, 2019

Hello,
How can I allow access to certain pages of my site for registered users only and limit access for visitors who do not have user accounts?
Hi Yelena,
RegistrationMagic does not provide access limitation functionality for site pages. However, we understand that for a perfect system, sometimes tailor fitting of specifications may be required. We provide customization services to cover for just such requirements.
If you are interested in a custom project for your requirements, please create a support ticket at https://registrationmagic.com/customizations/
Does this integrate with the use of an online subscription course in my web site? All the examples don’t show that.
Hi Tom,
If you are using any other plugin/application for your online course then it will not integrate with RegistrationMagic forms. You can create your course as a product within RegistrationMagic instead and use its registration forms to register users for your course.
Does this plugin support the ability to have parents create an account and save their children under their account, so that they can sign them up for classes without having to reenter their children’s names every time? Also would they be able to see the classes they’ve signed their children up for, if the plugin does support parent/child users?
As of now, RegistrationMagic does not support hierarchical dependencies for the forms. However, we do have this feature marked for one of our future releases.
Is there a way to limit the number of each product sold? I want to limit the number of students in each class.
Limiting number of products is not allowed with RegistrationMagic as of now.
I see from your screen prints that you integrate with PayPal. Is Stripe payments available too?
Stripe is available in the premium version of RegistrationMagic(Not available if you do not have SSL encryption active on your server). To know more about payment processors available, please refer to the following link: https://registrationmagic.com/knowledgebase/payments/
I have some questions:
1) Assuming a new user registers for a course and the system auto creates a user account for him on WordPress. Subsequently, this user decides to sign-up for another course. How will the registration system handle this scenario since he is now an existing user and an account does not need to be created again?
2) The paid version includes a token feature. This feature almost meets my requirement.
I have a scenario where a successfully registered user is given a pre-defined token (not an auto generated one). This token will enable the user to login to a third-party e-learning site without paying again.
Is there a way to issue tokens from a pool of tokens (each will be unique)? So basically, there is a way to manage tokens and once a token is issued, it will not be re-issued again.
1. If you do not want a user account to be created then use a contact type of form with the help of RegistrationMagic.
2. A token number is unique and assigned to each submission and not to the user. So if a user makes 3 submissions, 3 token numbers will be assigned to each submission. Each number assigned will be unique and permanent.
I would absolutely love this feature
can admins update payment statuses in the inbox to record offline payments?
Yes, admin may update the Offline Payment status from WordPress dashboard of the site. Go to RegistrationMagic > Inbox > View the Submission and Edit the payment status.