Publish Registration Forms and Display Registered Users with RegistrationMagic
Once you are done configuring a web form the way you want it, the next step is usually to publish the form on your site. After all, what is the use of creating a custom web form if it isn’t going to get published on the site. If you are running a WordPress powered website, then creating highly customized web forms is no difficult task. Using the RegistrationMagic plugin, even WordPress novices can create web forms like professionals do. RegistrationMagic equips you with so many form publishing tools that requiring the help of a professional is a thing of the past. So let’s get started with this guide and learn how to publish registration forms and display registered users on your WordPress site.
This guide will assume that you already have RegistrationMagic installed on your site and have already created a form using it. If you haven’t, then please go ahead and do that now. This’ll help you follow along with the guide and publish registration forms and display registered users on your site with ease.
Navigate to the “Publish” Section of your Form Dashboard
Access the “All Forms” screen of RegistrationMagic from the WordPress Dashboard. You can do that clicking on the RegistrationMagic Dashboard menu item. Move your cursor on the form you have created and click the Dashboard link at the bottom of it.
On the Form Dashboard screen, scroll down until you find the “Publish” set of options. Every feature listed in the “Publish” section helps publish some data related to that form on the frontend of the site. We’ll explore them all one at a time.

1. Shortcode
This is the most common way to publish registration forms and display registered users on your WordPress site. Just click on the Shortcode icon and copy the shortcode displayed on the popup that appears next.
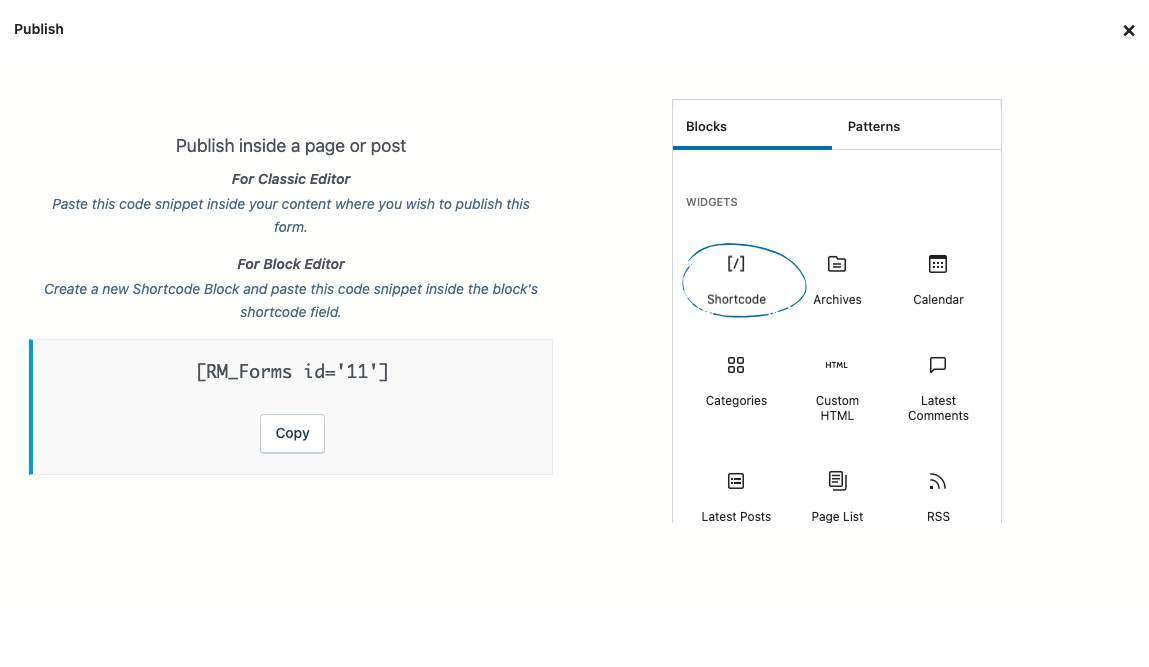
Use this shortcode on any post or page and the form will appear there.

2. HTML Code
In addition to shortcode, you also have the option to display your form in an iFrame anywhere on the site. You can do this with the help of the HTML Code publish option. In case you wish to add your own styling to the form, just replace the class mentioned in this code with the CSS class of your own design.
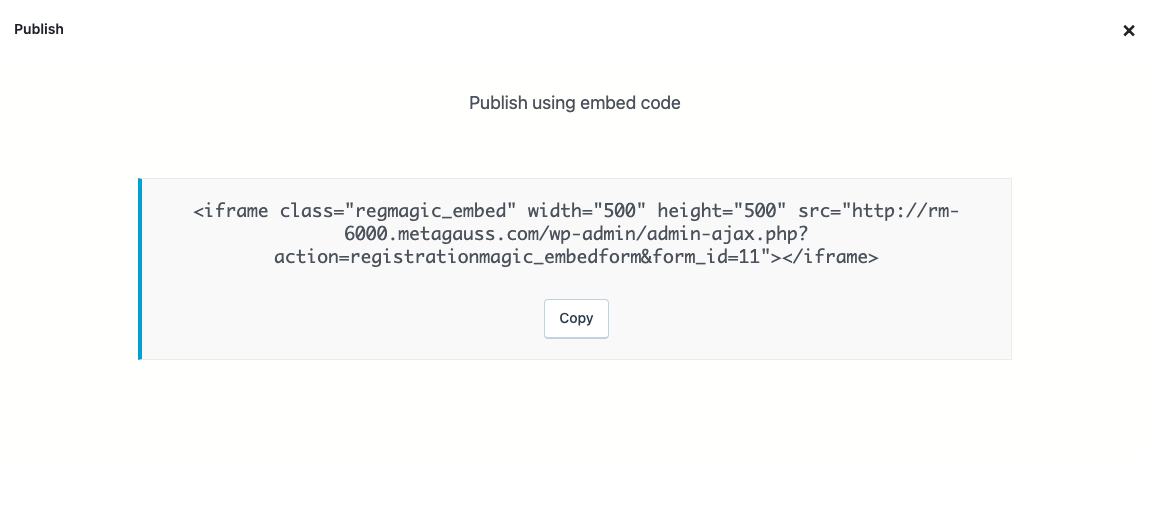
Here’s the view of the form with height and width set to 500.
3. Form Widget
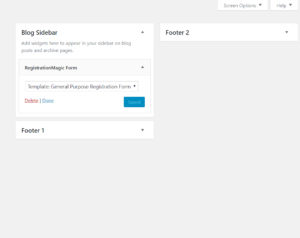
Your RegistrationMagic web form can also be embedded in widgets. From your WordPress dashboard, go to Appearance >> Widgets menu. Within the list of available widgets, locate the RegistrationMagic Form widget.
Drag the RegistrationMagic Form widget from the Widget list and drop it on the widget area of your choice. For this example, I am adding the form to the Blog Sidebar. Then, select the form which you want to display in this widget. I have selected the General Purpose Registration Form.
4. User Directory
This option is also a shortcode, but displays the users that have submitted a form, instead of a form. Click on the icon and then click on the “Copy” link in the popup that appears next. This will copy the shortcode to display all users with successful form submissions on the frontend.
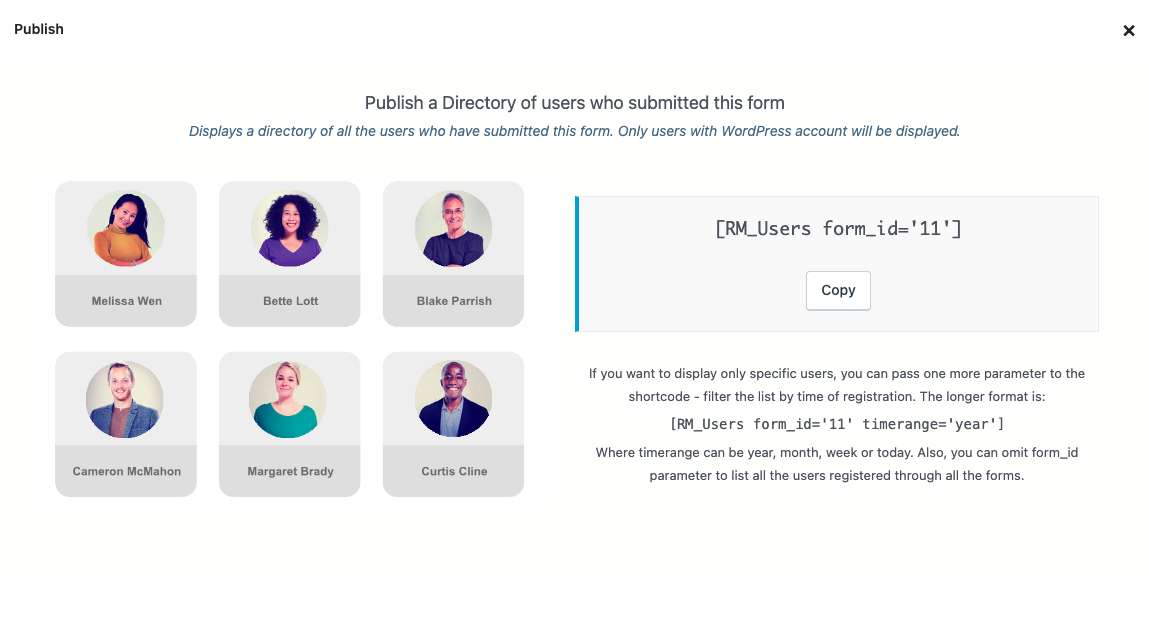
You can also tweak this shortcode by adding an extra parameter if you want to filter by time based form submissions. Omitting the form ID in the shortcode will display all users who have submitted all the published forms.
Combined with the form publish options mentioned above, this shortcode is all that you need to publish registration forms and display registered users on your WordPress site.
5. User Area
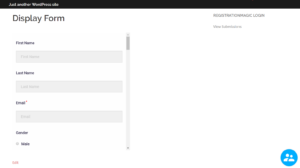
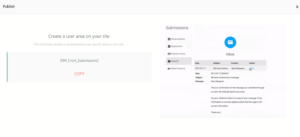
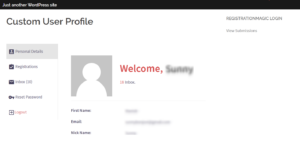
With the help of the User Area shortcode, you can now publish user profile containing user’s form submission data on the frontend. This User Area will contain different information tabs, such as “Personal Details”, “Registration”, and “Inbox”. User can access this area by logging in from the frontend of the site.
“Personal Details” tab displays the user’s picture, first name, email, and nickname. The “Registration” tab lists all the form submissions made by the user. Here’s how the user area appears on the frontend…
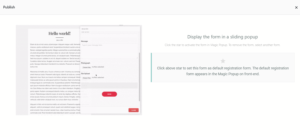
6. Magic PopUp
The Magic PopUp is an innovative solution offered only by RegistrationMagic. Magic PopUp allows users to access their form submission data, payment details, user profile personal details etc. all on one single button. This button floats on all pages of the site and users can access information offered by it no matter where they are on the site. Even forms can be made accessible through the Magic PopUp button. Which the users can then fill in and submit.
To make your form appear on the Magic PopUp button, click on its icon. Then, click on the star icon that appears on the popup that appears next. This will set your selected form as the default form on the Magic PopUp button.
Next, go back to the Global Settings >> Magic PopUp Button settings and turn on the MagicPopup system. Scroll down to the Custom Link #1 field and check the box next to it. Choose “Page” as “Link Type” and from the drop-down below, select your form. Then click the Save button to save the changes.

7. OTP Login
The OTP login system of RegistrationMagic helps users without WordPress login credentials to access the frontend user area. RegistrationMagic does this by checking whether email address was used during a past form submission by that user. If that is true and the user doesn’t have an account on the site, then the user receives an OTP on his/her email address.
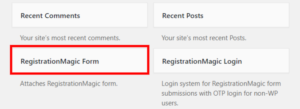
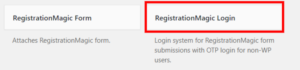
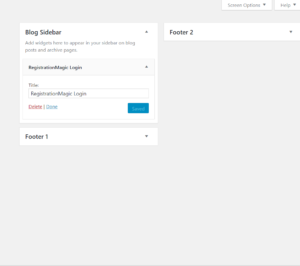
To setup RegistrationMagic’s OTP login, go to Appearance >> Widgets menu in WordPress dashboard and look for the RegistrationMagic Login widget. This is the widget for RegistrationMagic form submissions with OTP login. Only non-registered users can access this feature as it doesn’t require a user to have a user account on the site.
Drag the widget and drop it to the widget area of your choice. I am adding it to the Blog Sidebar.
These unique features of RegistrationMagic make it indispensable to any admin seeking to publish registration forms and display registered users on his/her WordPress site. If you haven’t given RegistrationMagic a try yet, I am pretty sure you will after checking out this guide.
- Complete Automation Guide for WordPress Forms - July 20, 2024
- WordPress User Management Plugin Guide - July 18, 2024
- Add CAPTCHA in WordPress Login and Registration Form? - July 16, 2024
- How to Send Automated Welcome Emails in WordPress - July 15, 2024
- WordPress User Roles, Permissions & Role Editor [Complete Guide] - July 14, 2024
- How to Display Custom Success Message in WordPress Forms - July 12, 2024
- Publish Registration Forms and Display Registered Users - July 11, 2024
- How to Approve WordPress User Accounts Without Logging Into Dashboard - January 25, 2021
- How to Set up Two Factor Authentication in WordPress - April 4, 2019
- How to Edit or Replace Default WordPress Registration Form - April 2, 2019