WordPress User Roles, User Levels & User Types
WordPress user roles (sometimes referred to as WordPress User Levels or WordPress User Types) extend or limit user control on the site. RegistrationMagic will assign the subscriber role to anyone filling the form. The “User Roles” section in RegistrationMagic’s user role editor helps in the management of previously created user roles. The role editor also assigns new user roles, as per your workflow.
Presently, there are five standard WordPress user roles. These include administrator, editor, author, contributor, and subscriber roles. Once you are familiar with these WordPress user roles, you can explore them from your WordPress dashboard.
Let us discuss each WordPress user role briefly first.
The Administrator Role
This role designates the user as an admin. Once you are assigned as an administrator, you can control any feature within the WordPress dashboard.
One can edit core files, modify themes and alter the WordPress user roles of others.
The Editor Role
With editor role, you can access any content. However, you will be restricted from making changes to themes and plugins.
An editor will immediately start managing and publishing blog and pages. Link management is also possible besides moderating comments.
Editors can thus manage every speck of a content but cannot alter the settings outside of content.
The Author Role
Authors can only edit their own posts; they cannot supervise others’ posts. Author has the permission to add content to the media library.
The role rights allow Authors to delete obsolete content. However, they cannot delta or create pages.
The Contributor Role
The contributor will enjoy complete access to modifying, deleting and editing their draft posts. However, contributor cannot publish the post.
Access to the media library is also under restriction. Thus, the contributor needs to get admin authorization to access images, videos, and other media files.
Guest authors can relish this role if they don’t post on a regular basis.
The Subscriber Role
Subscribers can read the post and comment on the post. They can also create a profile through WordPress dashboard.
Configuring WordPress User Roles through RegistrationMagic plugin’s user role editor
From your WP dashboard click on the plugin menu. The first tab underlying this plugin is the “All Forms” tab, navigate to your desired form dashboard.

You will be redirected to a page where you can build, configure and integrate your page. Under the “Configure” header look for “Accounts”.
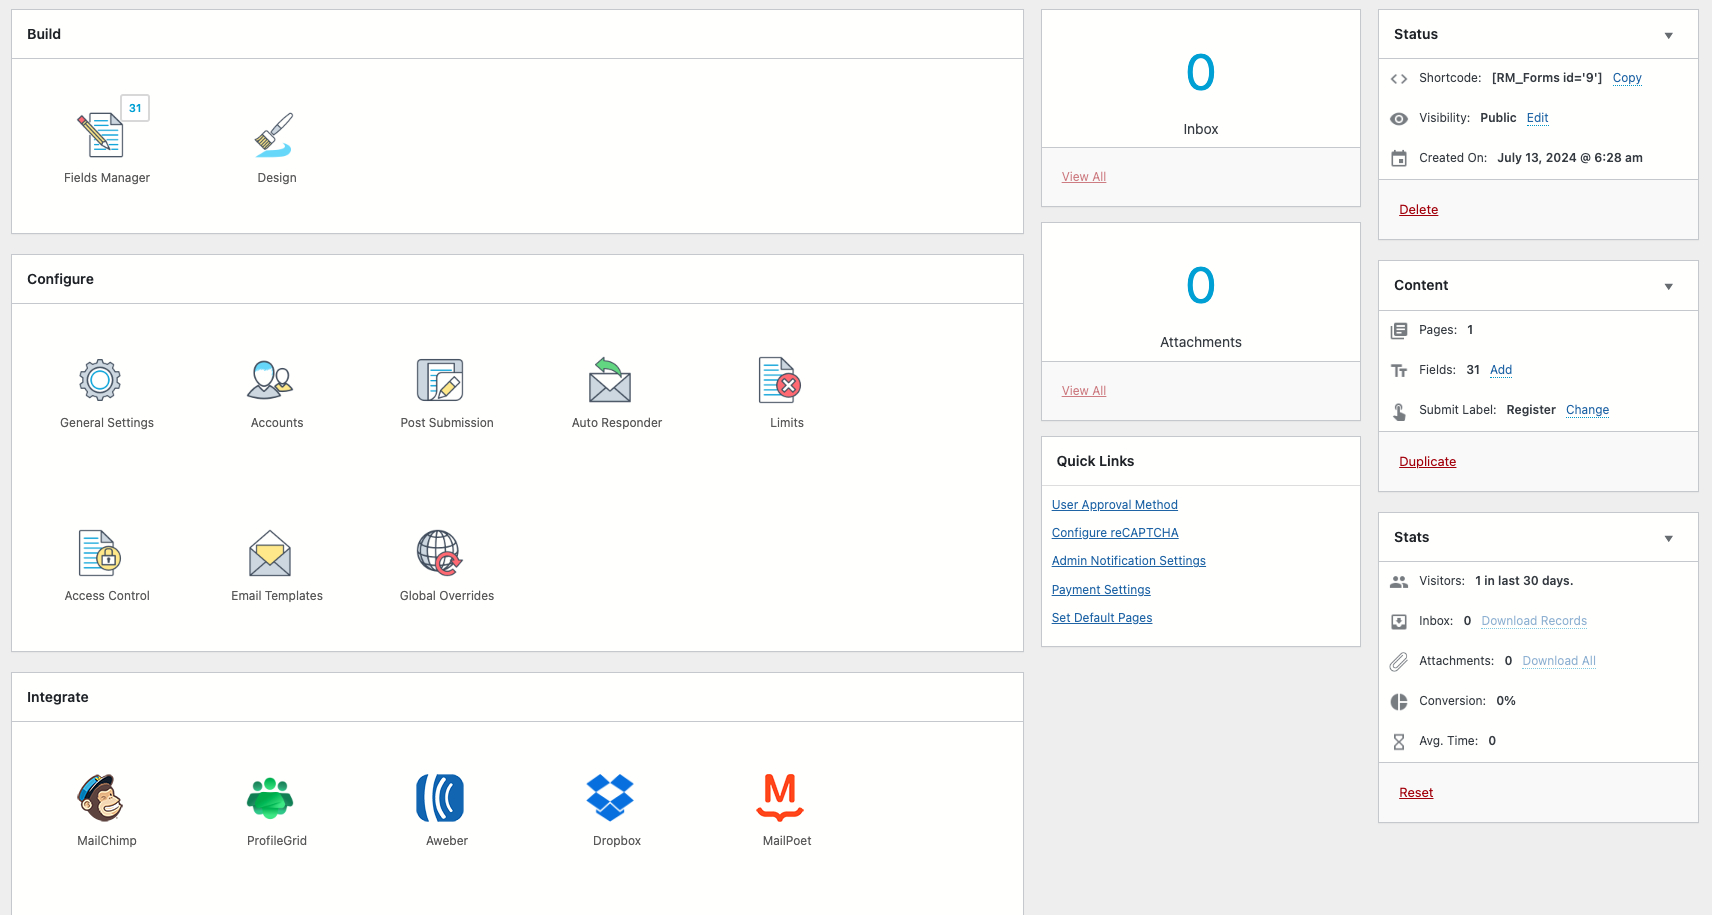
From Accounts page, you can configure WordPress user roles. Check the checkbox to add default Username and Password to the form. This will automatically register users in WordPress user area.
Next, explore the option to assign WordPress user roles. Click the drop-down and you will be able to see the five possible roles that can be assigned.
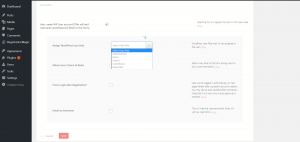
Choose any one of them. Click Save.
Alternatively, you can check box “Allow Users Choice of Roles”. This setting allow users to select their roles themselves, manually.
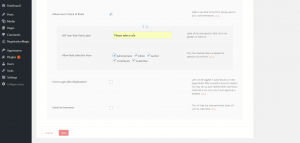
The next checkbox with the phrase “Force login after Registration” force user to log-in once user account is created. The last field “Email as Username” hides the username field. On checking this box, the Email will work as Username.
Click on save. You have now set up the user role for users registering on your site.
Incorporating more WordPress user roles
From your dashboard navigation to RegistrationMagic >> User Roles. You can create brand-new WordPress user role. However, the role can only inherit permission from one of the 5 pre-defined ones.
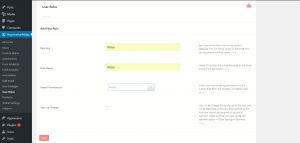
In this case, we have assigned Role Key and Role name both as Writer. The role key is the value of the role which will be stored in the database. This key will be invisible to user. The role name, however, is displayed on the front end.
The next drop-down lets you select which pre-defined role you want to inherit permissions from. Upon checking the last box “Sign-up charge”, you can redirect your users to make a payment upon choosing a role. Click Save.
Go back to “All forms”. Copy the shortcode from form card. Navigate to the “All Pages” section. Create New Page. Paste the shortcode. Click Update.
WordPress User Roles are now configured in your WordPress User Registration form. Shared below is a screenshot as to how the embedded User Roles will display on your registration form.
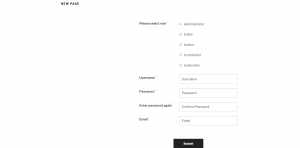
This completes our guide on User roles, User permissions, and user role editor.
If you need a head-start to create your user registration process, visit our detailed WordPress Registration page guide.
- Complete Automation Guide for WordPress Forms - July 20, 2024
- WordPress User Management Plugin Guide - July 18, 2024
- Add CAPTCHA in WordPress Login and Registration Form? - July 16, 2024
- How to Send Automated Welcome Emails in WordPress - July 15, 2024
- WordPress User Roles, Permissions & Role Editor [Complete Guide] - July 14, 2024
- How to Display Custom Success Message in WordPress Forms - July 12, 2024
- Publish Registration Forms and Display Registered Users - July 11, 2024
- How to Approve WordPress User Accounts Without Logging Into Dashboard - January 25, 2021
- How to Set up Two Factor Authentication in WordPress - April 4, 2019
- How to Edit or Replace Default WordPress Registration Form - April 2, 2019

hello!!
I want to create a form where dealers, resellers, and distributors fill out the form wanting to associate with this company. We want to accept the form manually, and after that redirect them to the registration form so they can create their account. Will this plugin help me with that?
The dealers, resellers and distributors can fill out a contact form and the admin may then manually email the link to the registration form to allow account creation.
I am creating a site that involves musicians and Venues, once the musician has registered I am wanting them to be able to view ALL venues that have registered and the same with a venue that registers I want them to be able to view all registered musicians. is this possible with this particular plugin?
This is indeed possible- you may display all users (musicians in this case) on site’s front end. Feel free to write to us if you need particular details about setting up the workflow.