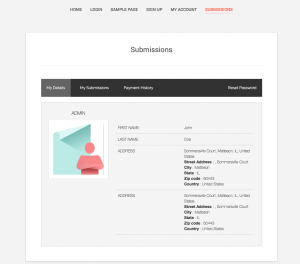
It may not be too much to think that some admins using RegistrationMagic will try to establish user accounts section on their websites. Fundamentally, RegistrationMagic is based on registration forms and submissions (which is users submitting the forms), and their consequential actions – like creating a new WordPress User in the dashboard or sending out an auto-responder. Once a user is registered on the site, he or she may login and access the information submitted by him/ her in user specific area. RegistrationMagic already has provision for such an area available alongside Submissions. Further, RegistrationMagic allows users to submit multiple forms and each submission is recorded as a separate entity. It is possible to aggregate specific information from all these submissions into a single place which can serve as User Account section. This section will contain fields and their values picked from various forms, which the site admin marks for aggregation. As the user submits more forms, newer marked fields are appended. Here’s an example of User Account section:
The purpose of User Account section is to cull important information about the user, filled in his or her forms, and display it in a single place without congesting the page. The function is similar to User Account pages on many popular sites and is invoked by shortcode
Now the question is, how to setup a User Account section for our site’s users? We begin by simply creating a form. For demonstration, we will use the same form which we used in our last article, named Summer Camp Registration. As you will remember, it had two different sections for Camper and Parent information. Since the parent is our actual user, we will create an account area which only shows parent information to the admin and the user. In our form, parent specific fields were:
- First Name
- Phone
- Address
- Relationship with the camper
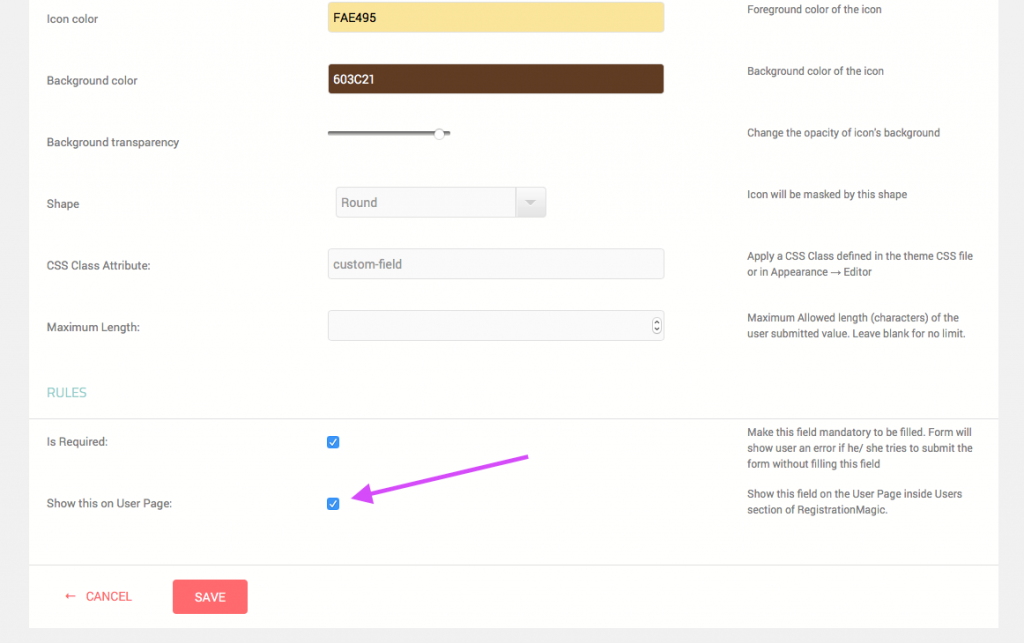
We will display fields 2,3 and 4 inside the My Account section. Of these, First Name is default WP field, therefore it will show automatically in account area. For the other two, we will need to edit both fields and turn on a checkbox option inside them – labeled Show this on User page.
Hit save. Now repeat for the other field.
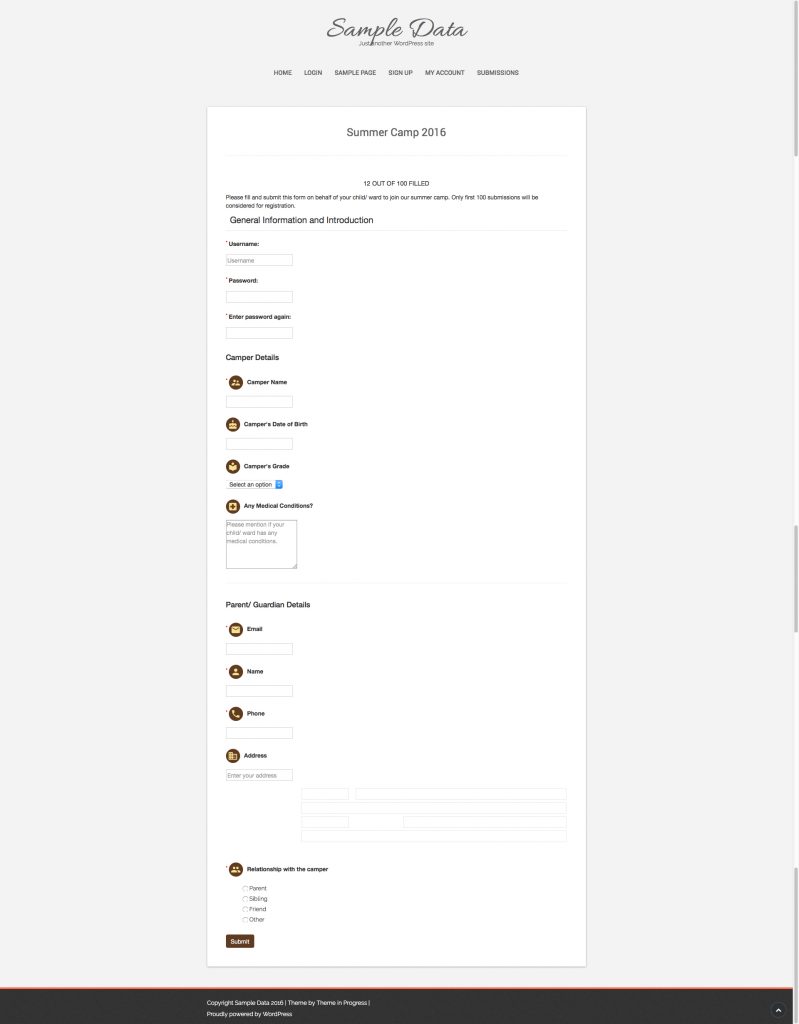
We head over to the form on the front end and fill it out as a new user. Here’s how the empty form looks like:
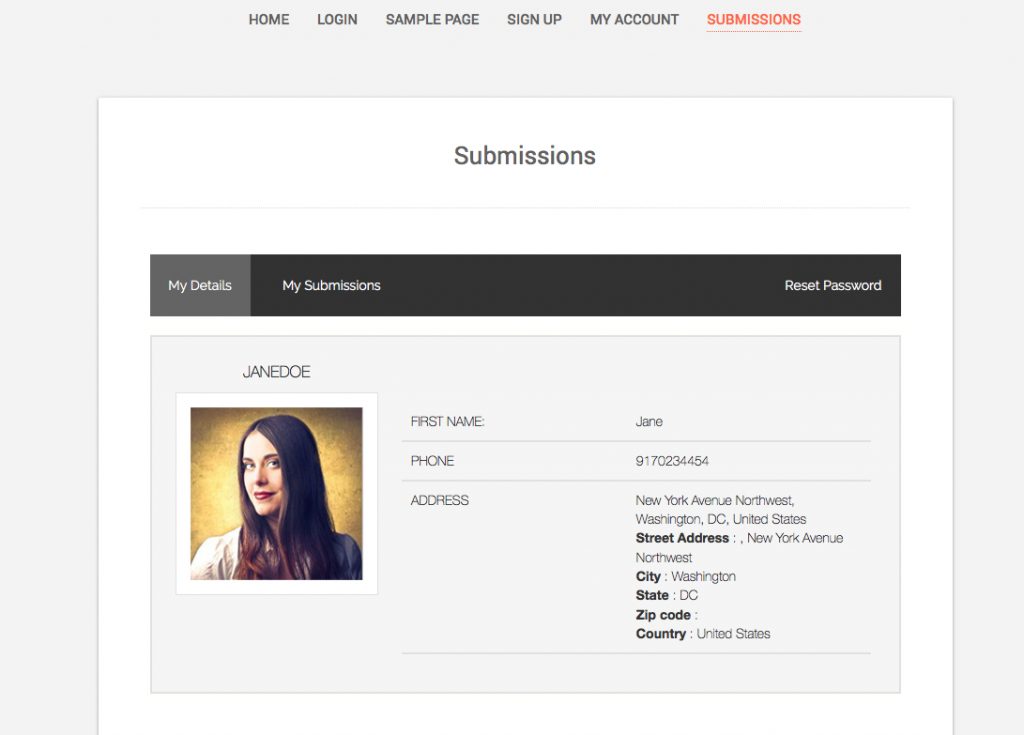
Once we have filled and submitted it, we’ll log into the site as a new user and click Submissions menu link which is attached to the page with RegistrationMagic submissions shortcode
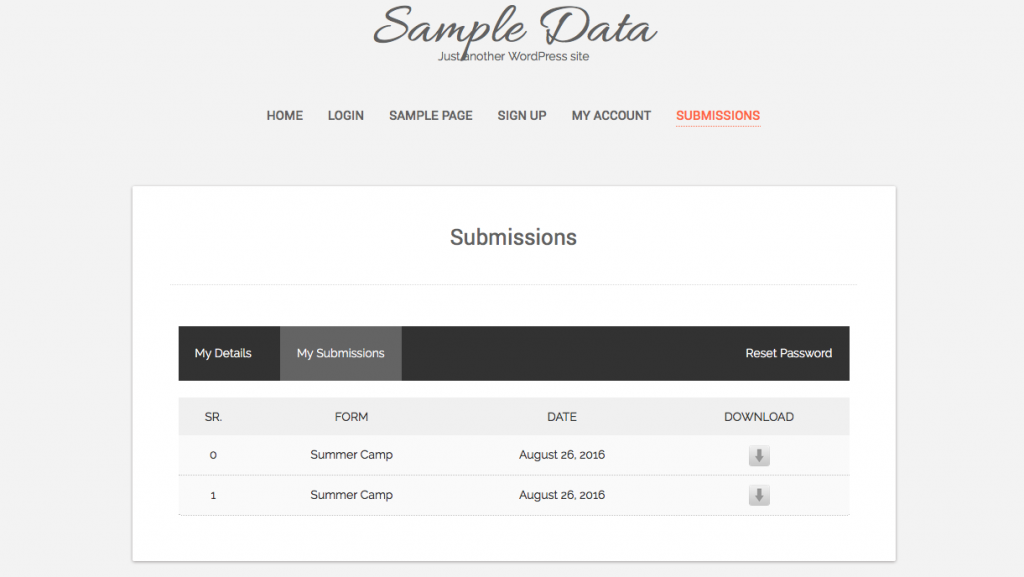
We find the information from marked fields First Name, Phone and Address right here in this section. The image is fetched from Gravatar in RegistrationMagic. If we click on Submission tab above, we will find the record of Submission we just did.
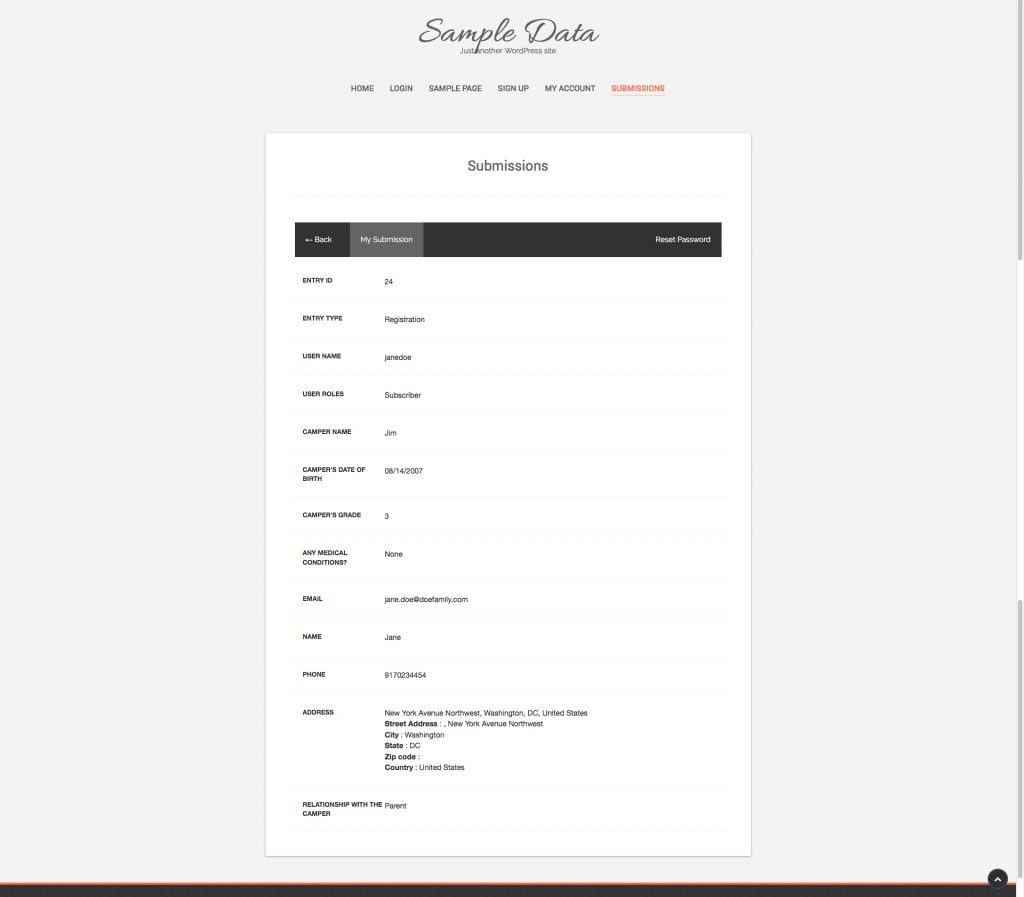
Clicking on it will open the submission record with all the information we submitted via form.
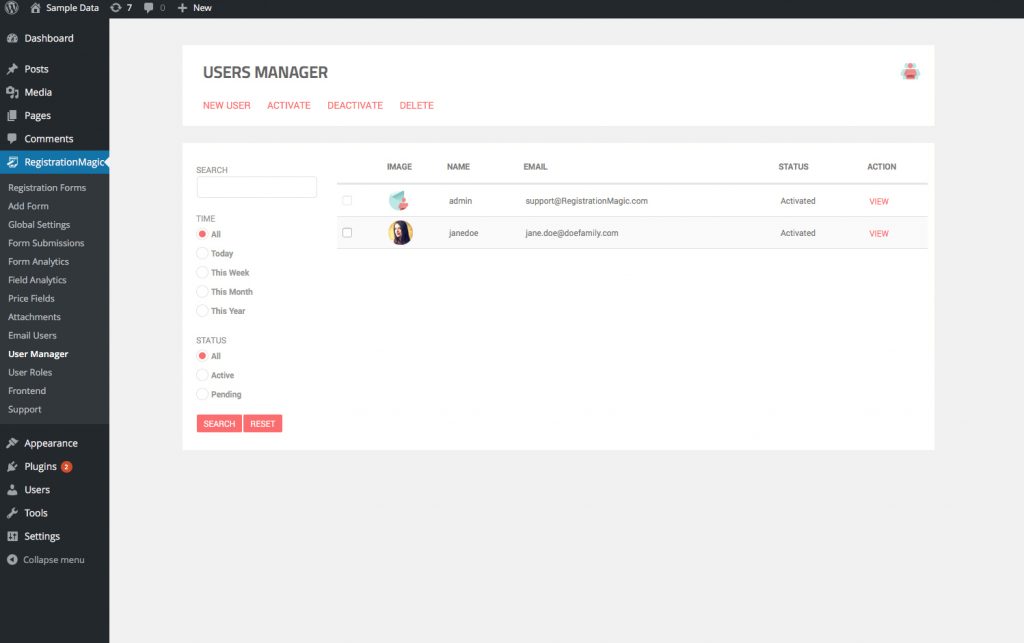
This can also be downloaded as PDF by the user. Let’s head to the dashboard area and check User Manager section. The new user appears in the users table, as expected.
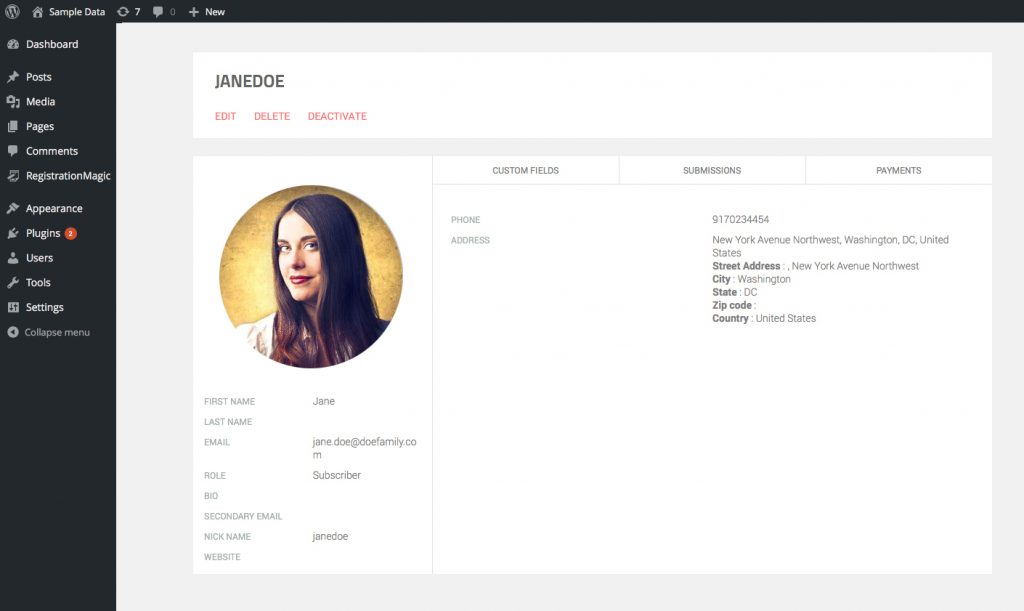
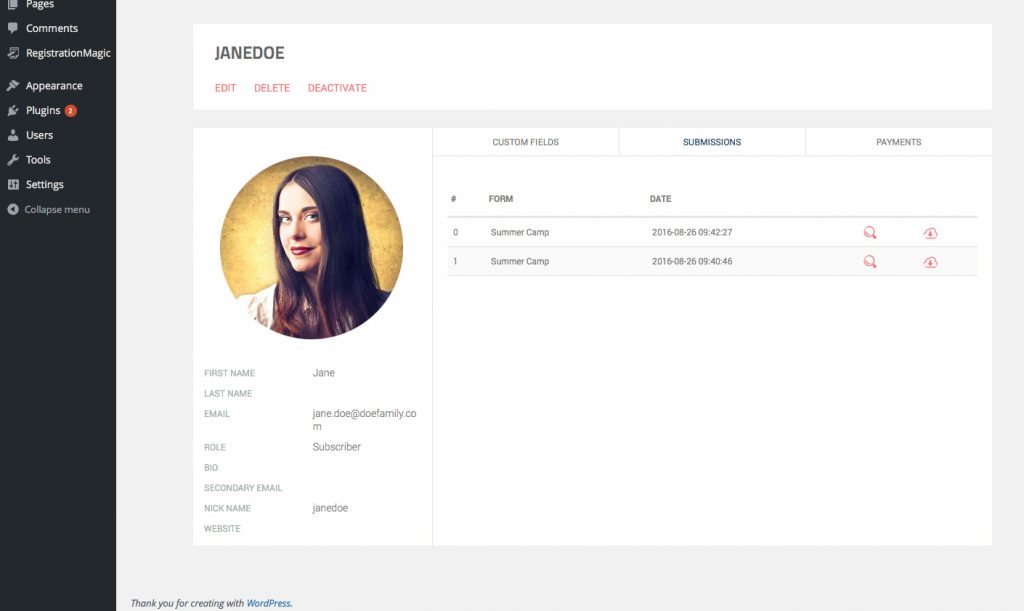
Clicking on the View button will open the dashboard equivalent of front end user account area. It will look like this:
And clicking on Submissions tab will reveal:
Apart from this, admins can deactivate or delete users from this section. They can also add notes and delete individual submissions.
It is easy to see the account area can be used in different ways by different webmasters with little imagination. It offers different advantage from User Profiles, and can be used as an aggregator of user information. In upcoming versions, this information could be edited by the user along with past submissions, as we strive to keep expanding RegistrationMagic’s front end.
- RegistrationMagic Starter Guide - August 4, 2024
- WordPress Registration Shortcodes List - July 10, 2024
- WordPress Payment Form Guide: Setup Payments on Registration Form - July 8, 2024
- Experience the Unfolding Magic! - August 4, 2023
- List of Guides for WordPress User Registration Process - July 28, 2023
- Frequently Asked Questions About WordPress User Registration Forms - July 28, 2023
- How to display registration forms on WordPress site? - July 26, 2022
- WordPress User Registration Custom Status Guide - April 9, 2022
- How to add or update user profile fields using WordPress forms - August 5, 2020
- Boost RegistrationMagic User Profiles With ProfileGrid Integration - February 19, 2019

What about if we want to use default wordpress my account section and want fields to appear there?
You will need to customize WordPress My Account page in order to achieve this.
This is also how I expected this plugin to work, I didn’t expect it to have a separate section for users.
This is achievable using RegistrationMagic and ProfileGrid integration. Steps to display RegistrationMagic fields on WordPress User Profile page:
1. Install ProfileGrid. Here is link: https://wordpress.org/plugins/profilegrid-user-profiles-groups-and-communities/
2. Create Group G. Make RegistrationMagic form F as default registration form of Group G via Group Settings.
3. Create fields in Group G. Map these fields with form F using map with option on ProfileGrid Edit Field page.
4. Submit form F in logout state as user U.
5. User U will be registered and become member of Group G.
6. All the mapped custom field values will display on WordPress User Profile Page.