A simple WordPress order form is a form that is used by a buyer to request products from the seller.
Also, when a business accepts requests from buyers who want to place bulk orders, then the order form is used.
Order forms are vastly used by wholesale businesses and suppliers. An order form solves the basic problem of managing bulk orders. It helps you to process bulk orders quickly and seamlessly.
RegistrationMagic is one of the leading WordPress form builders and WordPress order form plugin that allows you to build various types of forms including order forms. You can create and customize an endless number of forms using this plugin.
Starting from the order form, registration form, WooCommerce form to payment forms, you can easily manage and create forms using this WordPress order form plugin. Check out all the features of RegistrationMagic here.
How to Create WordPress Order Forms
Creating an order form in WordPress
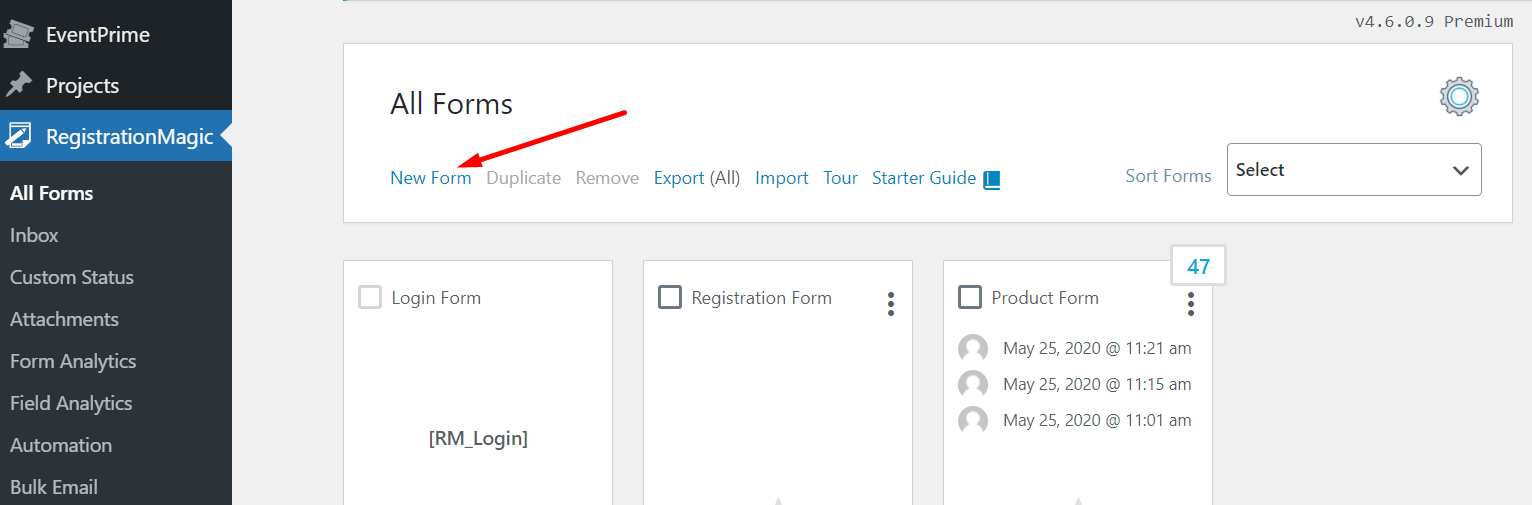
Step1: Go to your Admin Panel, open RegistrationMagic, and open all forms.

Step2: On the All Forms page, click on New Form.
Step2: Further, enter the name of the form.
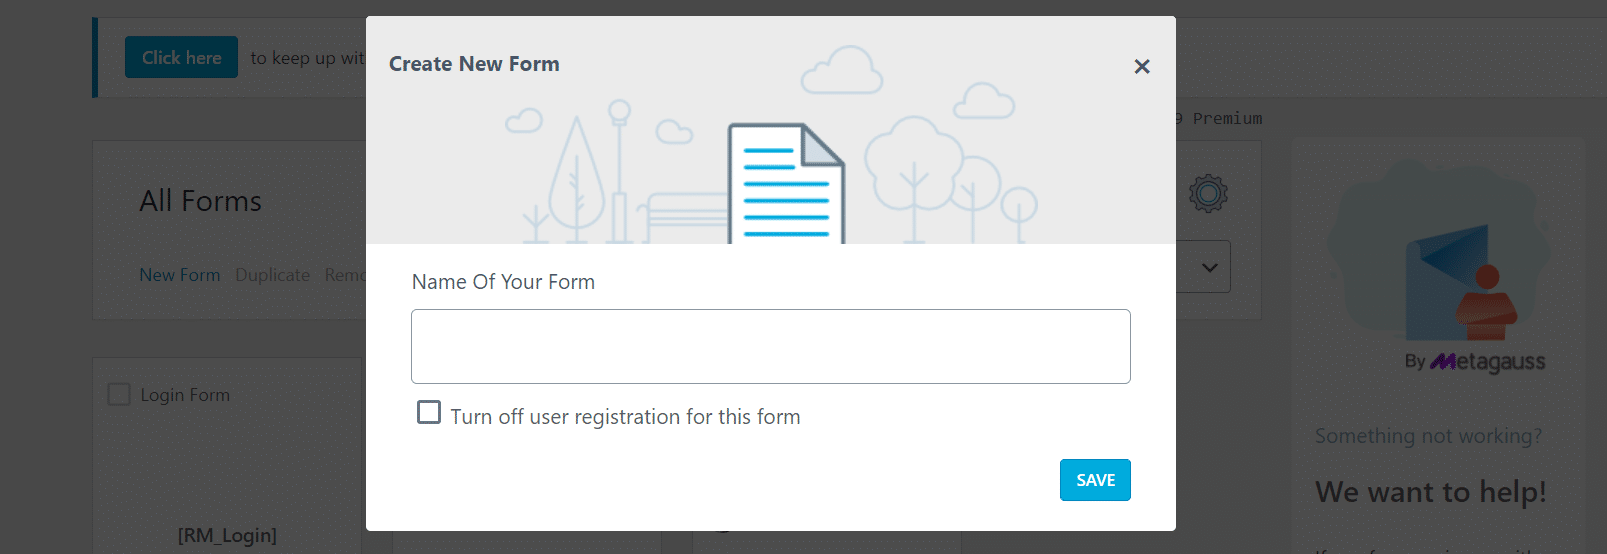
Step3: If you also want to accept user registration with this form, then don’t select ‘Turn off User Registration for this Form.’
Generally, registration and bulk WordPress order forms on WooCommerce are separately created, so you can select this option.
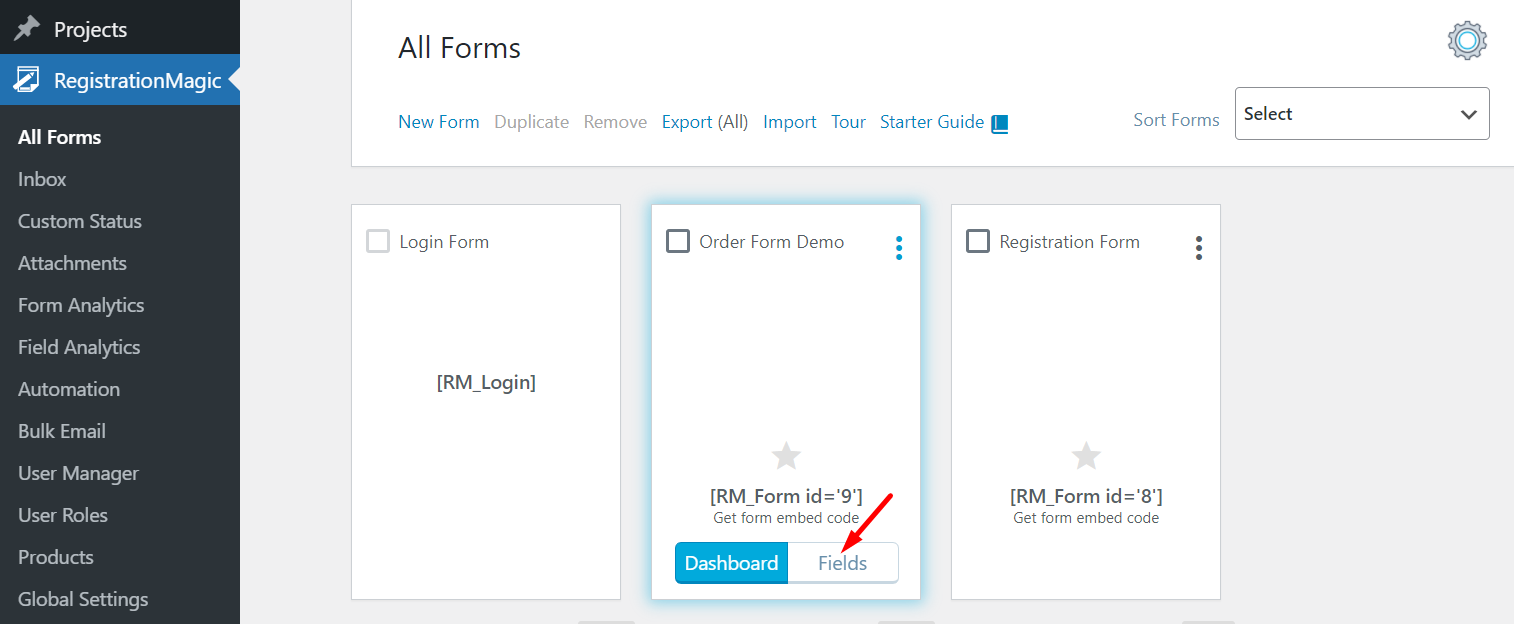
Step4: Now, Save the form. It will be created and added to the list of All Forms. From there, find your form and click on Fields.
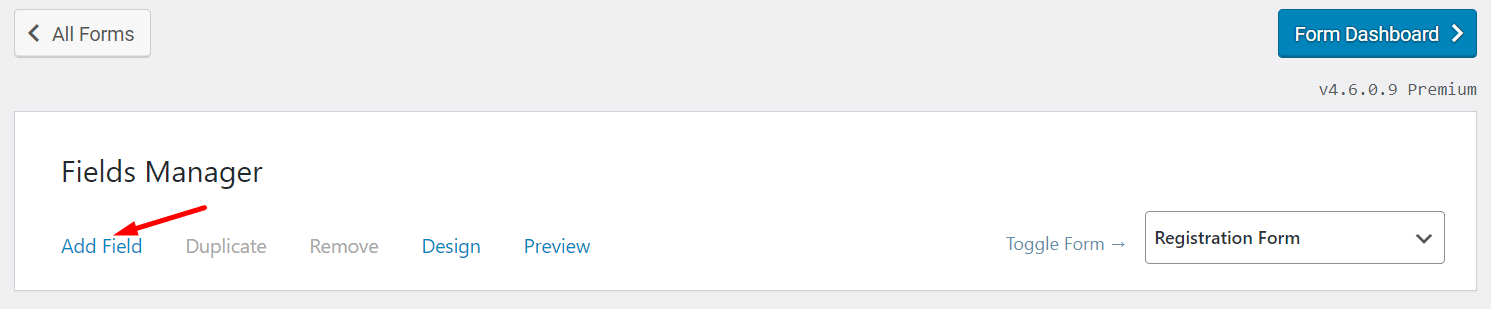
Step5: If you have chosen this as a Registration Form, then some fields are pre-added to your form.
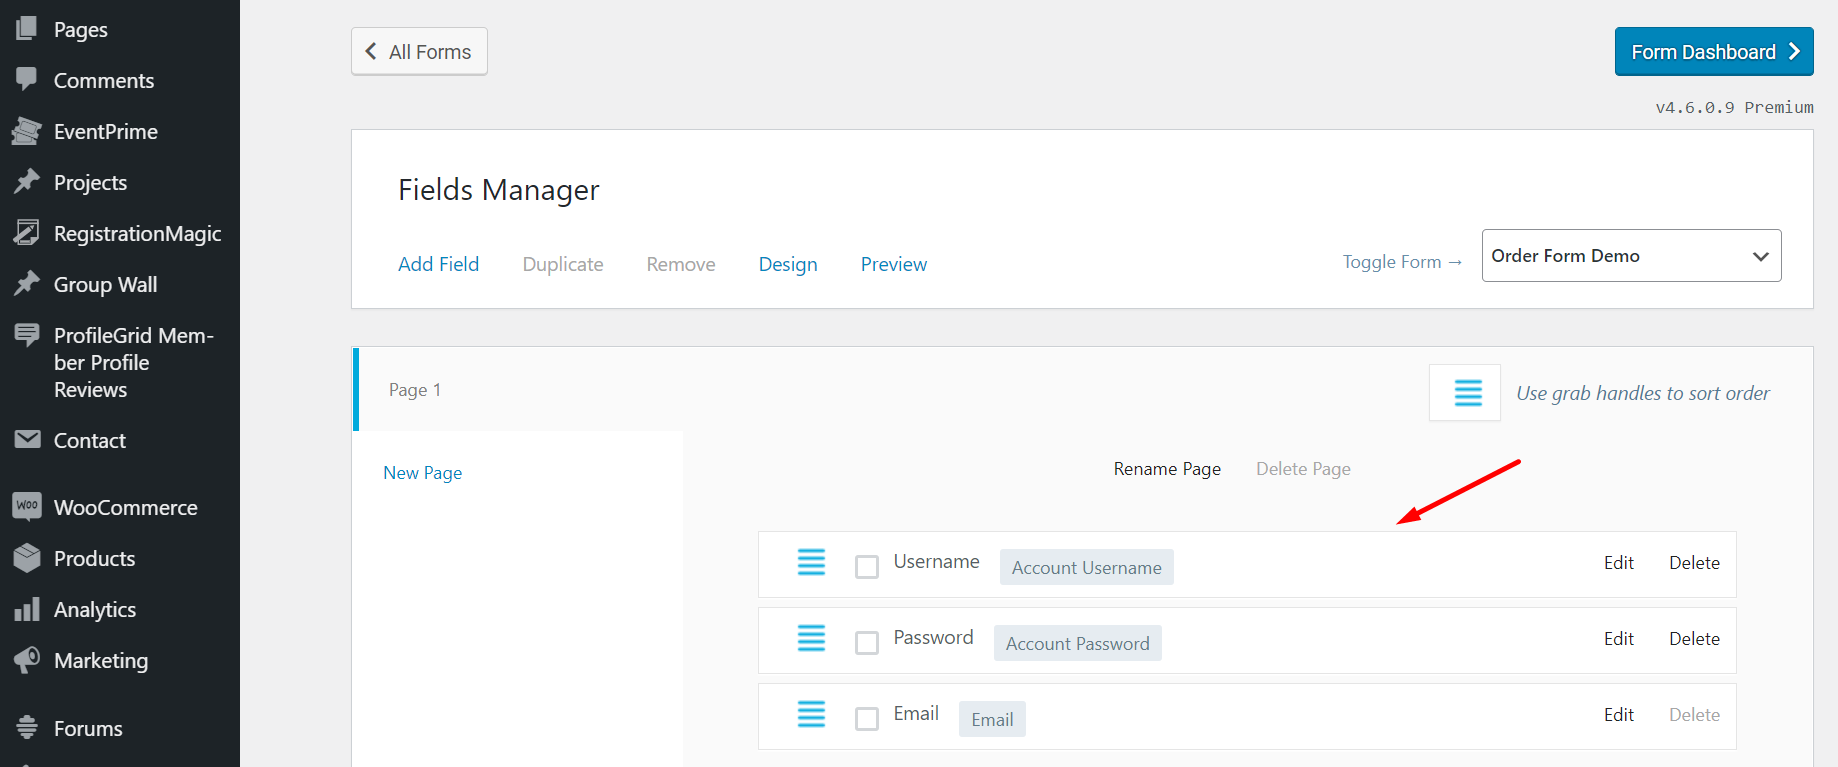
Step6: To add more fields, click on Add New and select field types.
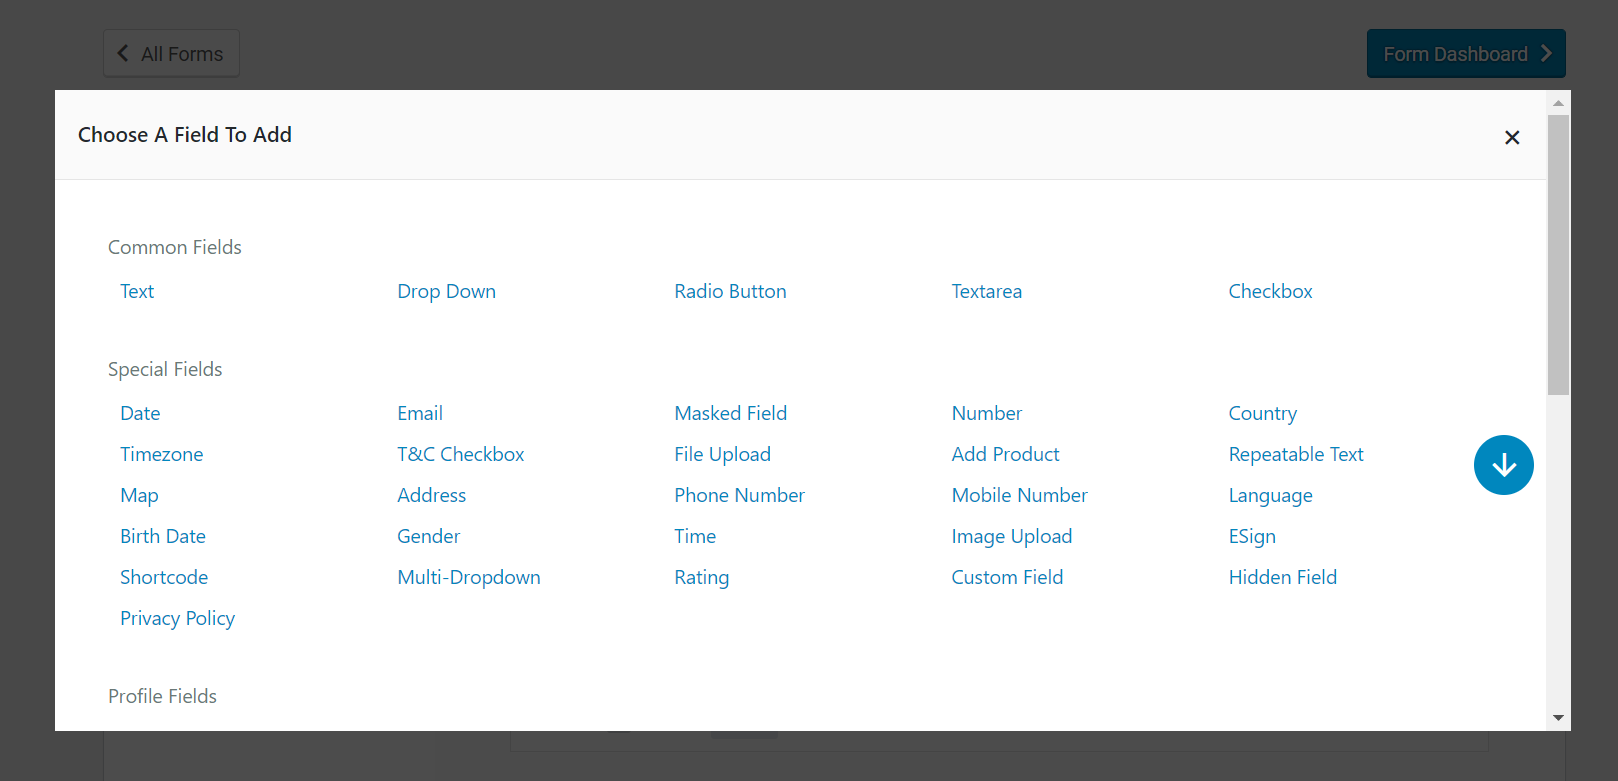
Step7: From the options, select one field and add its details. Once you have added the required fields, configure the payment options.
Adding Payment Mode
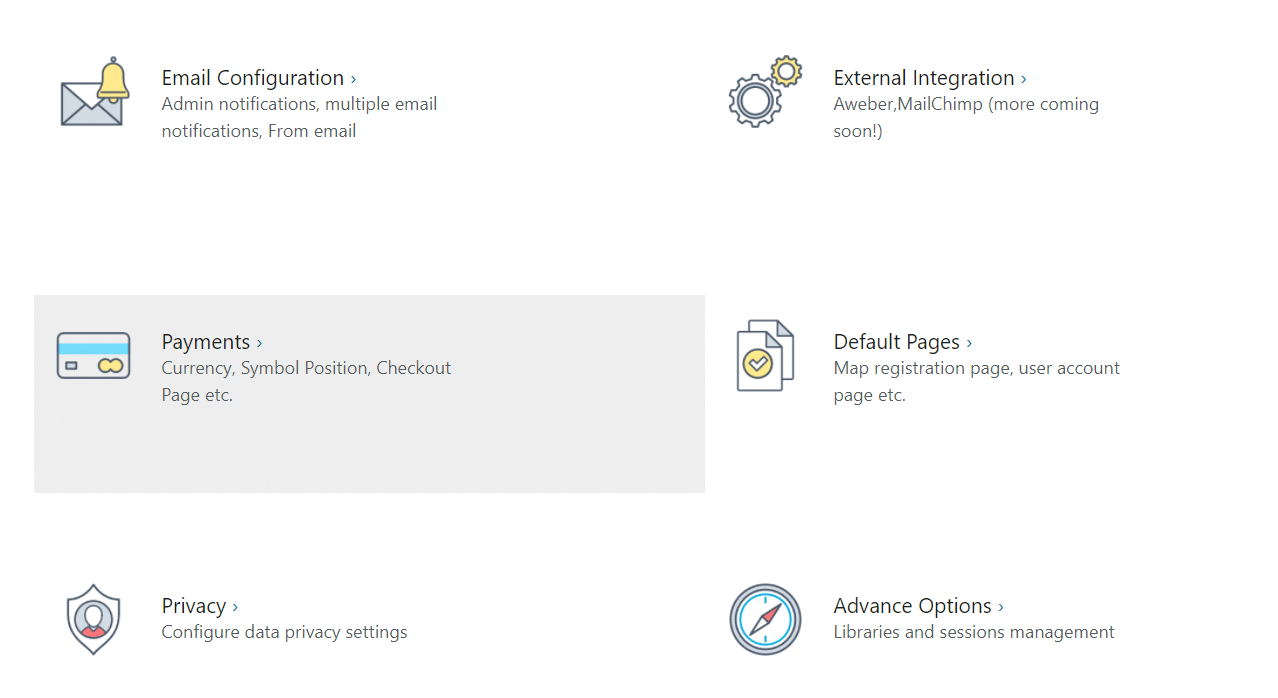
Step1: Find Global Settings under RegistrationMagic. On this page, you will find various options. From these options, select Payments.
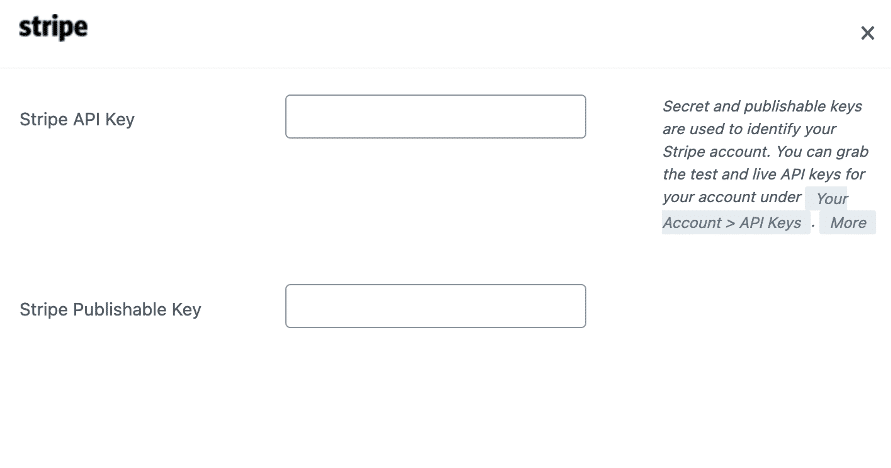
Step2: On the Payments page, you can Configure various payment types. For instance, if you click on ‘Configure’ of Stripe, then this page will appear.
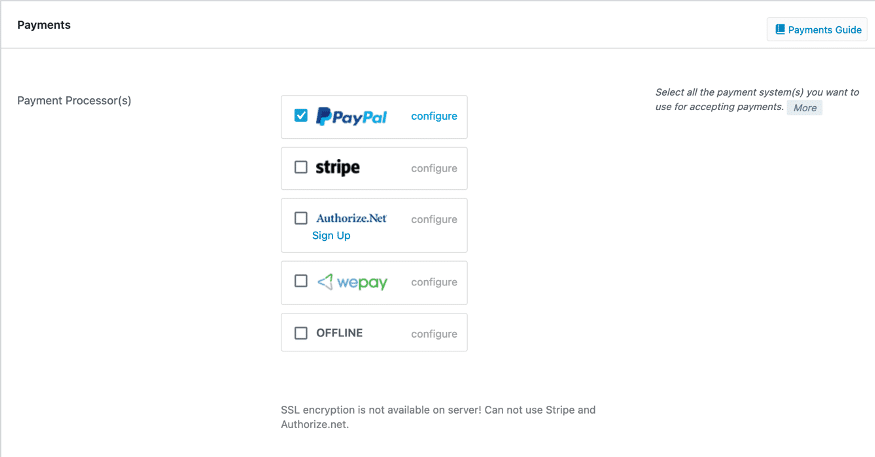
Step3: You need to add a Stripe API key to start using it.
Note: Similarly, you can add more than one payment type. This means that you can allow your users to pay using different methods. Here is how you can set up PayPal, Stripe, and Offline payment options on your forms.
Step4: After configuring payment, Save the details and move to the next step.
Creating a Product
Step1: Once you have added fields and payment mode, you need to create a product. After creating the product, we will assign this product to your simple WordPress Order form.
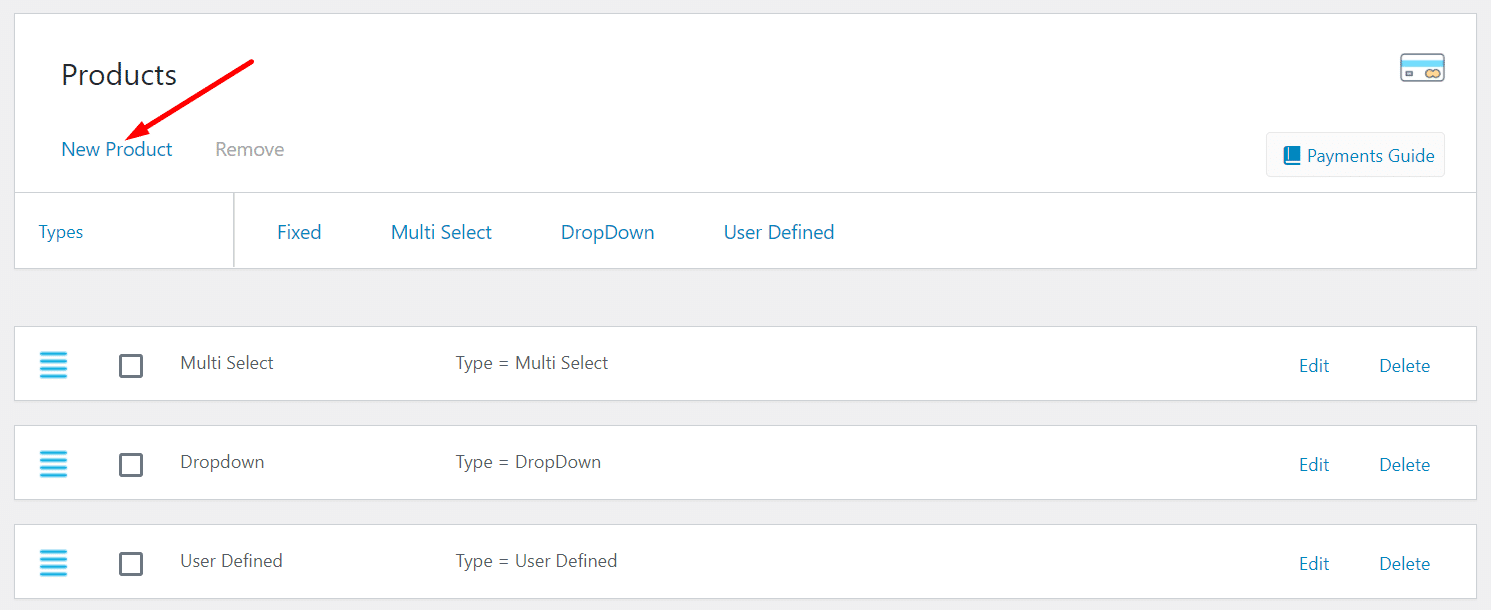
Step2: Under the RegistrationMagic menu, go to Products.
Step3: Click ‘New Product’ to add a new product to your list.
Step4: On the New Product page, add product pricing types. There are four Product Pricing Types, namely Fixed, Multi-Select, Dropdown, and User-Defined.
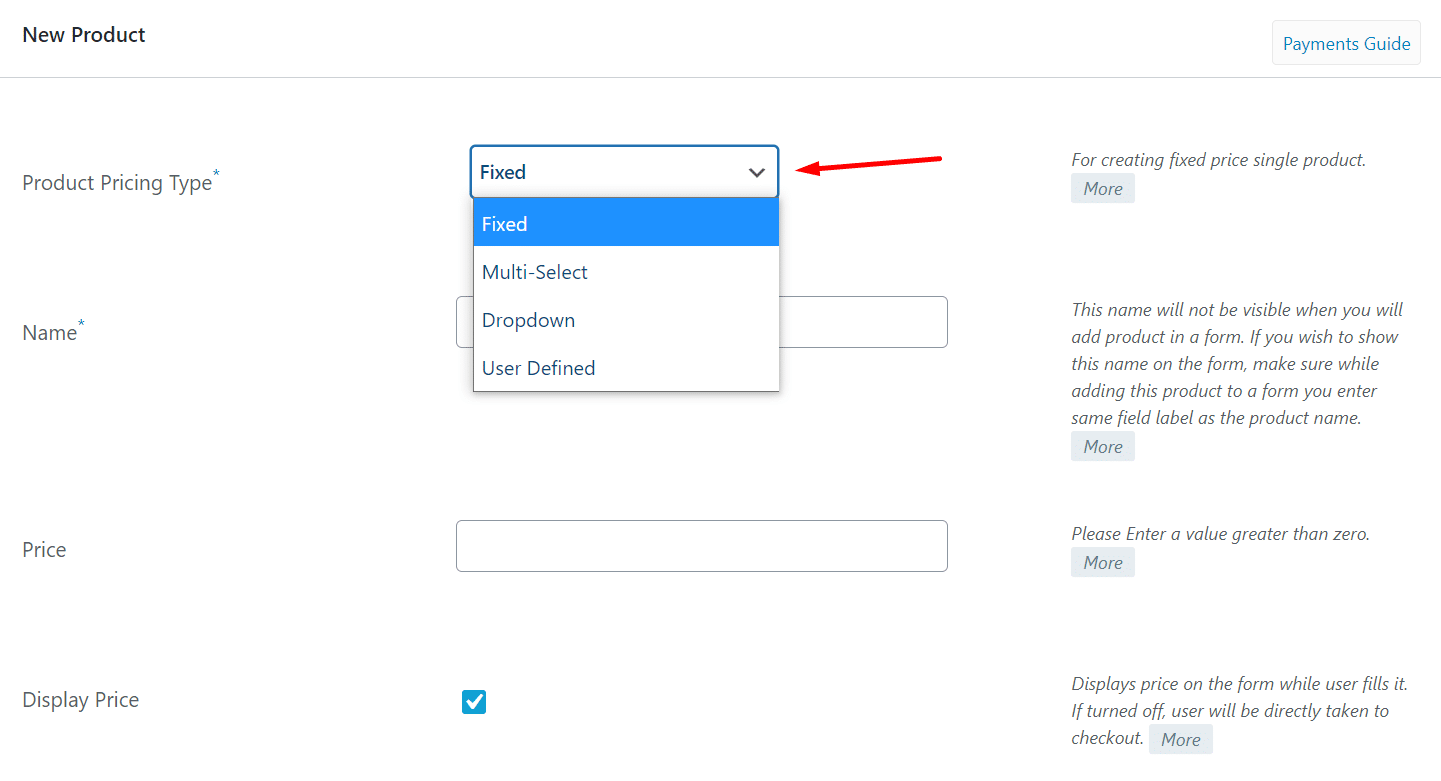
Step5: Now, add the Name of the product.
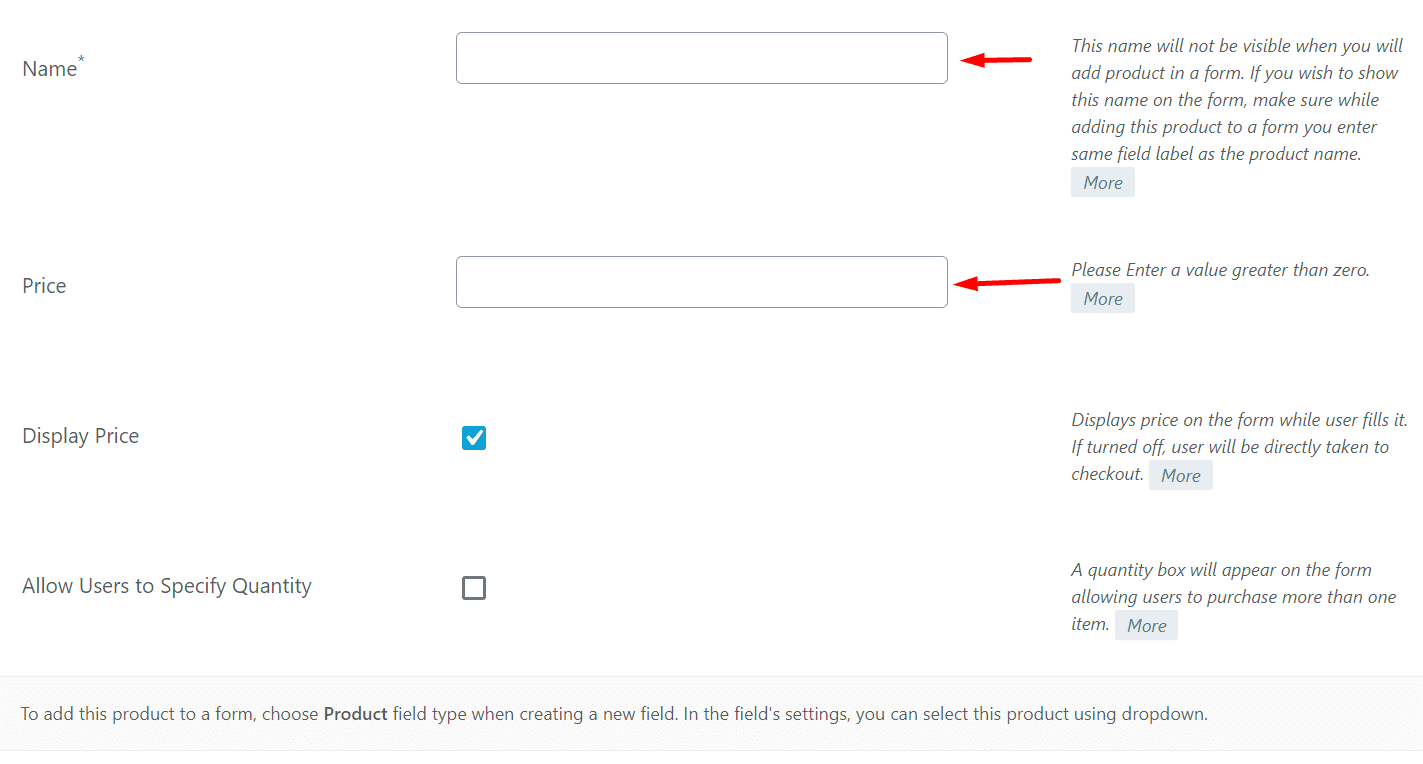
Step6: Finally, define the pricing of the product.
Step7: You can also allow users to specify quantity, which is useful when you are making WooCommerce bulk order forms.
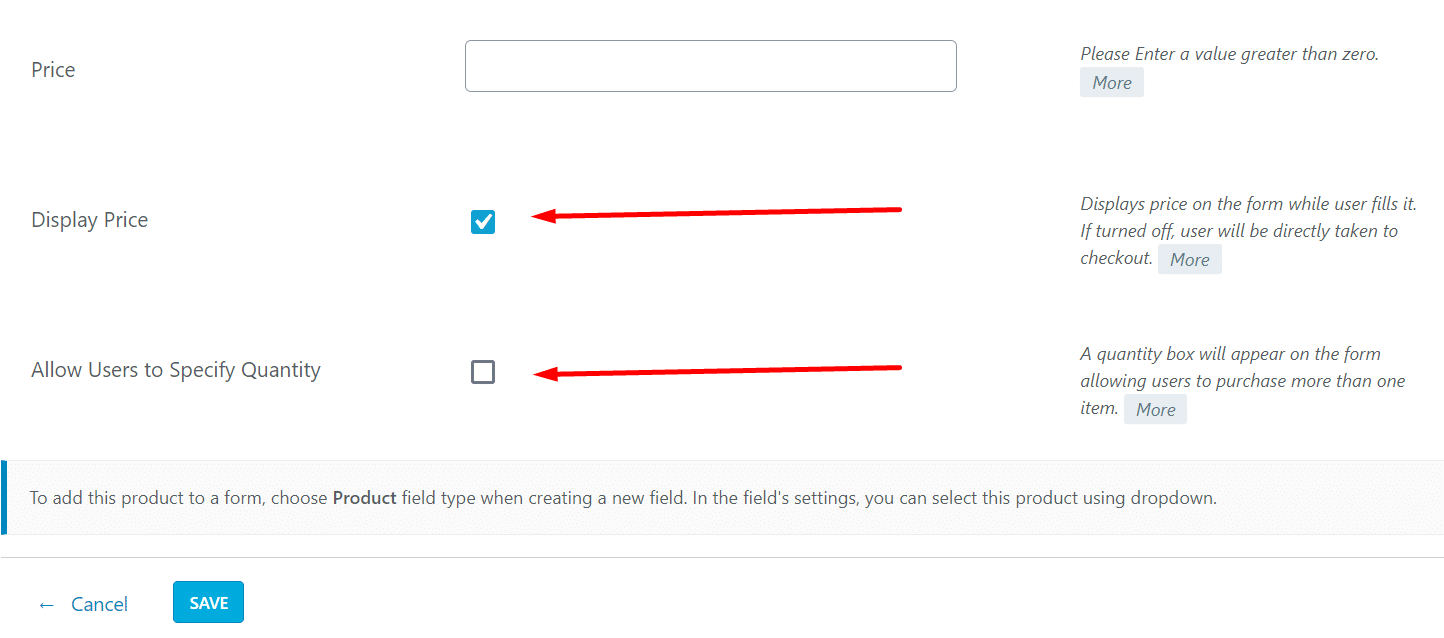
Step8: Once you are done configuring the WordPress product, Save it.
Similarly, you can create various products and add pricing to these products.
Assign Product to the Bulk Order Form
Step1: Go back to your WordPress Order form and Fields.
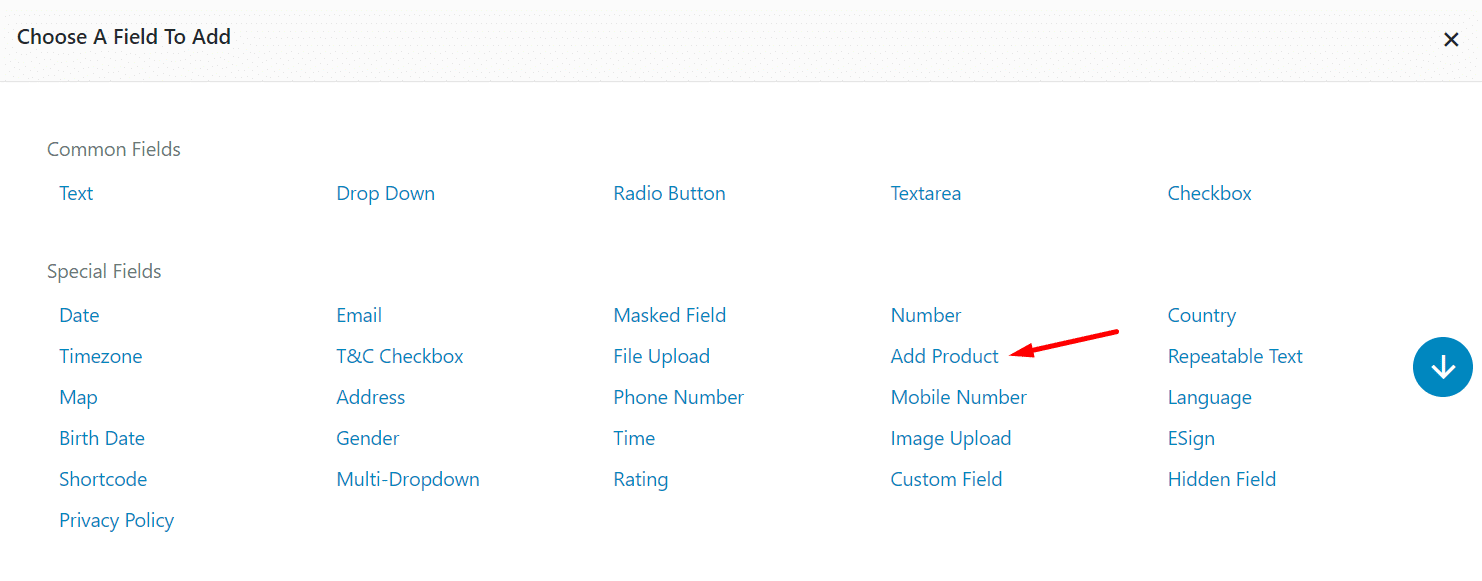
Step2: From Fields Manager, go to New Field and Add Product.
Step3: In the Add Product field, you can specify the Label of the product. For example, if you want to name this product A, you need to write A here.
Step4: From the drop-down of Select Product, select Product A that we have created above.
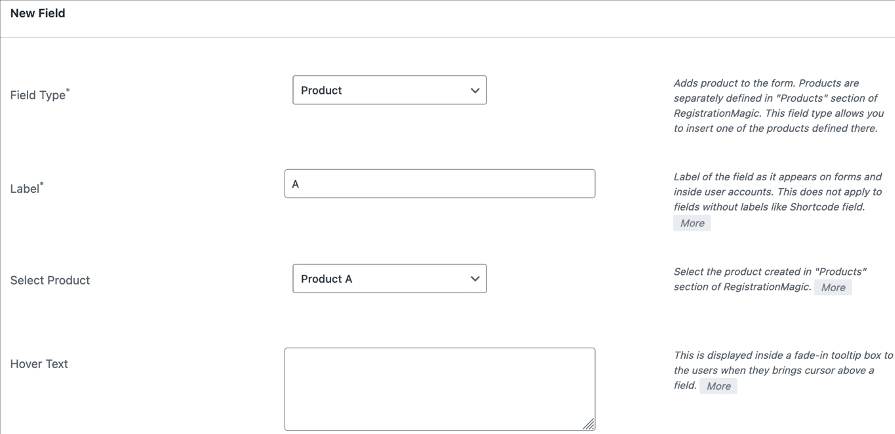
Step5: You can also use a hover text, shown when a user brings the cursor to a field.
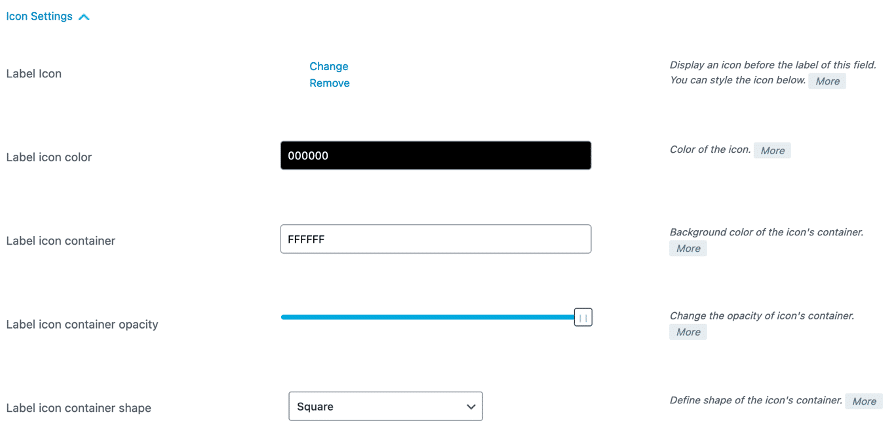
Step6: Further, you can change the icon of your product. It is possible to define the color, opacity, and shape of the container.
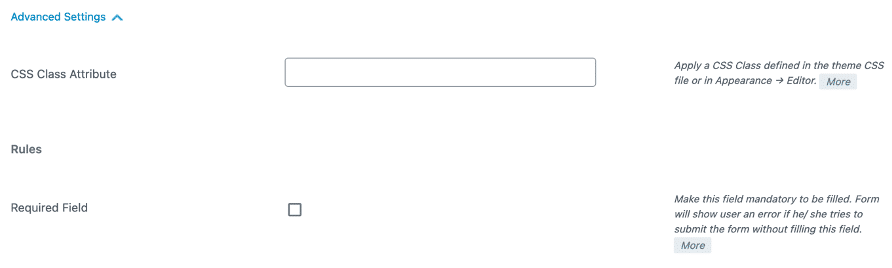
Step7: Lastly, under the Advanced Settings, you can define the CSS Class Attributes, Rules, etc.
Step8: Once you have added the product to your form, click on Save. Similarly, you can add as many products to your WordPress custom order form as you like.
Step9: To publish the form, copy the form shortcode, create a new page, paste the shortcode and publish.
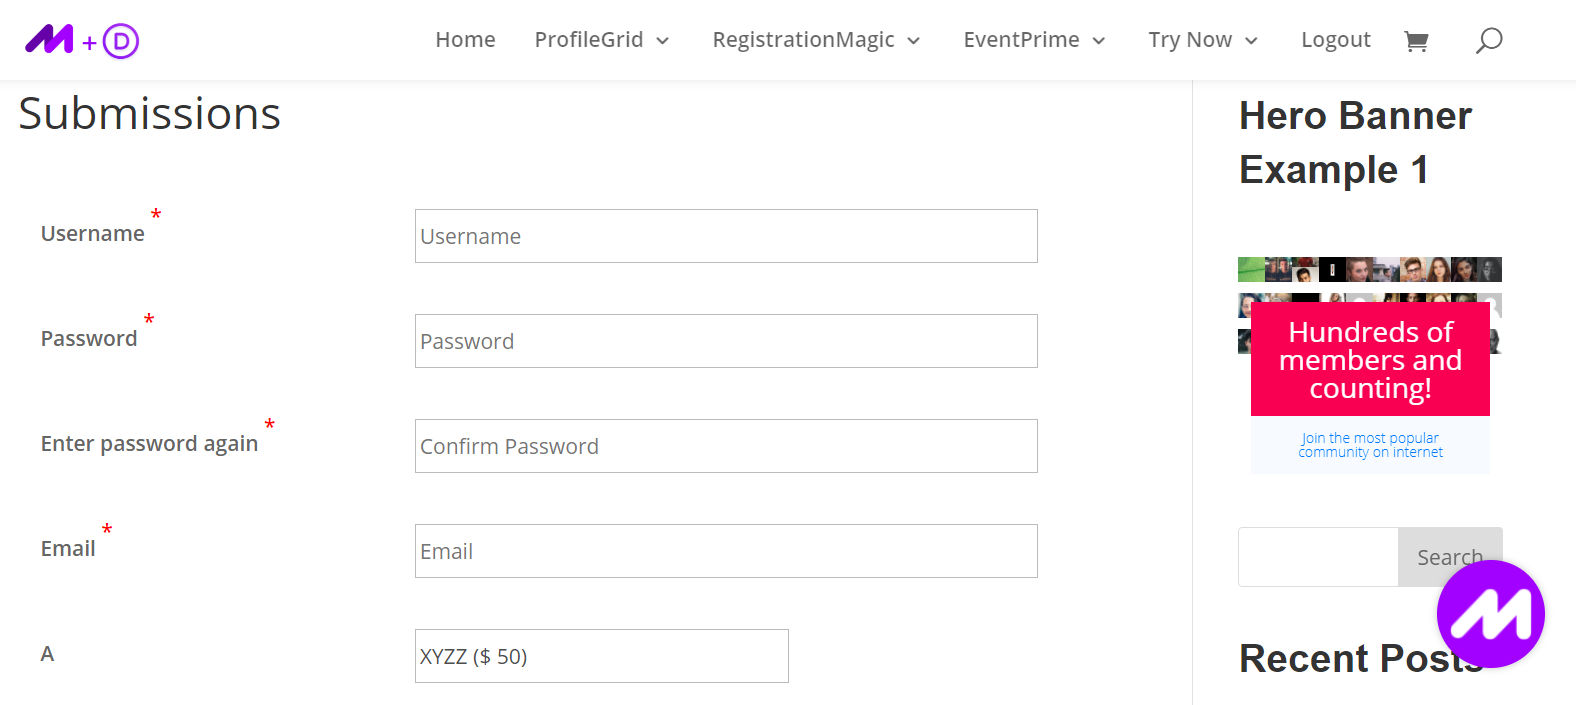
Frontend Example of WordPress Order Form
This is how your WordPress custom order form will look on the frontend after publishing it:
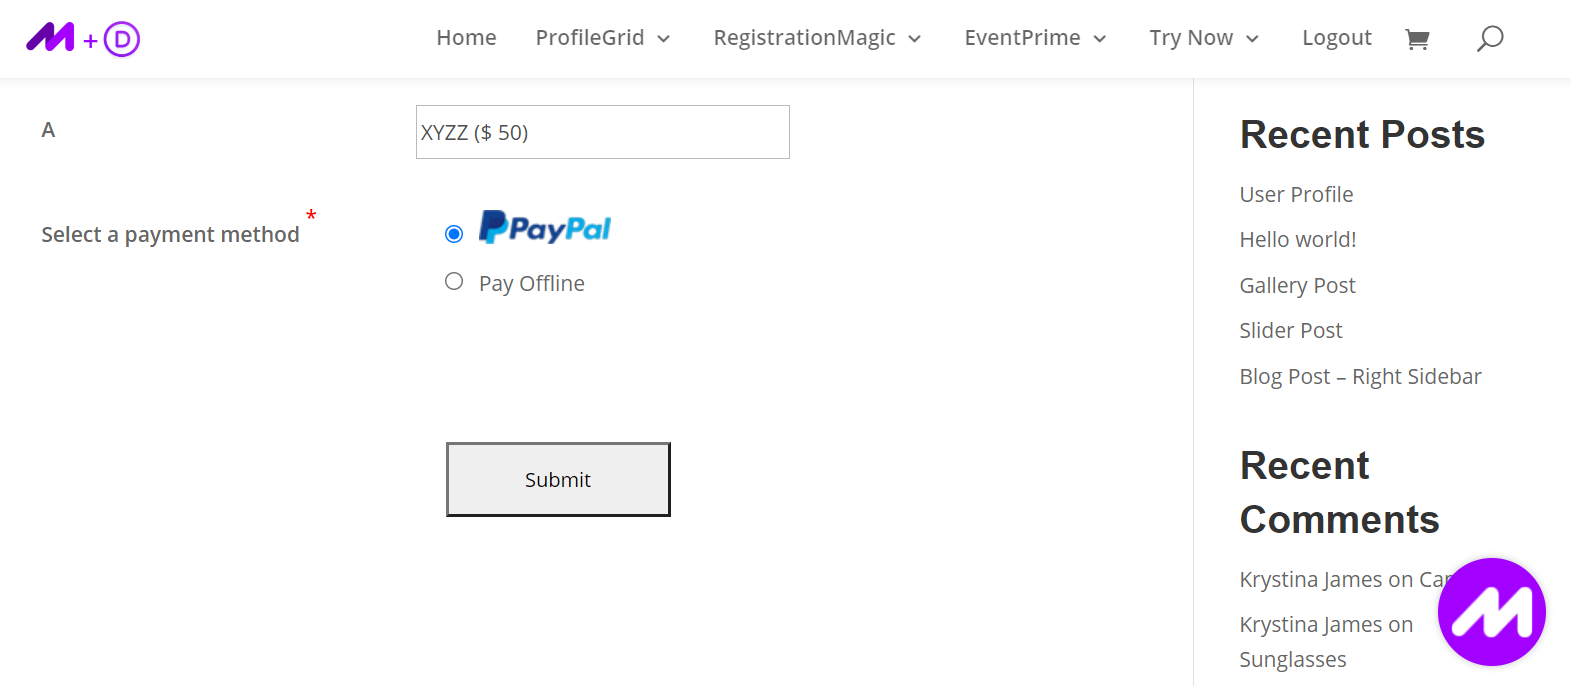
Here you can see the payment options that you added to the form:
Concluding
Creating an online WordPress order form has a range of benefits. You get to accept bulk orders, reach out to new buyers, and improve supply chain management.
Utilize the RegistrationMagic plugin to create and seamlessly manage online WordPress order forms with payment.
For further queries, you can reach out to us in the below comment section. We will get back to you with answers.
- How to Manage User Registration Status in WordPress - August 8, 2023
- Send Emails to Registered Users in WordPress with Ease - August 6, 2023
- How to Create a User Registration Form on WordPress - September 22, 2022
- Registration Based WordPress Contact Form Plugins - September 15, 2022
- Create a Job Application Form on WordPress Website- In Depth Guide - September 14, 2022
- How to create an efficient Marriage Registration Form in WordPress - November 26, 2021
- How to make a flexible vendor registration form for your business - November 24, 2021
- Creating a Smart Membership Form for Your WordPress Website - November 22, 2021
- How to create a digital Preschool Registration Form - November 18, 2021
- How to make a creative Dance Registration Form with RegistrationMagic - November 16, 2021