Guide to Publishing Forms WordPress Page Builder Plugin
A WordPress Page Builder plugin offers multiple themes and layouts to format your default form. So you get the option to make your form versatile, thus packing in more functionalities.
With a WordPress Page Builder, you can create a page on your site with multiple rows and columns. A Page Builder plugin offers users the easy way to create custom layouts for their sites. Further, you can organize the content in a more dynamic way by dividing the page into sections.
The drag and drop interface of Page Builder allows you to add features using no code. Page Builder will take care of the coding part. Page builder doesn’t restrict you with pre-defined layouts. You can include rows and columns and customize manually.
There are quite a few Page builder WordPress plugins, among them we will work with the SiteOrigin plugin (as an example). One can apply the rules of this tutorial to any WP page builder system.
So, let us now discuss the steps that will help us publish RegistrationMagic’s registration form through WordPress Page Builder.
RegistrationMagic Form Building
First, let’s spend a few words for the WordPress user registration plugin, RegistrationMagic. Once you install RegistrationMagic, you are sure to convert your default forms into dynamic ones with multiple user data fields. There are ample options to take care of the WordPress form security, payment, design etc. Besides, you can choose to publish the form with shortcodes as well as HTML codes.
Every form that one creates through this plugin comes with a unique shortcode on the All Forms page.

Users just have to copy this shortcode. Then go to a new WordPress page and paste it over there. Finally, after naming the page and publishing it users can very simply, display WordPress form using shortcode.
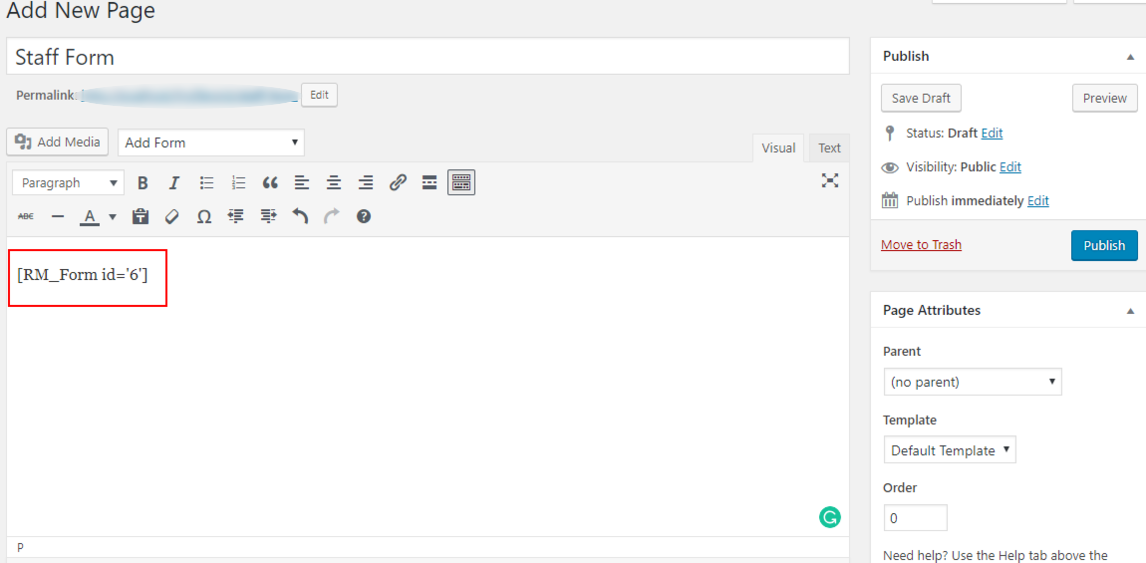
RegistrationMagic formats the page on its own so that you don’t need to design it. But, if you want to customize your form page then using a WordPress Page Builder plugin is a good option.
Installing the Page Builder and Activating it
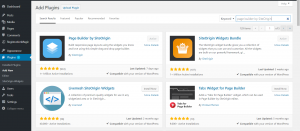
Firstly, from your WordPress dashboard go to Plugins. Click on “Add New” and search for “Page Builder by SiteOrigin”. Then, click on the “Install Now” button.
The screenshot shared below is minus the “Install Now” and “Activate” buttons since the plugin is already active here.
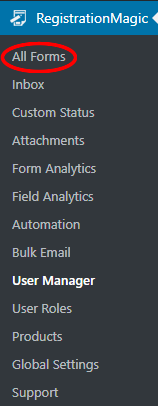
Next, click on the “All Forms” link to land on the All Forms page of RegistrationMagic.
Copy the shortcode from a form cover that we earlier showed in the first image.
Publishing WordPress Form with Page Builder
Now go to the Pages section of WordPress and click on Add New. Create a fresh page and label it as anything you want your form name to be. This is the page that will display your WordPress registration form.
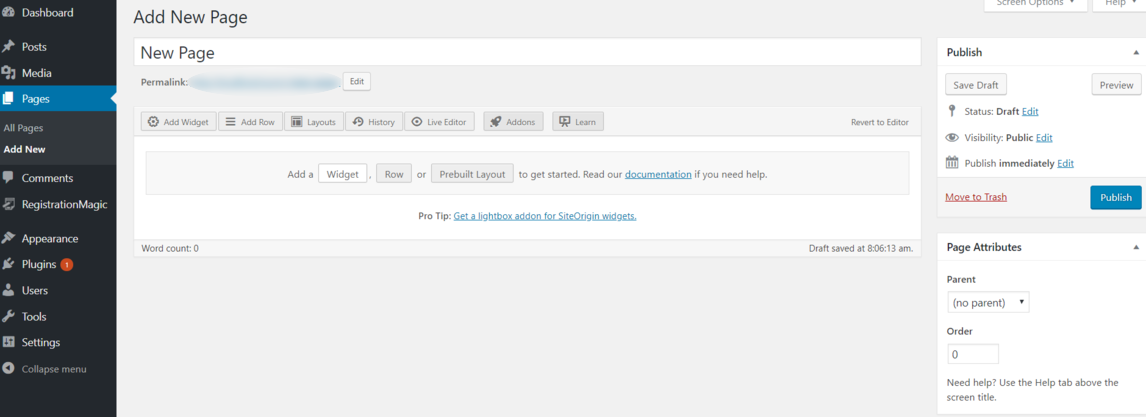
Here, you will notice a “Page Builder” tab on the right side of the page composer box with other options as Visual and Text. Click on it and you will see a new setup with options to add widgets, rows or preset layouts.
Click on “Widget” and then look for the RegistrationMagic Form widget. After creating a form with this plugin, you will find a RegistrationMagic form widget in the list of widgets.
This widget will offer you the option to select your desired form, without the need of using any shortcode.
You can also look for a “Text” widget. You will find the Text widget at the bottom corner of the “All Widgets” page.
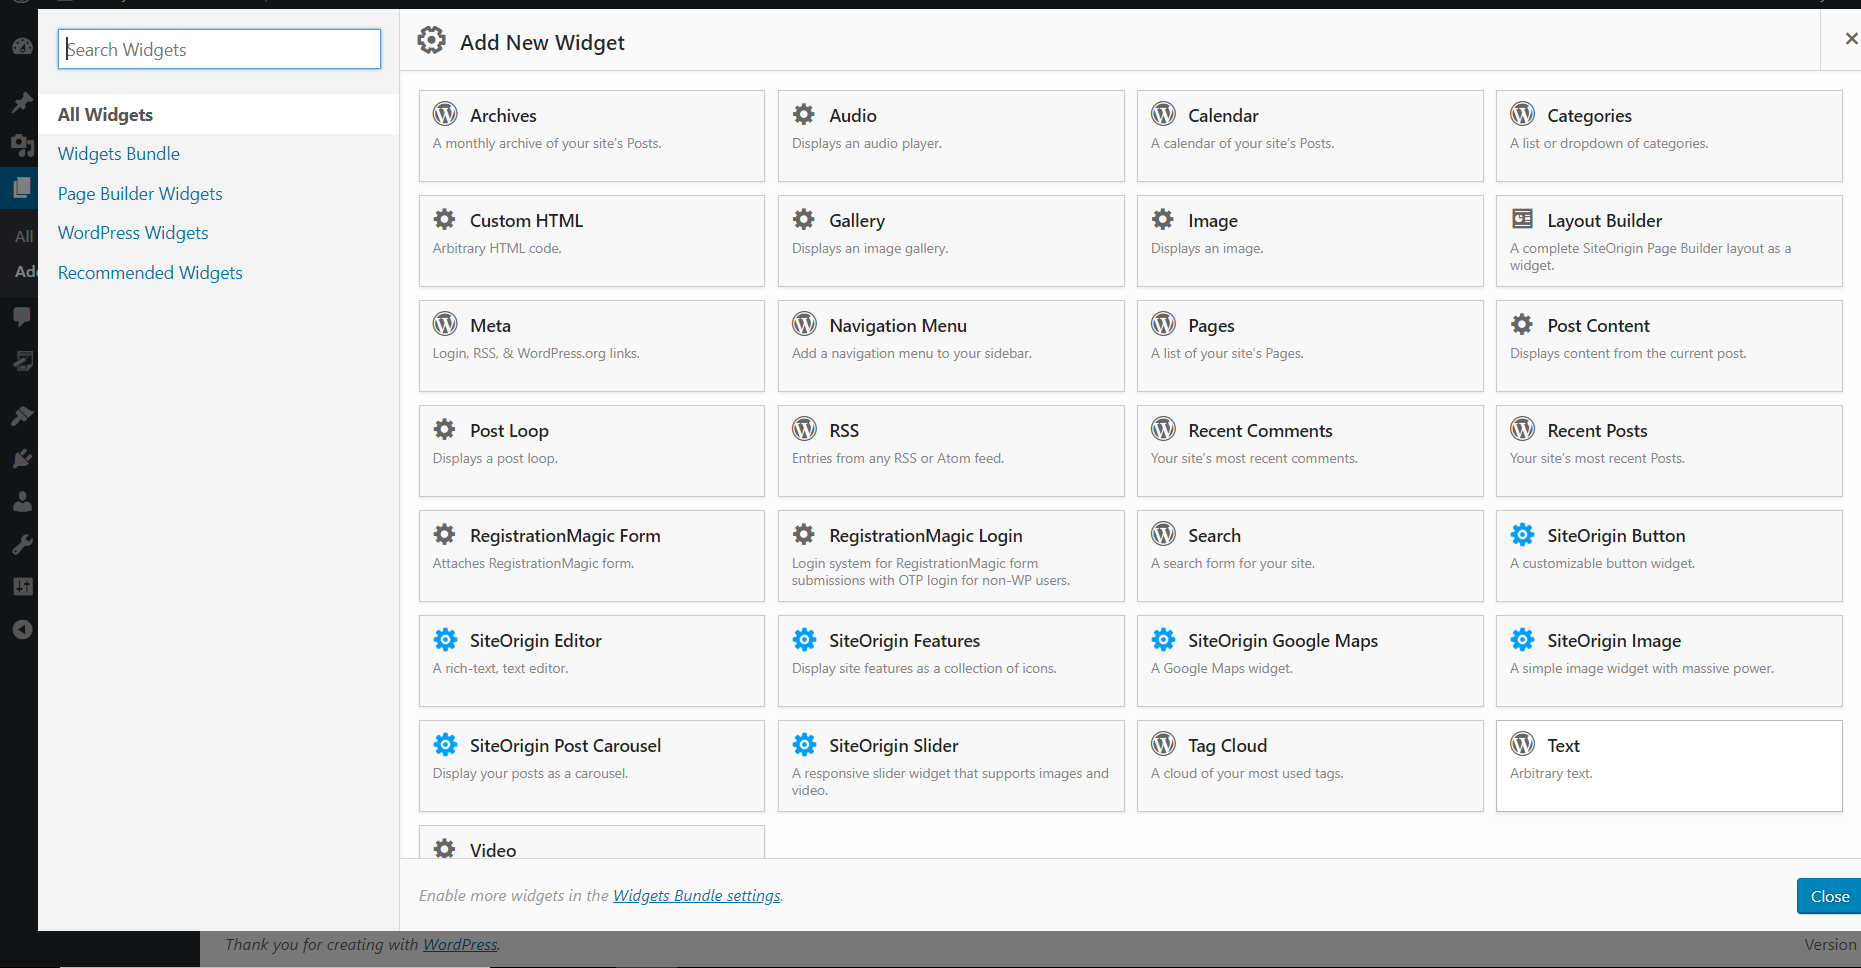
By clicking on the text widget, you will go back to the New Form Page. Only, now this page will show you a Text Widget.

When you click on the Edit link on the Text widget, you will find a box open up with a title and content section. Now, paste the shortcode here that you copied from the form cover of the All Forms page.
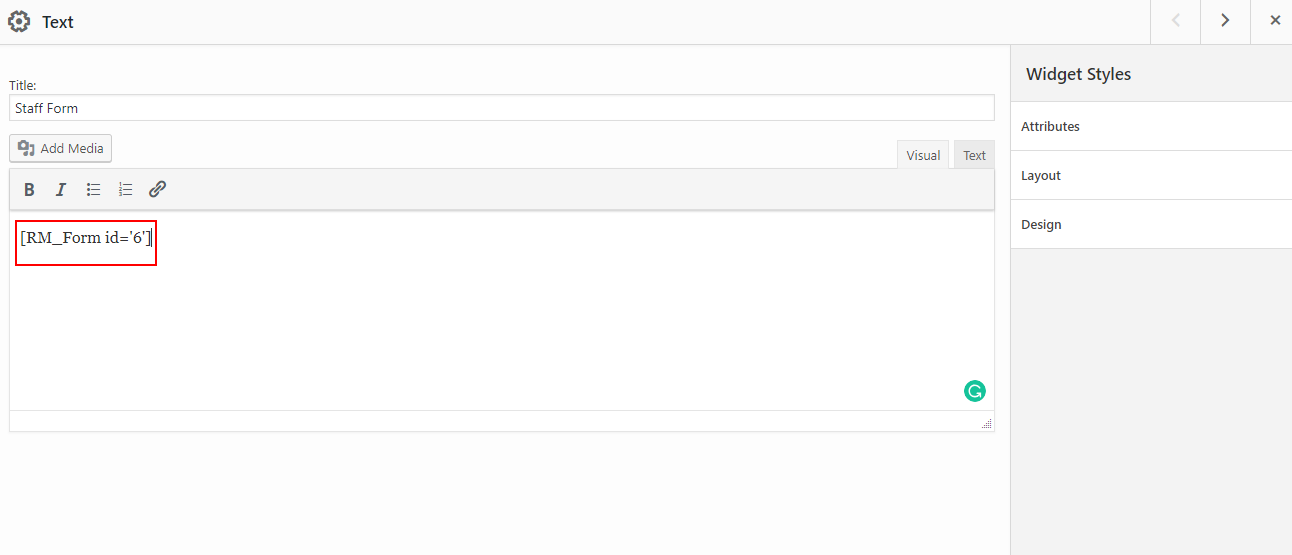
Next, click “Done” and then “Publish” the page.
Click the link just below the heading of your page, named as View Page. This will take you to your form which just published with the WordPress Page Builder plugin.
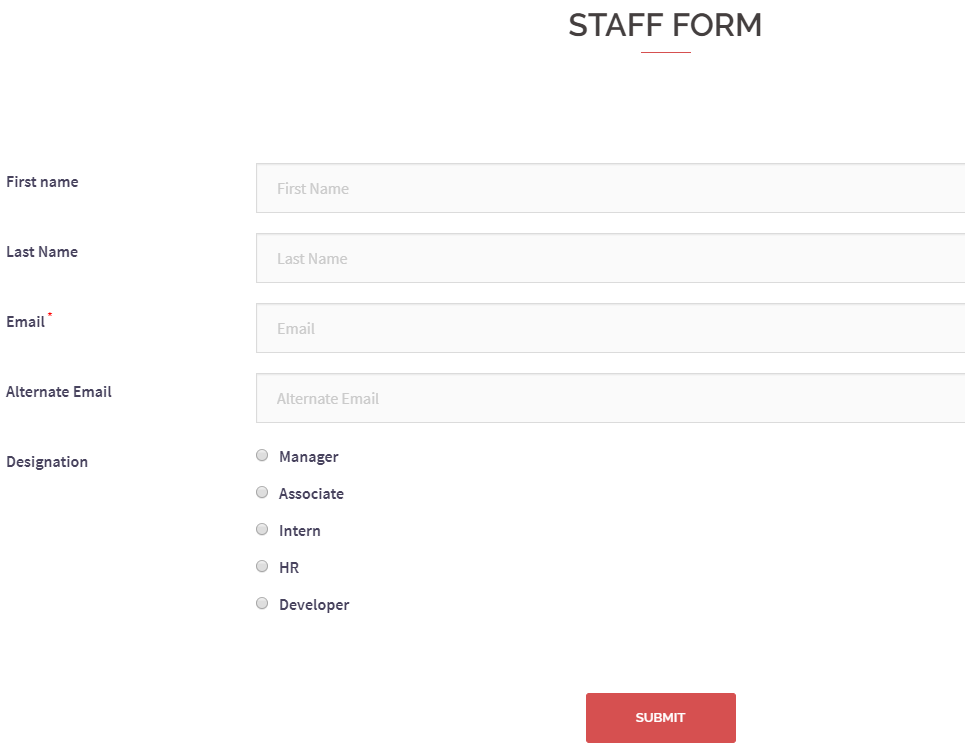
So, you see, it was quite an easy task to publish a form with the WP page builder. From ready form layouts to design options, there are various features to create an efficient form with it.
Ease of the WordPress Page Builder
To talk about the benefits of Page Builder we will first take up its coolest feature of packing up layouts, alignments, designs etc in one page. You don’t need any form builder plugin if you have the WordPress page builder installed in your site. From social sharing buttons, content grids, to image uploads, pricing, pie charts etc. there are many scopes for your forms.
Also, there is no need of coding to create a page on site. It’s drag and drop feature makes this possible. Any module that you want to add to your page comes in hand. Just arrange and resize them to design your page.
Besides, without being a pro coder you can design your form or site the way you want. You can add extra headers or a login tab in any page of the site.
So, you see, the WordPress Page Builder plugin offers you an empty canvas where you are free to design your site in any way. Thus, helping you to open up more scopes for your online business. Besides, you can add a price list, products, etc. on your site. Hence, Page Builder plugins are your answer to make your site stand out among others with its uniqueness.
- Complete Automation Guide for WordPress Forms - July 20, 2024
- WordPress User Management Plugin Guide - July 18, 2024
- Add CAPTCHA in WordPress Login and Registration Form? - July 16, 2024
- How to Send Automated Welcome Emails in WordPress - July 15, 2024
- WordPress User Roles, Permissions & Role Editor [Complete Guide] - July 14, 2024
- How to Display Custom Success Message in WordPress Forms - July 12, 2024
- Publish Registration Forms and Display Registered Users - July 11, 2024
- How to Approve WordPress User Accounts Without Logging Into Dashboard - January 25, 2021
- How to Set up Two Factor Authentication in WordPress - April 4, 2019
- How to Edit or Replace Default WordPress Registration Form - April 2, 2019

How do I change / customize the layout of the form fields?
The layout of the form fields can be changed by going to RegistrationMagic > global settings > general settings > set the ‘layout’ here and save it.