Add Input Mask Fields with RegistrationMagic
You add Input Mask fields on WordPress forms to hide user data that are not meant for the public. Since your users trust you with their data it is your duty to maintain their privacy. This way you can gain user confidence so that they keep coming back to you on the ground of reliance.
Users often enter confidential data while filling up a registration form. As a site admin, it is your job to secure that data and not expose it to others. To do so, you need to customize your WordPress forms so that they can take extensive user data. You will find several WordPress form builder plugins to add extra user data fields on your form. But only a few will allow you to use the Input Mask field to keep user data private.
The RegistrationMagic plugin offers Masked Fields to add to your WordPress forms. Masking is mainly done to protect data, which might be sensitive or personal. User data ranging from phone numbers, dates, card details, account numbers or tax ID can fall in this category. As an extra security measure, you can mask confidential user data so it stays invisible in the browser.
As I told you earlier, RegistrationMagic lets you add custom Fields and Widgets to make dynamic forms. The Fields will help you to gather user data while the Widgets let you display data fields on the form.
The Input Mask is also a custom field of this WordPress form builder plugin. So let’s learn how to mask user input in WordPress forms with RegistrationMagic.
Navigating to the Masked Field
First, install the RegistrationMagic plugin and activate it. You will then find the plugin menu on your dashboard. From here, click on the All Forms link to land on the All Forms page.
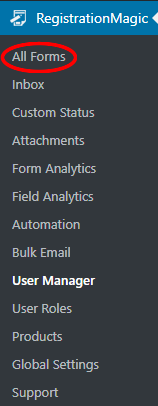
The All Forms page shows you all the forms that you create through this plugin. Now, as you hover your cursor over each form cover, you will find two links at the two bottom corners. These are Fields and Dashboard.
From the Dashboard link, you can take care of the WordPress form payment, security, design etc. While the Fields link will let you add and manage custom fields on your form. So, click on the Fields link to Input Mask field to WordPress forms.

Now, you are on the Field Manager page. Here you will find all the forms that you will add to a certain form. All the fields that you add to each form stay unique to them.
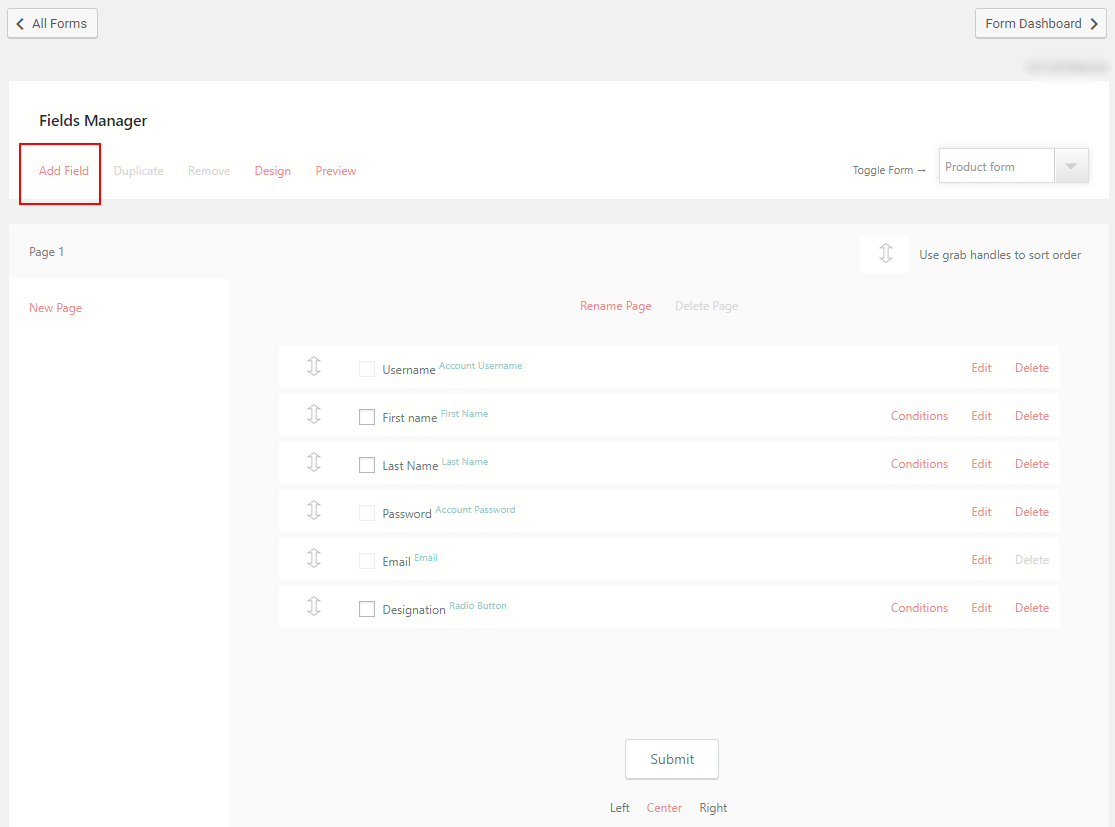
From here, click on the Add Fields link at the top left corner of the page. You will find a pop up opening up with all the preset fields and widgets of this plugin.
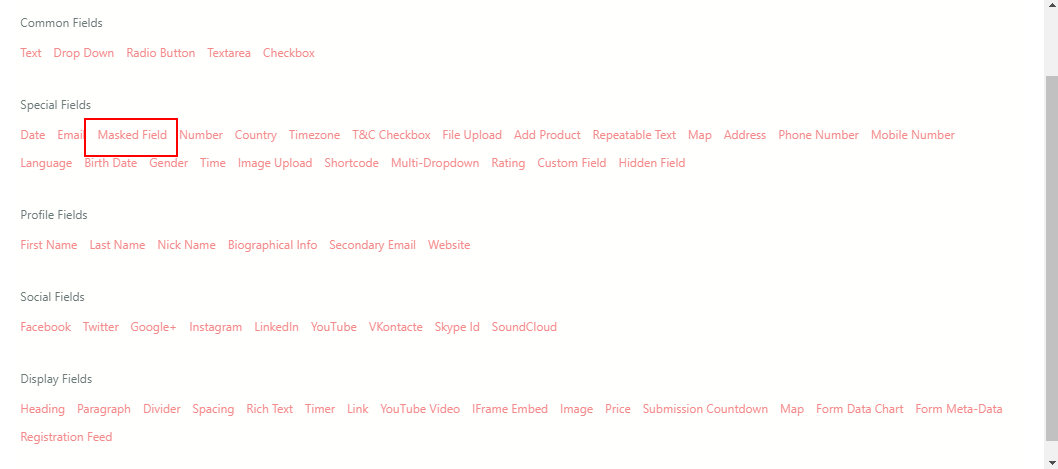
Click Add Field. Then, click on “Masked Field” field under “Special Fields”. This field here acts as the Input Mask field on your form.
The Special Fields offer other user data fields such as time zone, country, mobile number, file upload etc.
Customizing the Masked Field
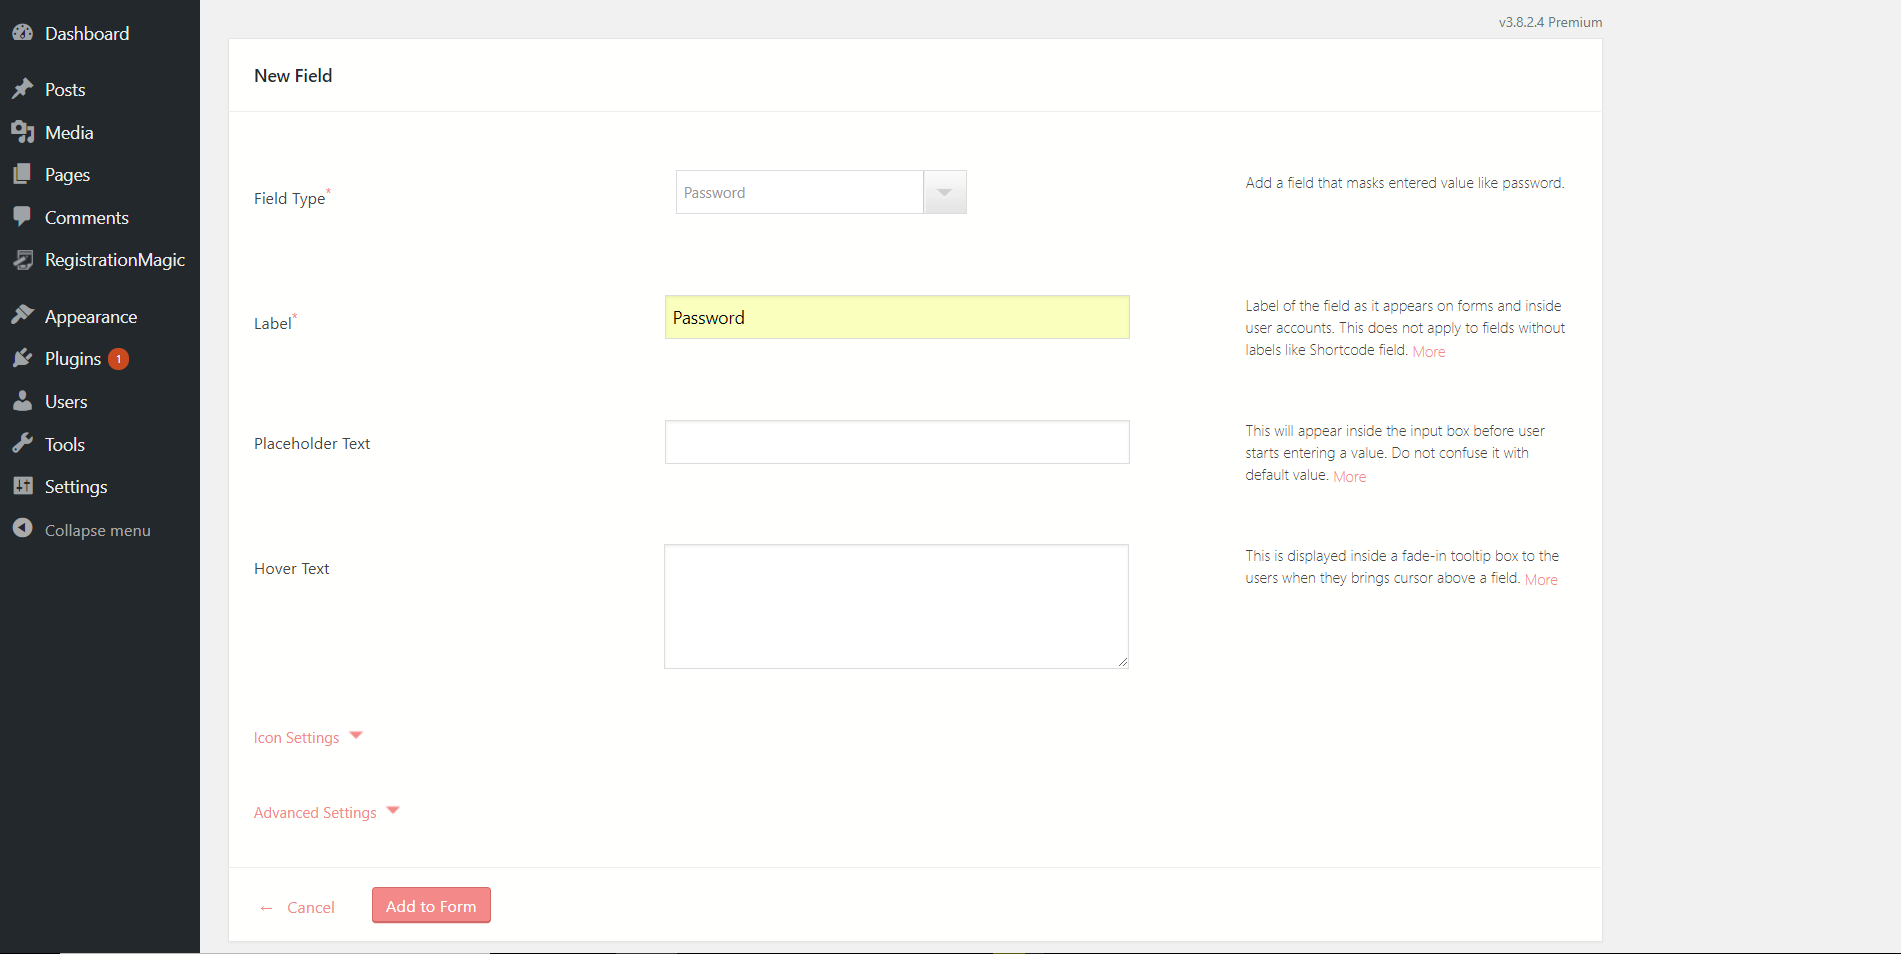
After clicking on the field you will land on the New Field settings page. From here, you can format the way your field should look on the form.
First, select the Field Type. This will let your Input Mask to hide like the password field on your form.
Then, add the“Label” as Masked field so that it can define the field in the Field Manager page. The next setting is the Placeholder text. This text will appear on your form to your users.
Next, move along the page and click on Advanced Settings.
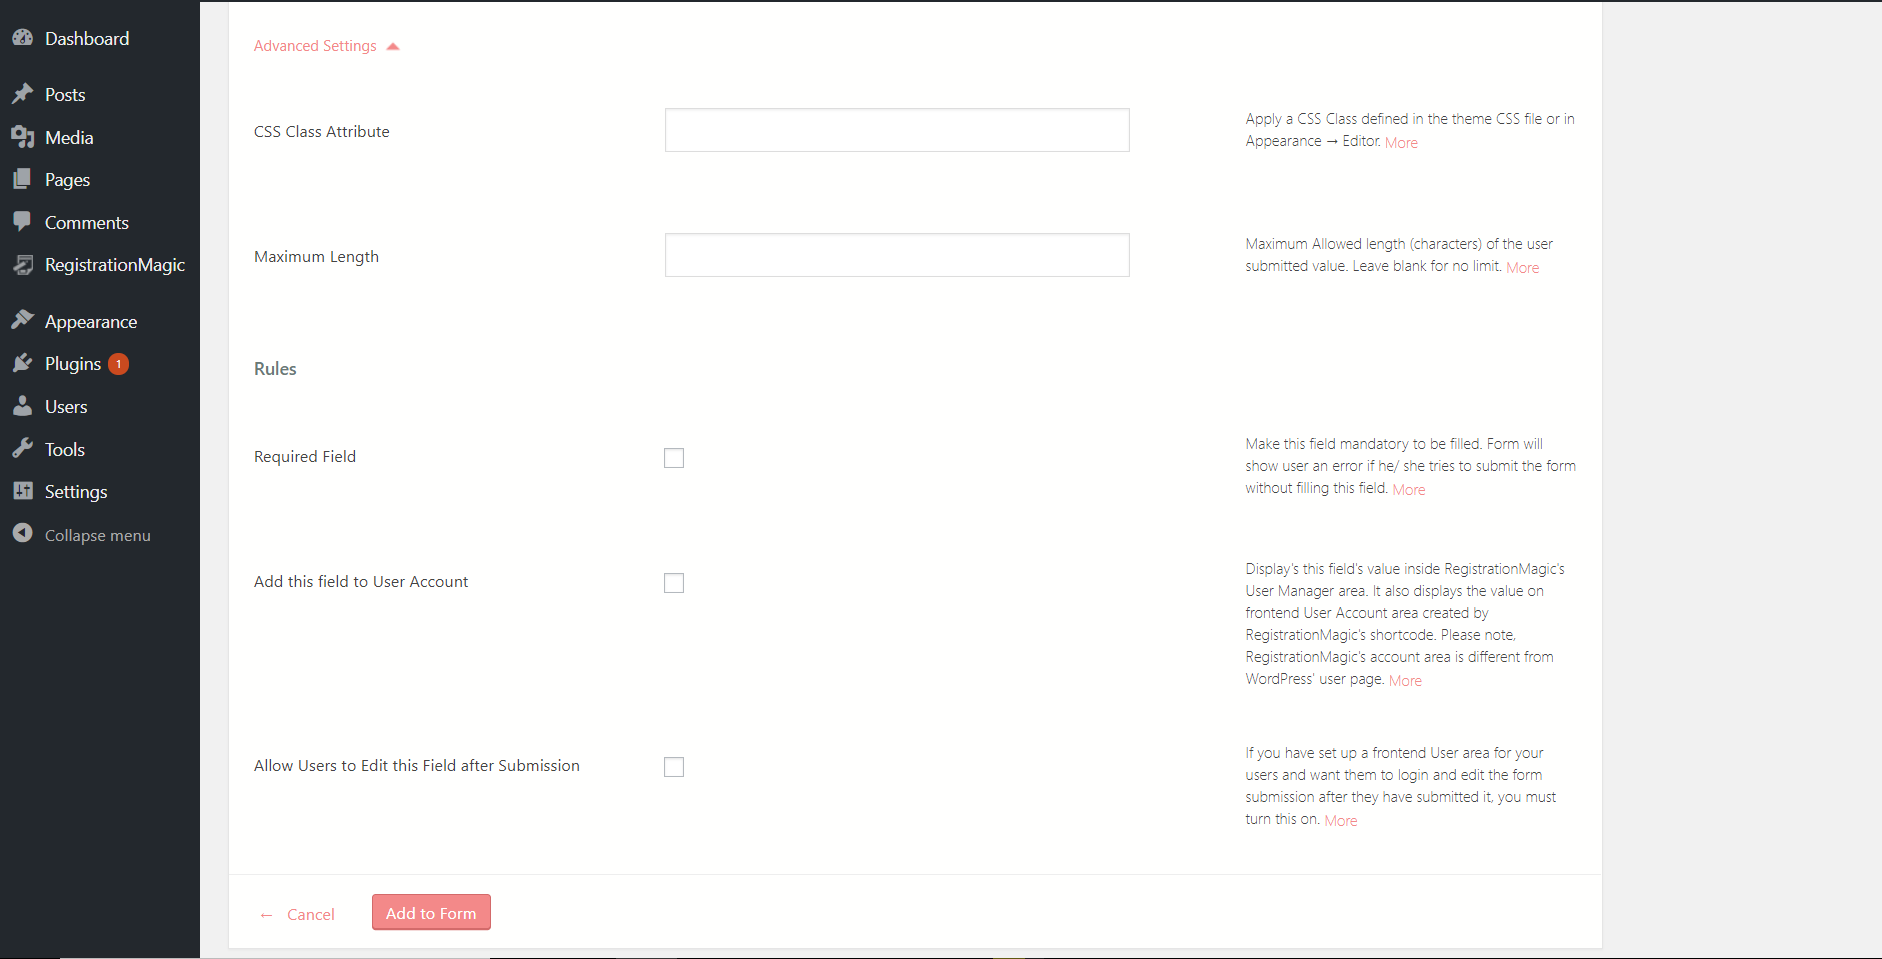
Here the first option is to apply a CSS class attribute. Note that you can apply this only if it is defined in the coded HTML file.
Then comes the“Maximum Length”. This will let you set the range for the number of characters to add in the Input Mask. Check the “Required Field” to make the field mandatory to be filled. Lastly comes, Add this field to the User Account option. This will add this field value to the user account. So that both the admin and the user can see this data. In the end, click on Add to Form to finish up.
Add the masked field into your WordPress form
Now, all you just have to do is to publish the form to view the additional email field on it.
RegistrationMagic makes it really simple to display WordPress form with shortcodes.
On every form cover in the All forms page, you will find a unique shortcode.
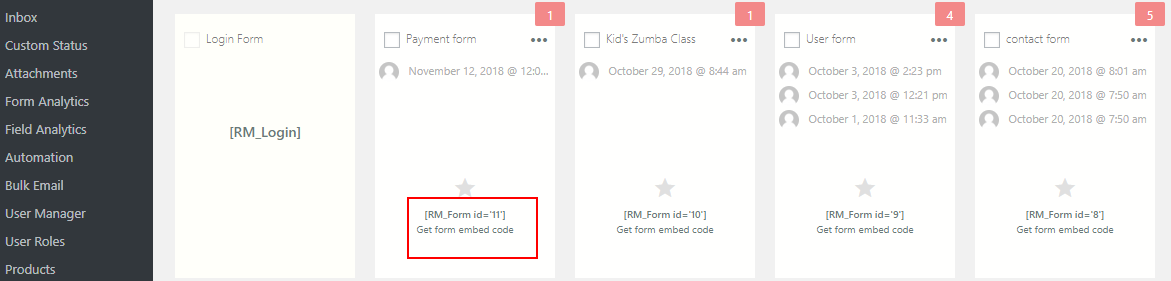
Copy the shortcode from form card. Paste it on a new WordPress page and click on Publish.
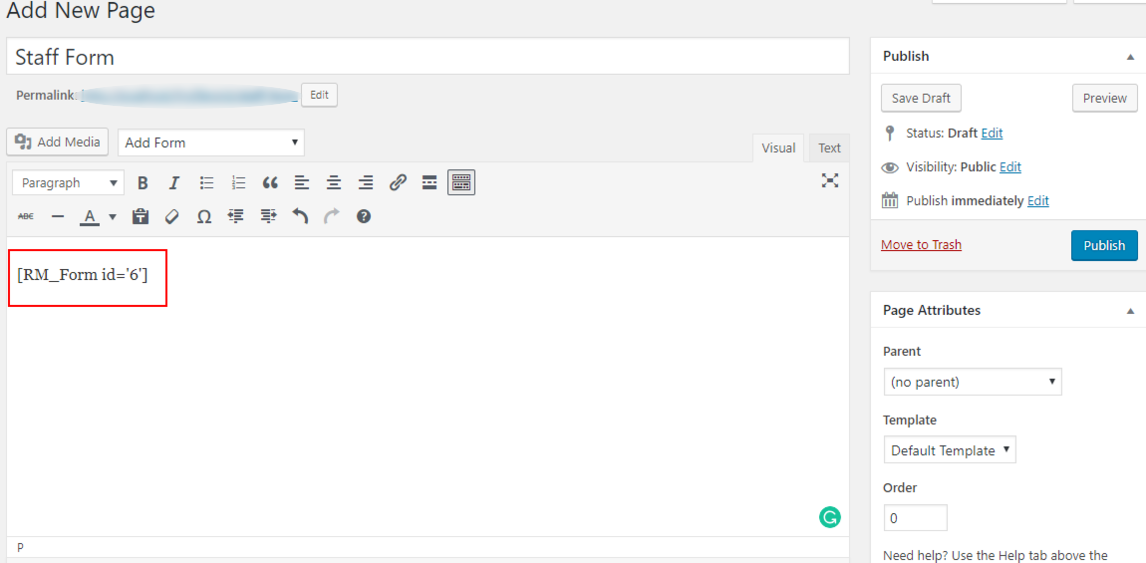
You will then find your WordPress forms on your site.
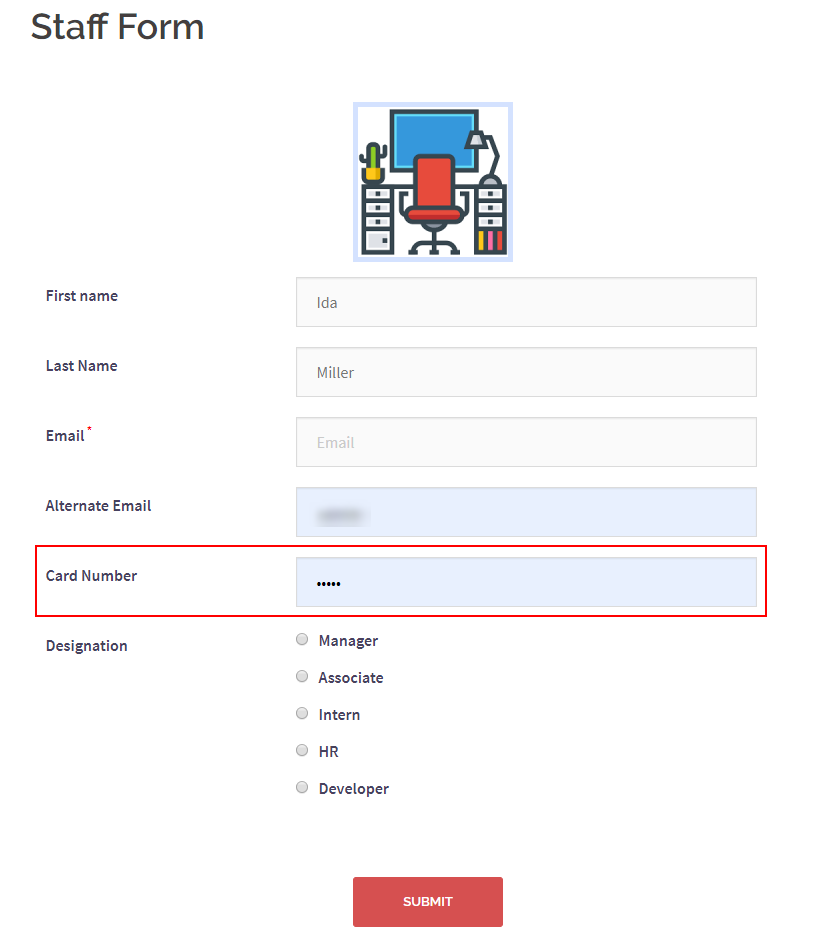
So, in the above form, you can see the Masked Field marked in red. Since the user has to enter his/her card detail here this field will hide the data as the user stops filling it in.
Thus with the help of this Input Mask field, you can now ask your users to give any secret data as they register on your site. They can rely on you that their data will stay safe. So in case, you start an online store your users will be sure as they add their bank details while buying.
So be sure to turn your site into a professional one with this WordPress form builder plugin where you can register users and also keep their data private.
- Complete Automation Guide for WordPress Forms - July 20, 2024
- WordPress User Management Plugin Guide - July 18, 2024
- Add CAPTCHA in WordPress Login and Registration Form? - July 16, 2024
- How to Send Automated Welcome Emails in WordPress - July 15, 2024
- WordPress User Roles, Permissions & Role Editor [Complete Guide] - July 14, 2024
- How to Display Custom Success Message in WordPress Forms - July 12, 2024
- Publish Registration Forms and Display Registered Users - July 11, 2024
- How to Approve WordPress User Accounts Without Logging Into Dashboard - January 25, 2021
- How to Set up Two Factor Authentication in WordPress - April 4, 2019
- How to Edit or Replace Default WordPress Registration Form - April 2, 2019