Introducing WordPress User Registration Status, Labels and Actions
If you are already a user of our WordPress registration plugin, you maybe aware that it’s like a swissknife for managing user registrations on your WordPress site. Many of its feature sets (a.k.a extensions) work like toolkits which can be modified to serve any business or industry vertical. And once you combine power of these feature sets to match your workflows. It is then, you realize the full potential of RegistrationMagic plugin and our WordPress User Registration Status feature will only make things better.
By the way, it is completely fine if you wish to use RegistrationMagic for just filling up WordPress registration forms and it will shine as well as any other system out there. But its real power lies beyond that. For most businesses, submitting a form is start of a workflow and not the complete process in itself. You have people filling up your registration forms, now what? How do you take care of the next steps? Would you not love to have a system that take care of everything beyond the submission right there inside the WordPress dashboard itself?
When it comes to taking care of complete WordPress user registration and form submission processes that extend beyond filling up forms, RegistrationMagic is a complete registration solution in itself. And even if you do not need everything it offers, you can be rest assured that it will scale with your business, if and when you need it. So you can pack and stow away your nightmare about switching to something else during peak season and hiring developers to migrate your form data. Let’s discuss how WordPress User Registration Status can help admins.
WordPress User Registration Status User Basics
One of the most important customizable extensions in RegistrationMagic is Custom WordPress User Registration Status. Custom Statuses fulfill following requirements:
- Tagging or labeling form Submissions
- Executing multiple actions on a submission with single click
- Additional 4th level filtering option for submissions
Image: Default Custom WordPress User Registration Status screen
Apart from serving as handy labels or tags, each Custom WordPress User Registration Status can also have a set of action associated with it. Following actions are currently possible with every Status:
- Remove an existing Status
- Remove all existing Statuses
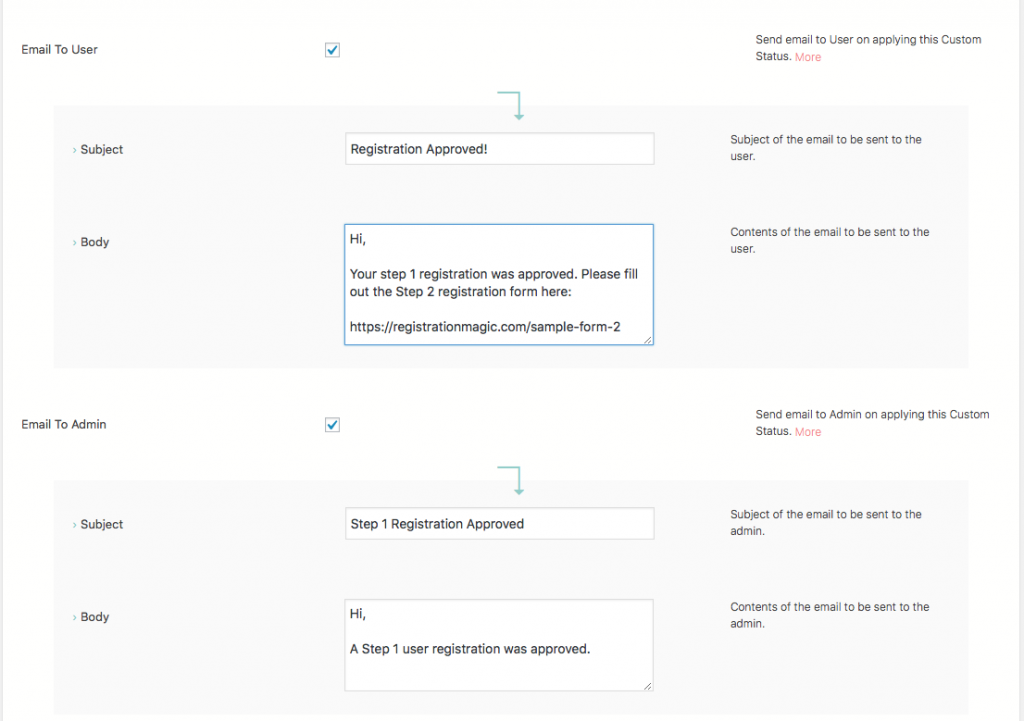
- Send an Email to the user
- Send an Email to the Admin
- Create User Account
- Delete User Account
- Activate User Account
- Deactivate User Account
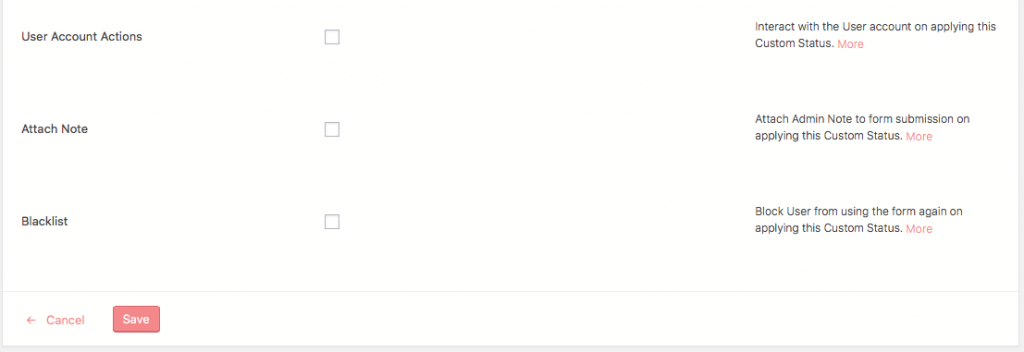
- Attach Private or User Note
- Ban Email
- Ban IP
- Unblock Email
- Unblock IP
Not all registration processes are simple accept or reject scenarios. There can be multi admin vetting, conditional approvals, temporary or permanent rejections etc. (Please note, RegistrationMagic already has you covered if you want to have automated vetting of submissions! – check out WordPress forms Automation guide.) To demonstrate power of WordPress Custom User Status, we will create an imaginary scenario. Once again, you may or may not need all the features; it’s totally up to you how and what you want to use. We keep adding features to RegistrationMagic to cover all possible scenarios. So here’s what will happen:
Scenario
- User submits form 1
- Admin 1 vets the form. Based on the outcome:
- Admin 1 Rejects the form.
- OR Admin 1 Approves the form and asks user to fill another form.
- User submits form 2
- Admin 2 vets the form. Based on the outcome:
- Admin 2 rejects the form, deactivates user account and blocks user email.
- Approves the forms and activates user account.
Preliminaries:
We will create following properties in RegistrationMagic:
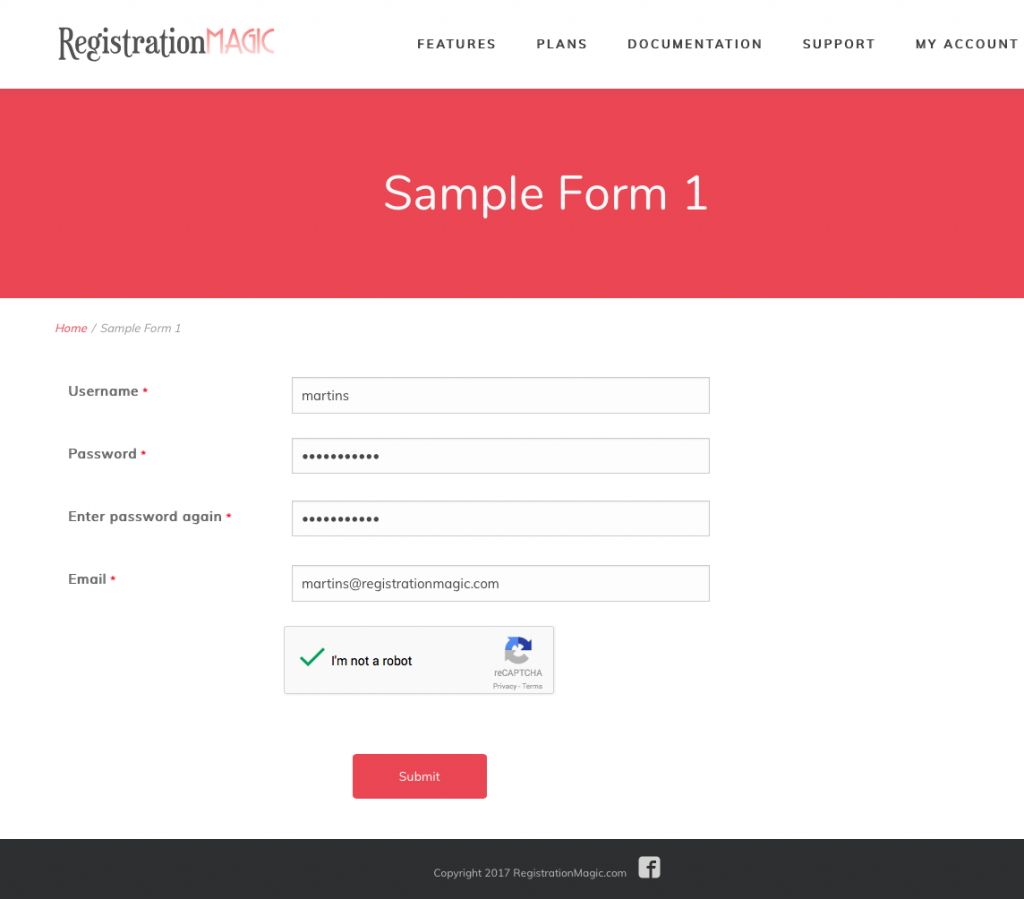
- For Step 1: Sample Form 1
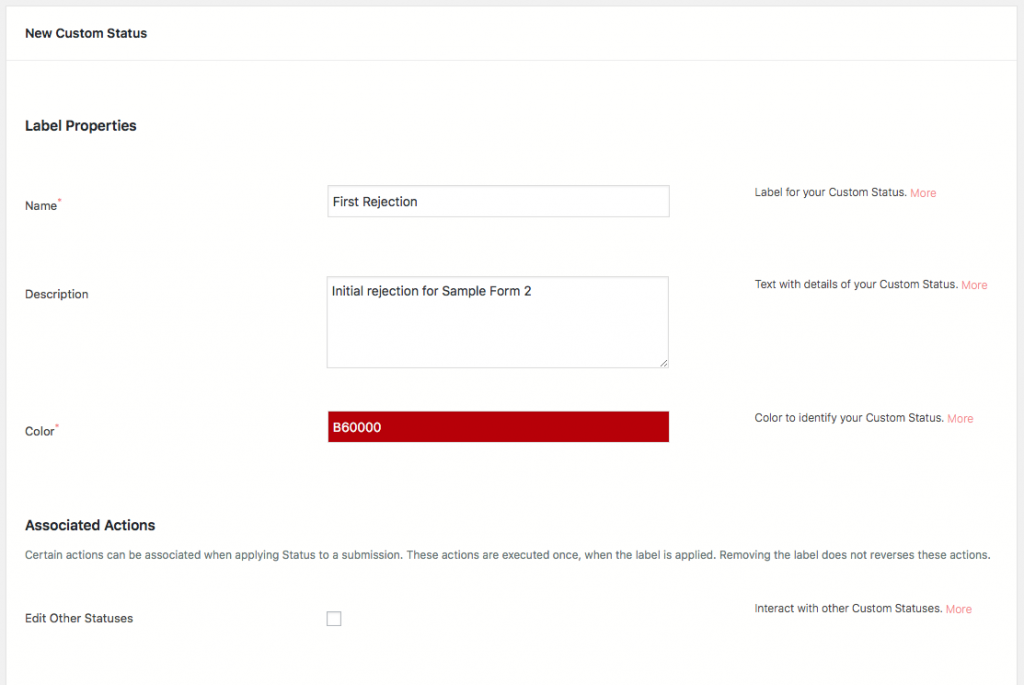
- Step 2: Custom Status ‘First Rejection’ and ‘First Approval’
- Step 3: Sample Form 2
- Form Step 4: Custom Status ‘Final Rejection’ and ‘Final Approval’
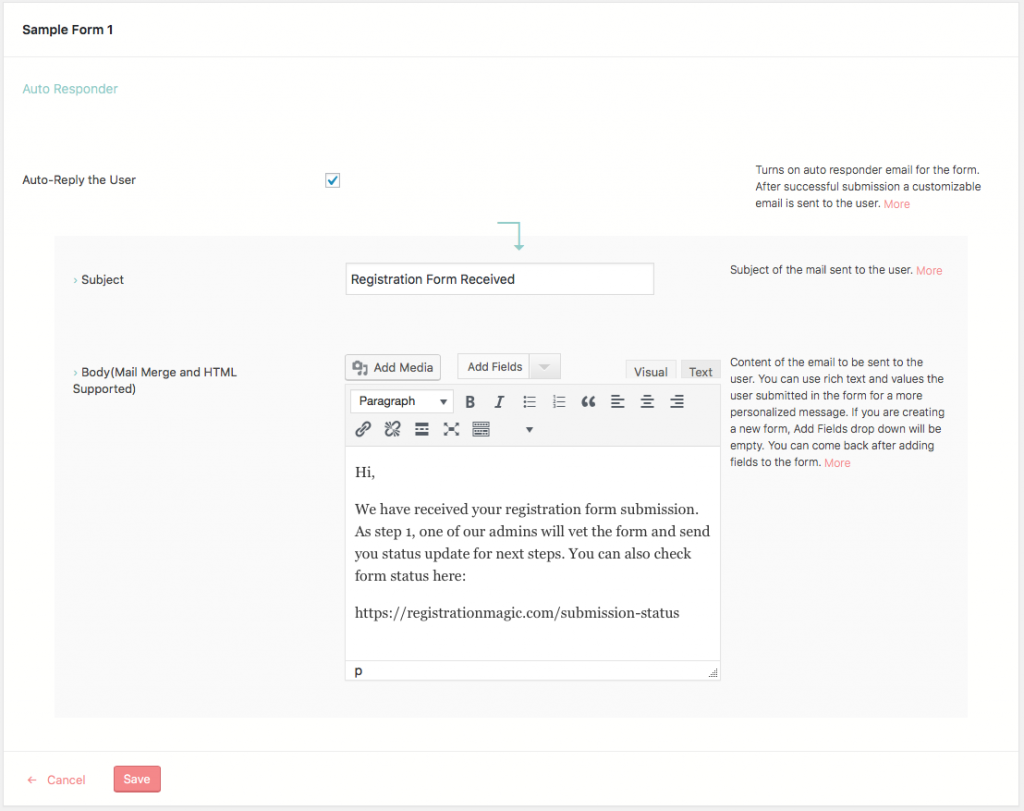
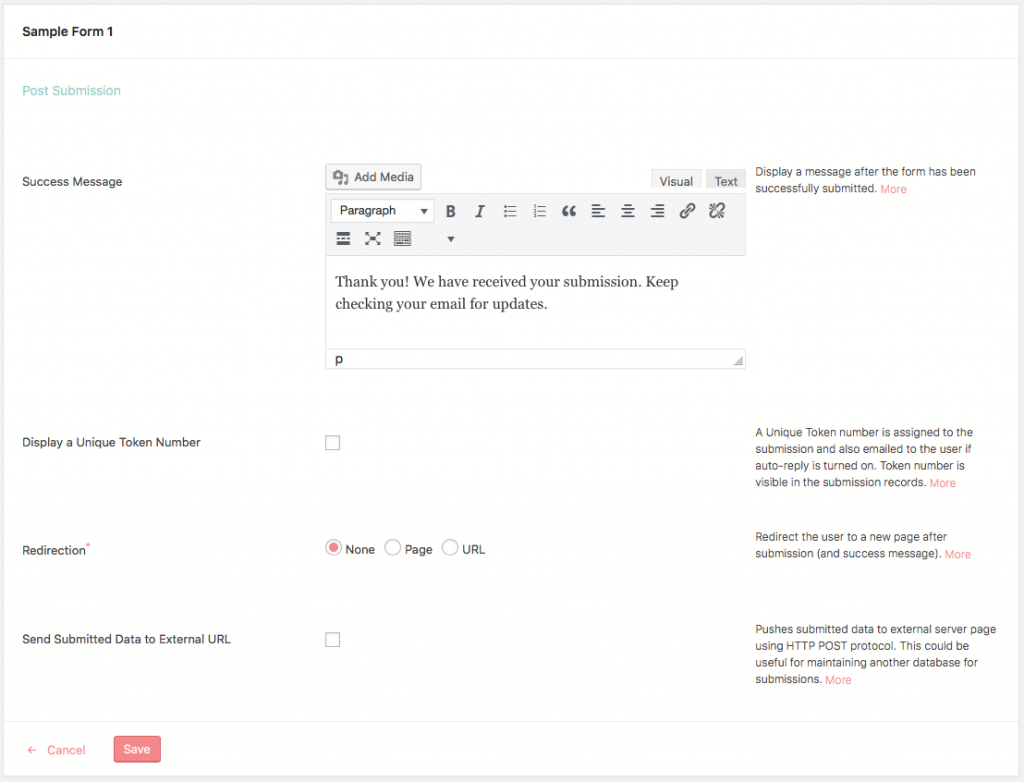
Although, to keep things simple, we will create basic forms, you can use Custom WordPress User Registration Statuses with any type of forms. We shall also make sure that submission notification form Sample Form 1 goes to Admin 1 and for Sample Form 2 goes to Admin 2. Additionally, success messages and auto-responders for both forms should be set to inform users about the next steps.
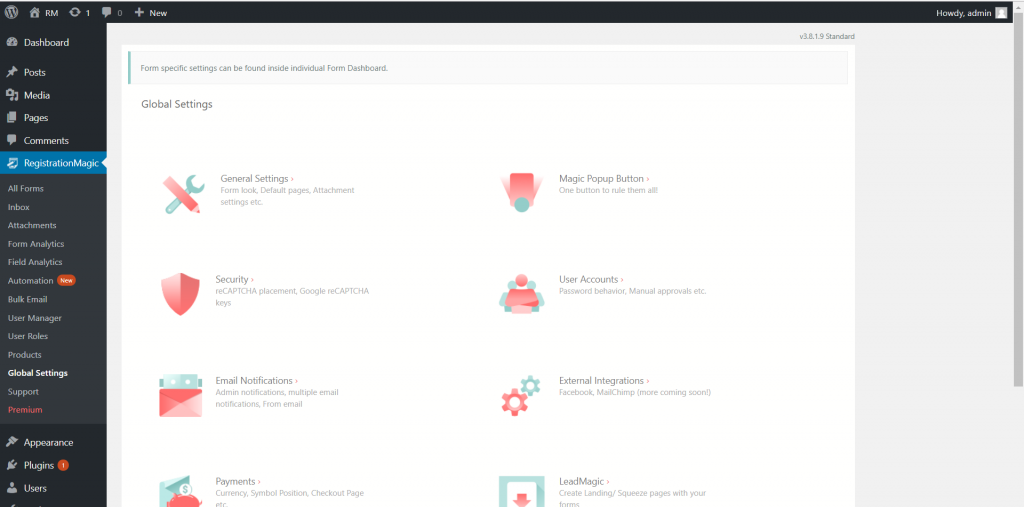
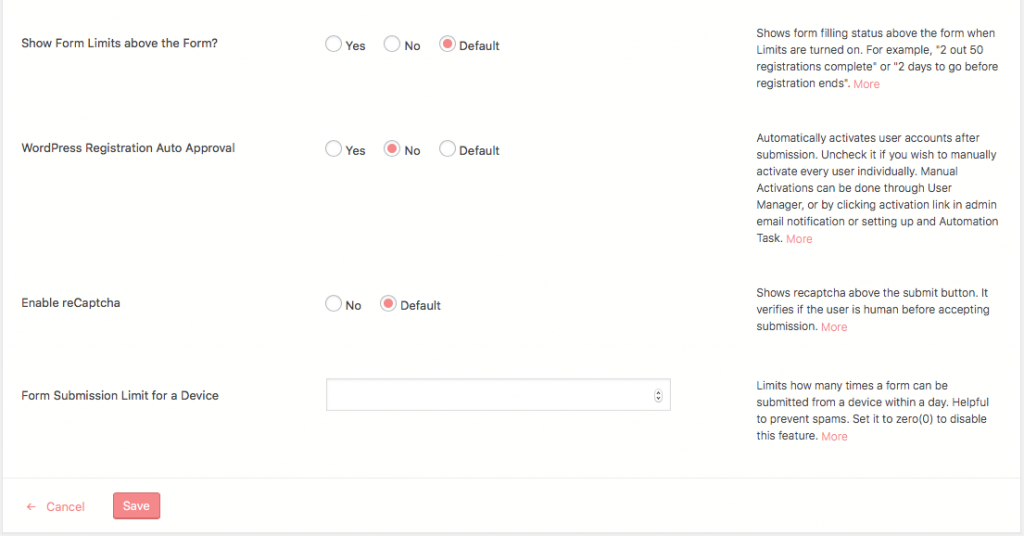
To make sure user accounts are not active before Admin 1 vets and approves their submission, we’ll turn off Auto Approval. This is done from Global Settings in RegistrationMagic’s left menu:
In Global Settings, click User Accounts:
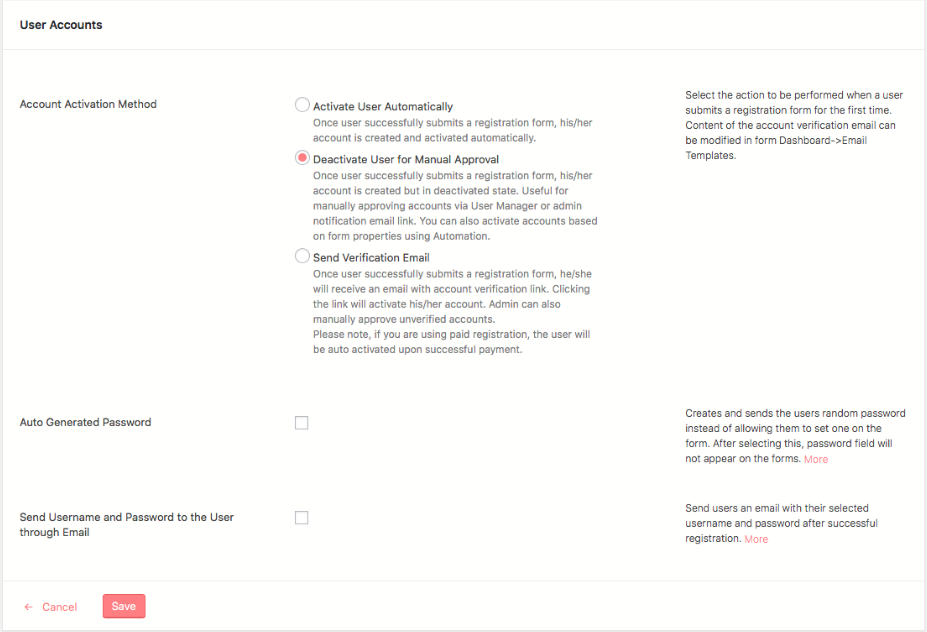
Now we select Deactivate User for Manual Approval in Account Activation Method option.
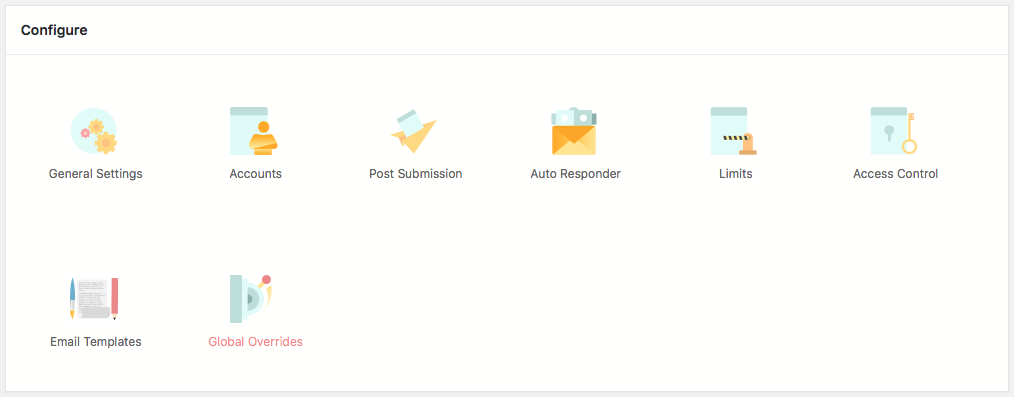
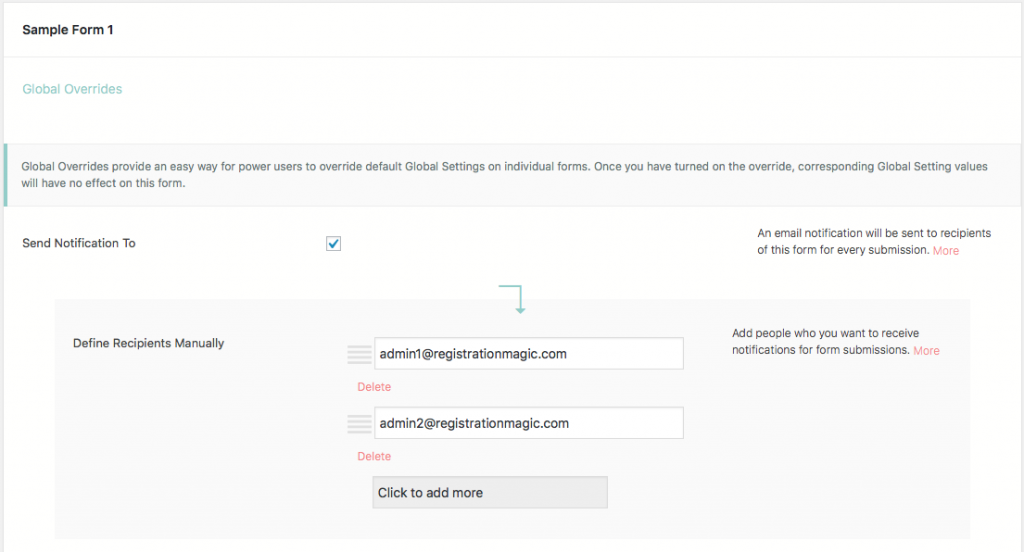
To set up specific email notification for both admins, we go to form Dashboard (by going back to All Forms link clicking Dashboard on form card) and click Global Overrides. Global Overrides allow us to set up form specific email notifications.
To set autoresponders for each form, we click Auto Responder icon in form dashboad.
Image: Autoresponder for Sample Form 1
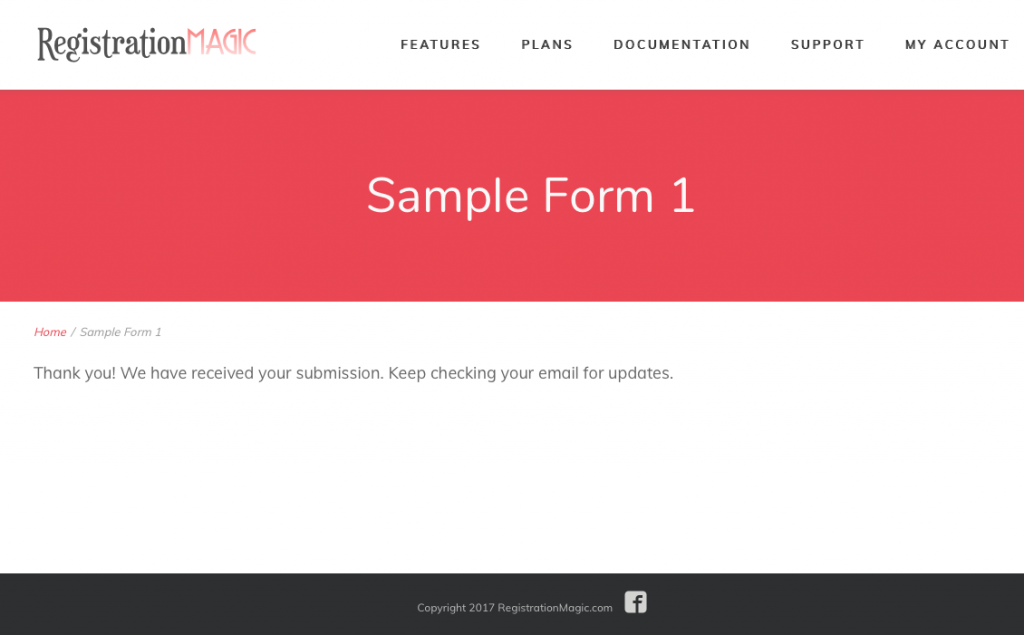
To form submission success message, click Post Submission in form Dashboard:
Image: Success Message for Sample Form 1
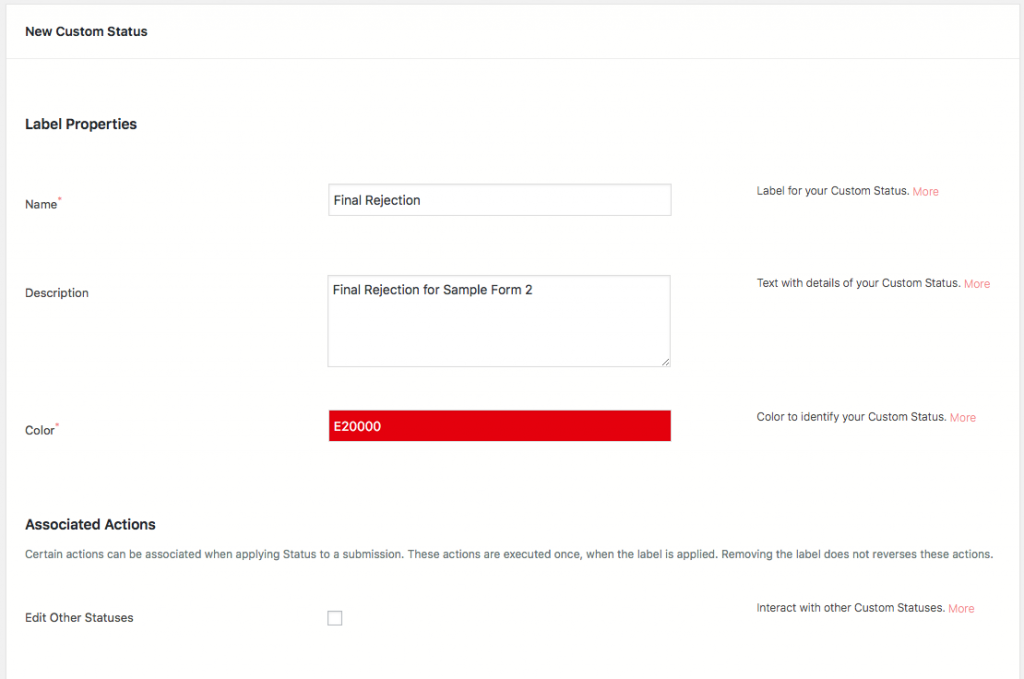
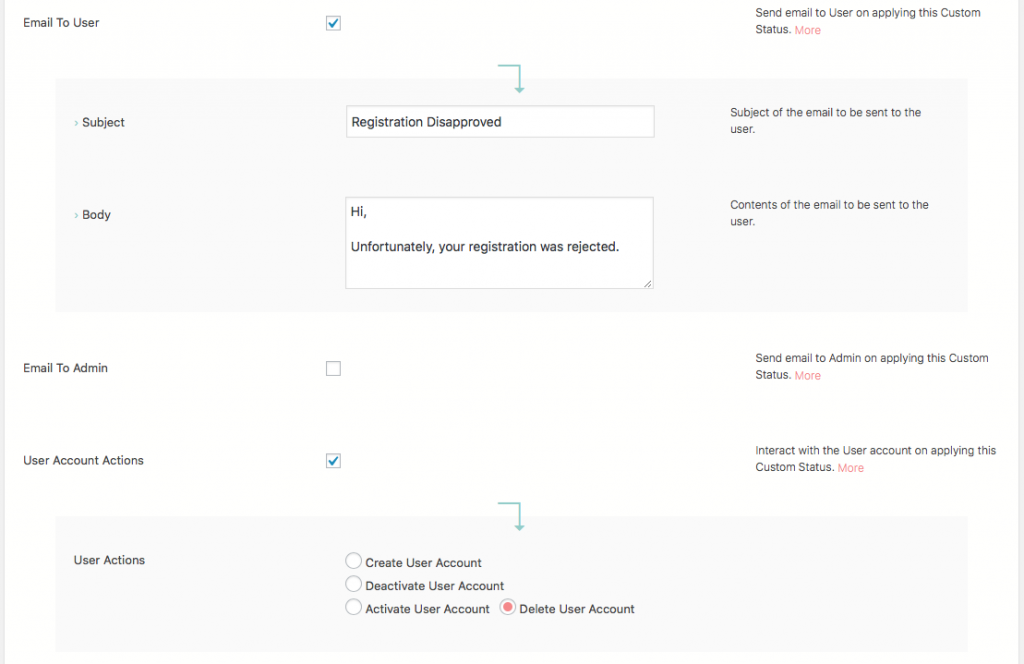
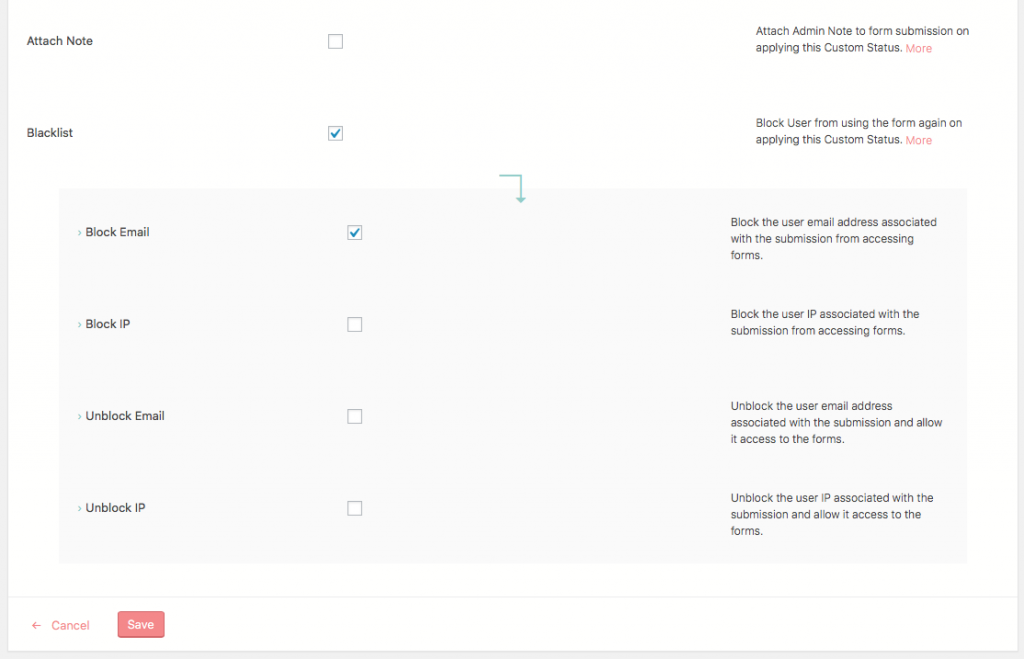
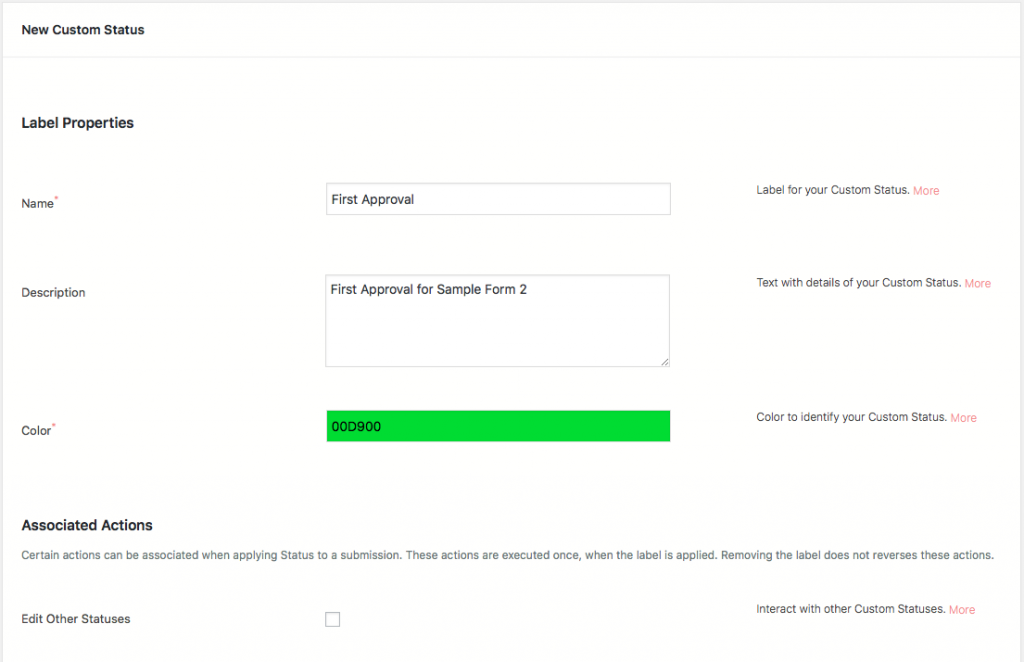
We shall associate following actions with the Custom WordPress User Registration Statuses we create:
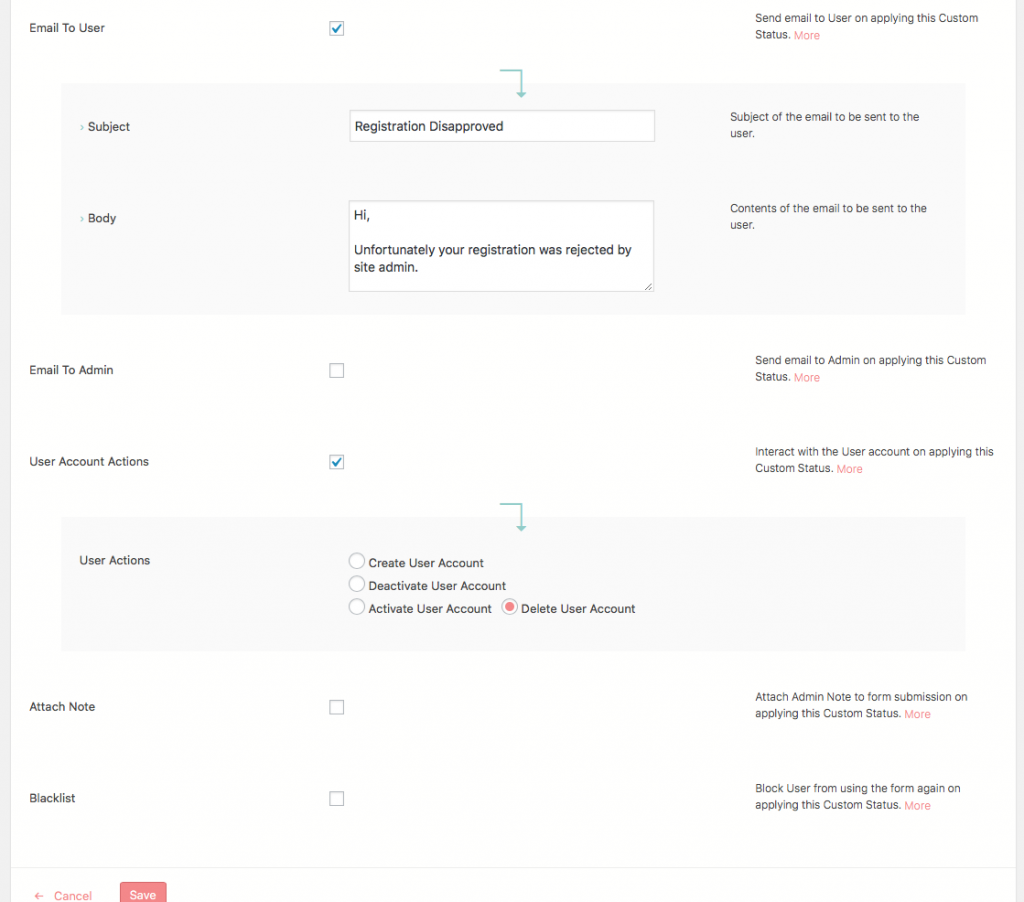
First Rejection:
- Send an Email to the User informing him/ her about the rejection
- Delete user account
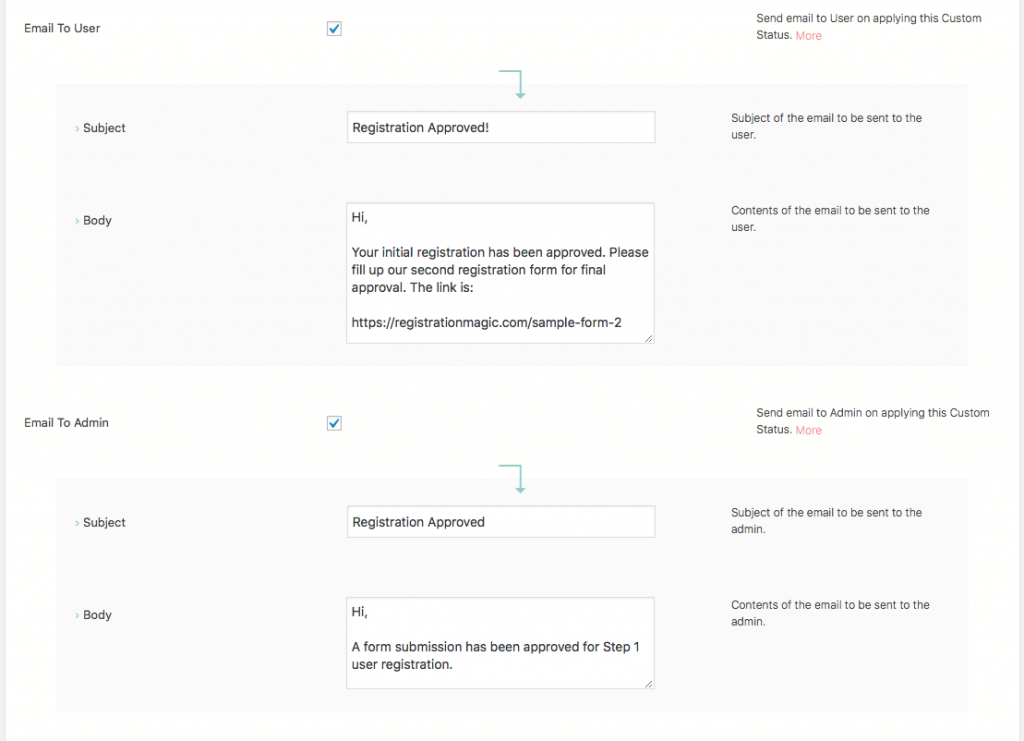
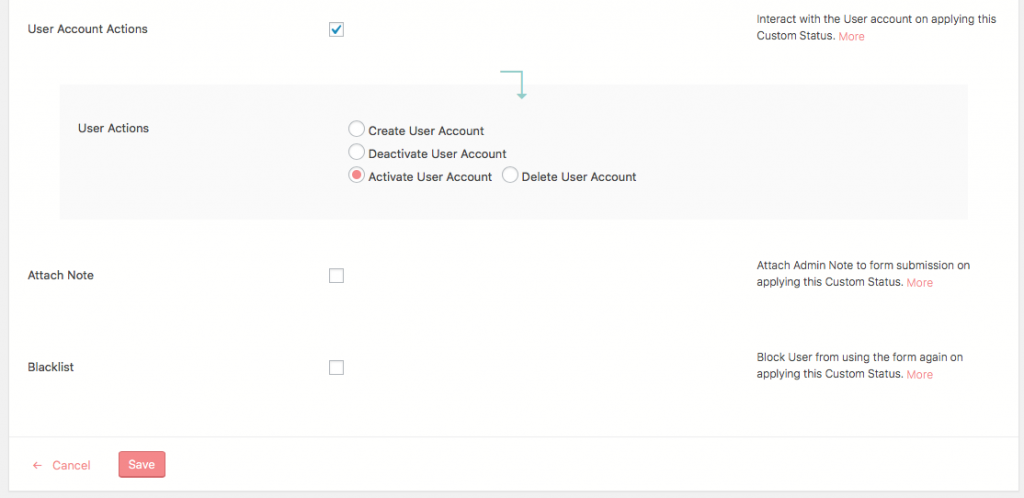
First Approval:
- Activate user account
- Send an Email to the User with link to fill up next form
Final Rejection:
- Send an Email to the User informing him/ her about the final rejection
- Delete User account
- Ban Email
Final Approval:
- Send an Email to the user informing him/ her about the approval
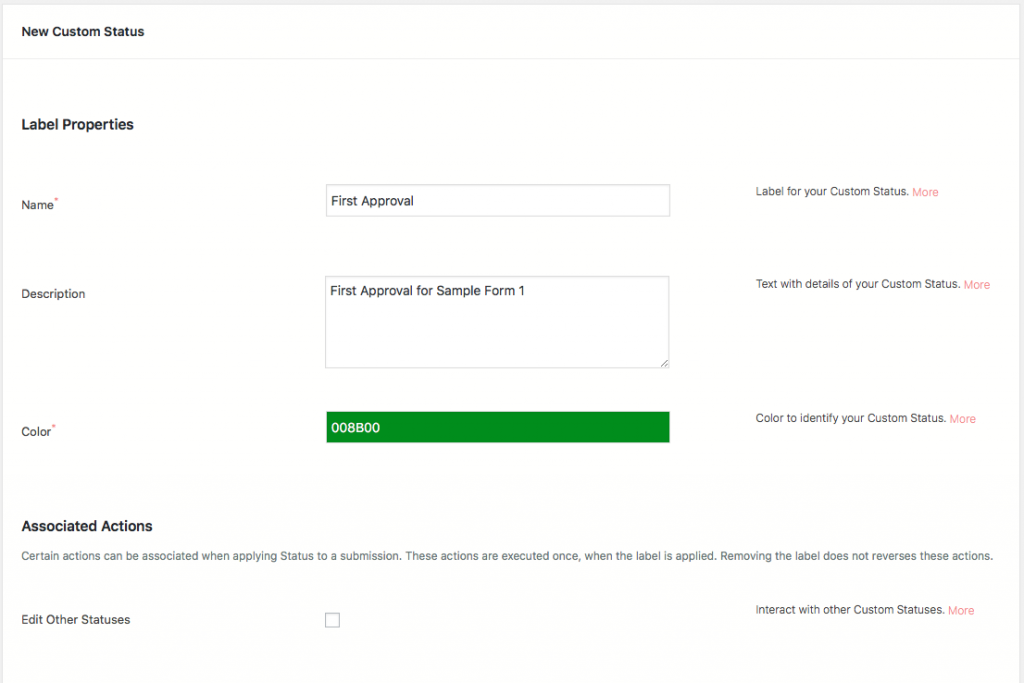
Here’s how our Custom WordPress User Registration Status screen looks like now for both forms:
Image: Custom WordPress User Registration Statuses for Sample Form 1
Image: Custom WordPress User Registration Statuses for Sample Form 2
Now we have to do one more thing – we make sure the Sample Form 2 is only visible to the users who already have filled Sample Form 1 and are approved. Otherwise anyone with a link can fill up the form breaking the workflow. To do this, we go to the Sample Form 2’s Dashboard and click Limits. Turn on Limits and select Limit by Status(es). Select First Approval from the list. That’s it! All we have to do not is publish the forms.
Here’s the Demo workflow:
-
User fills up and submits Sample Form 1.
-
Form submits successfully and user sees success message.
-
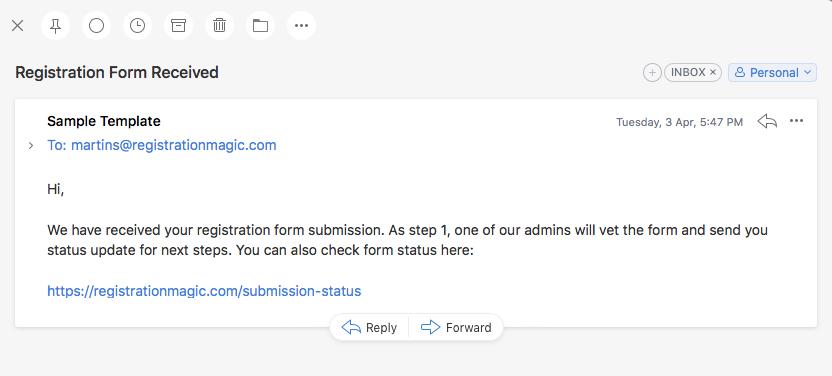
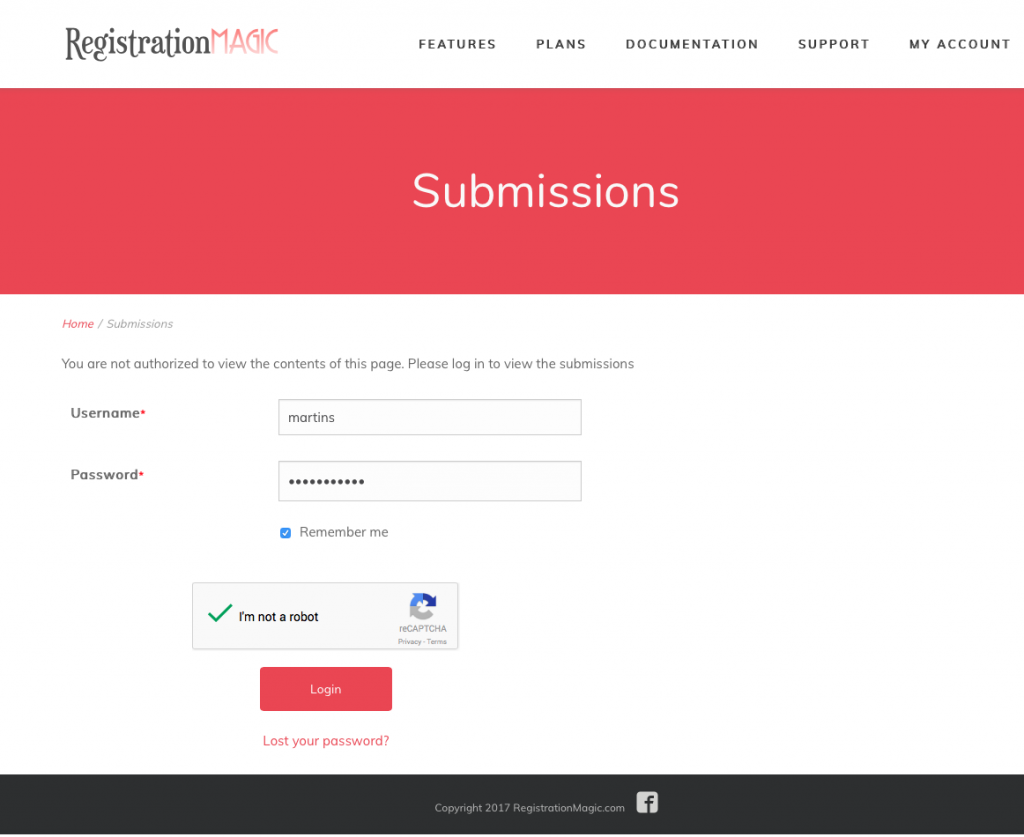
User receives email with acknowledgement link to check the form status on site (account not active yet.)
-
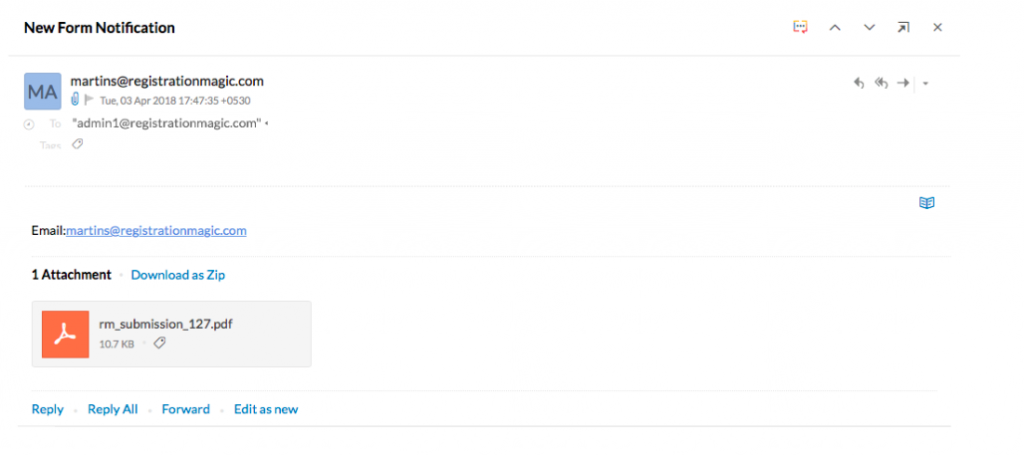
Both Admins receive form submission notification.
-
Admin 1 logs in and vets the form.
-
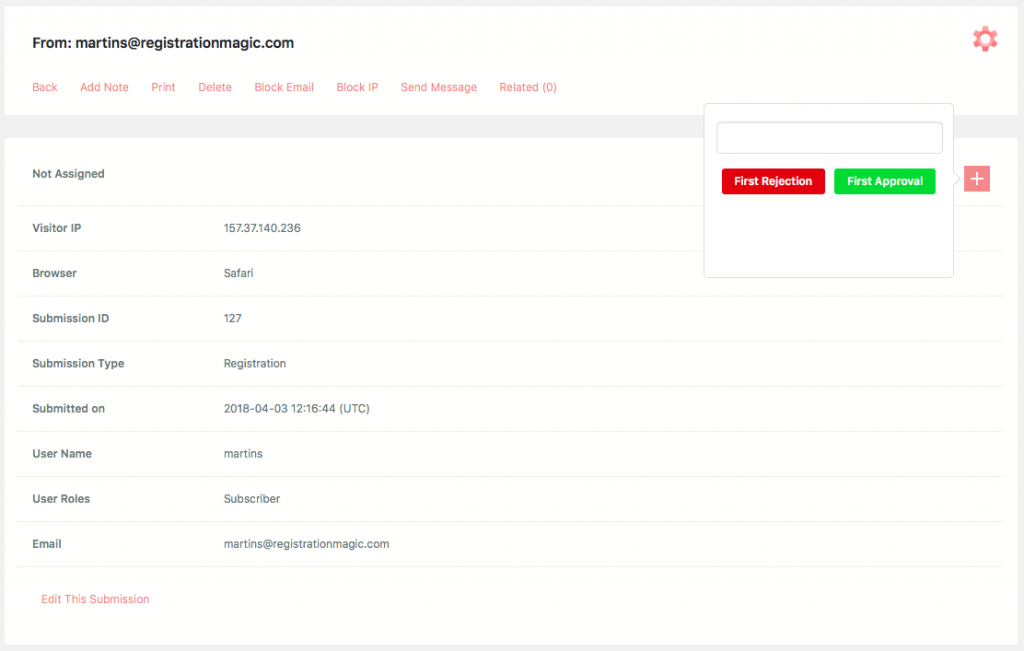
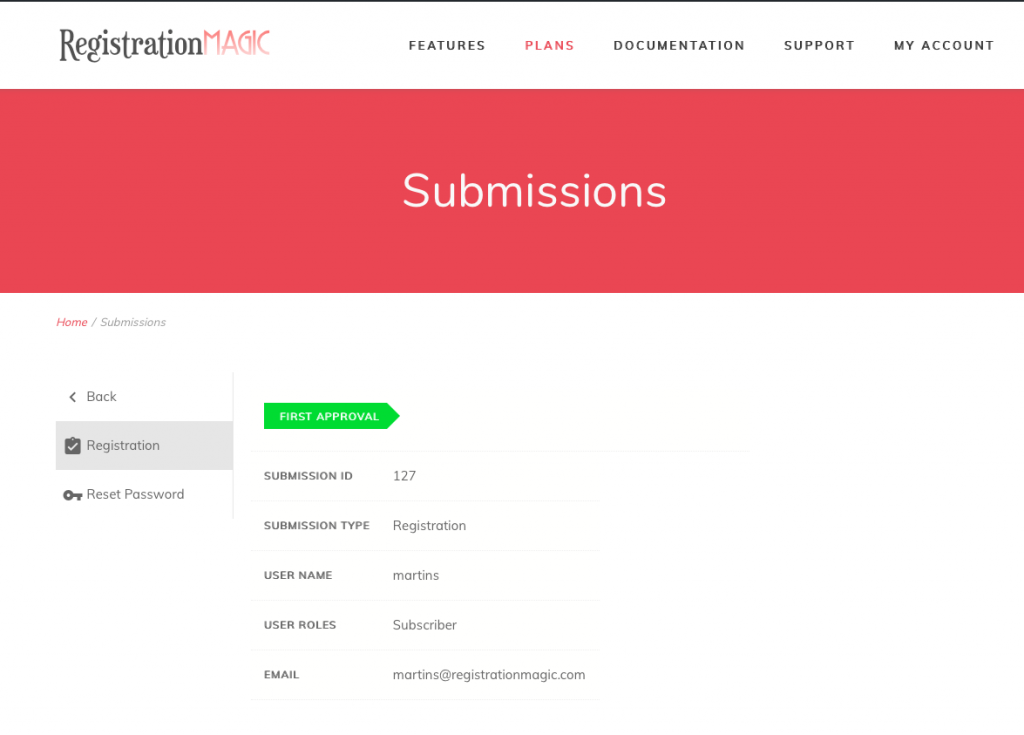
Admin 1 marks the form submission for ‘First Approval’.
-
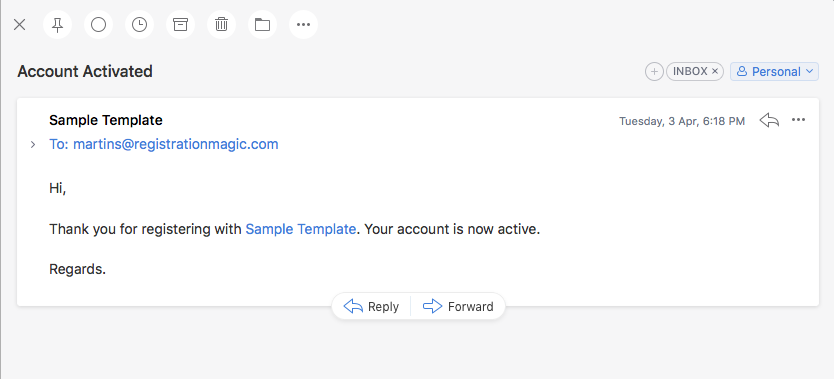
User receives account activation email
-
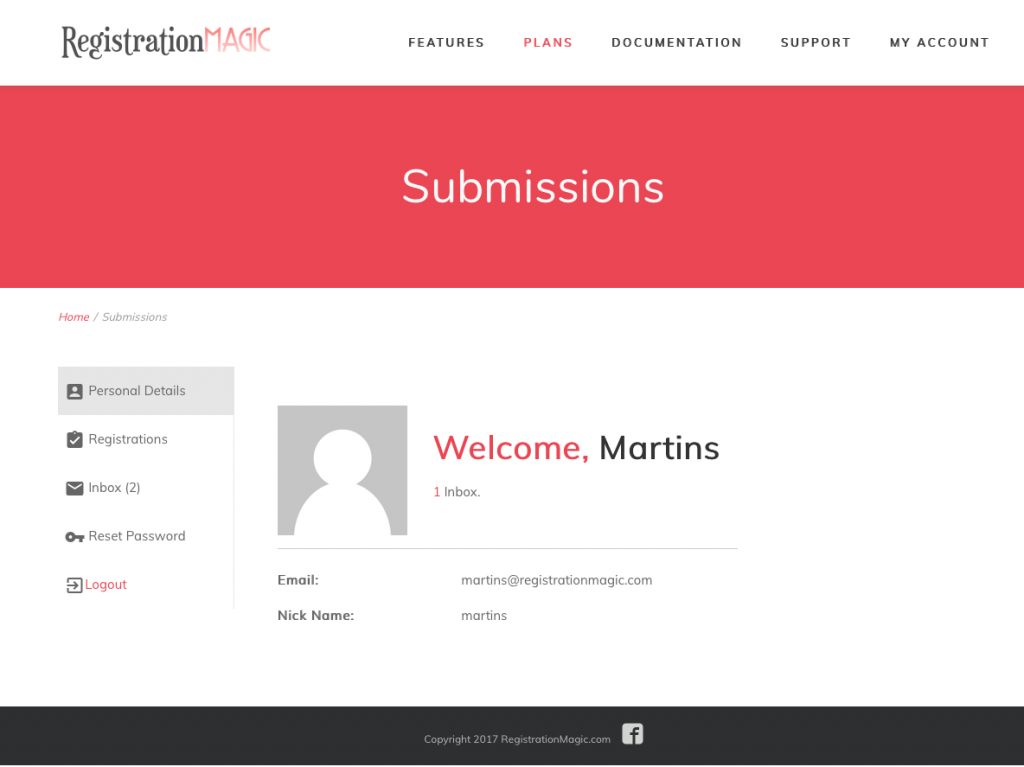
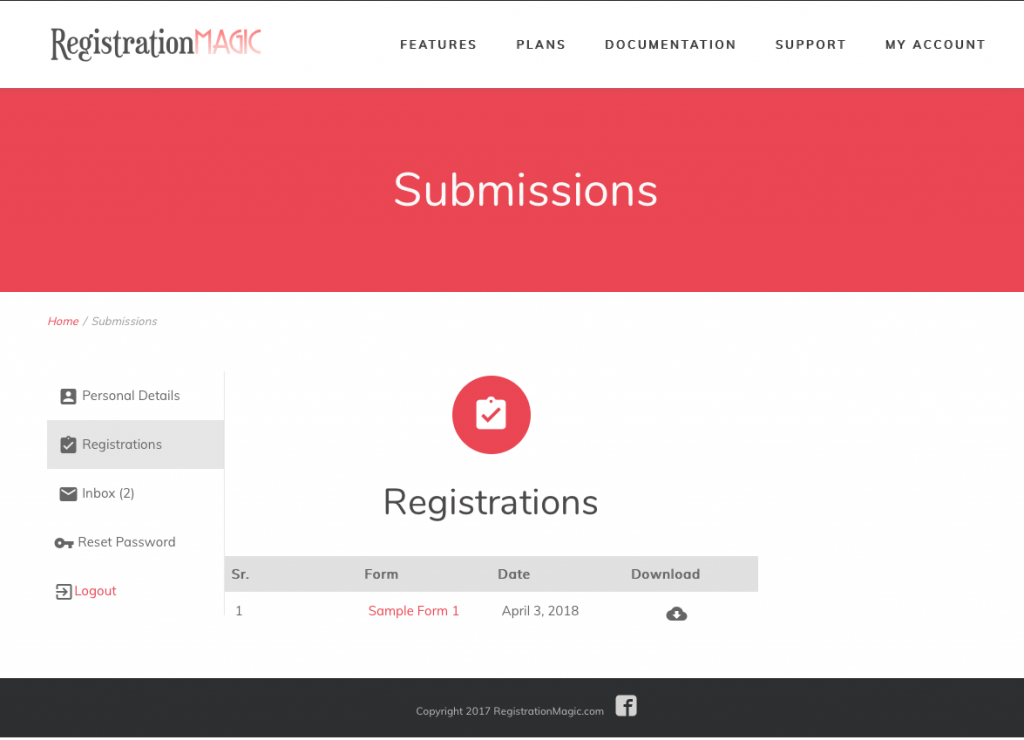
User visits the site and checks the form status online.
-
Both admins receive emails that a form submission has been marked ‘First Approval’.
-
User receives email with link to Sample Form 2.
-
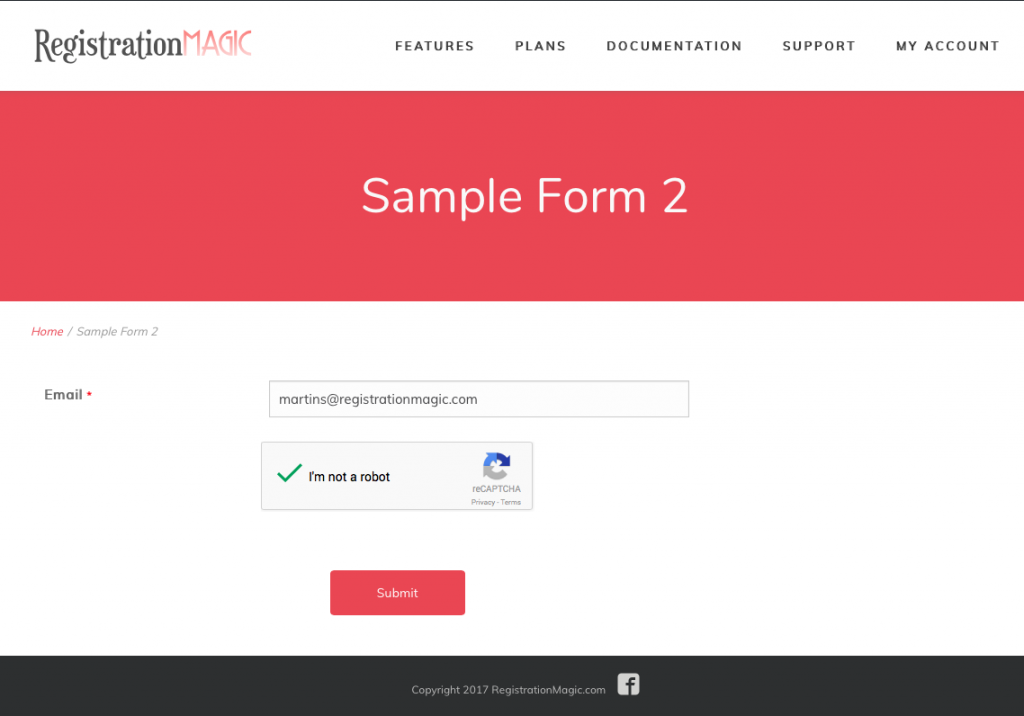
Next, User fills up and submits Same Form 2.
-
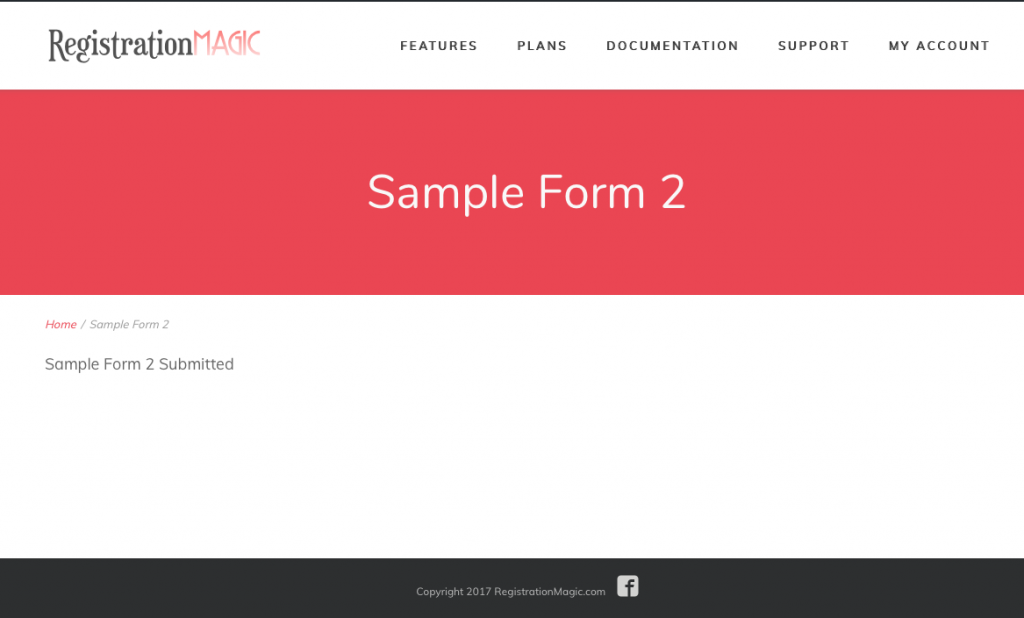
User sees success message
-
Admin 2 receives notification that a new form has been submitted.
-
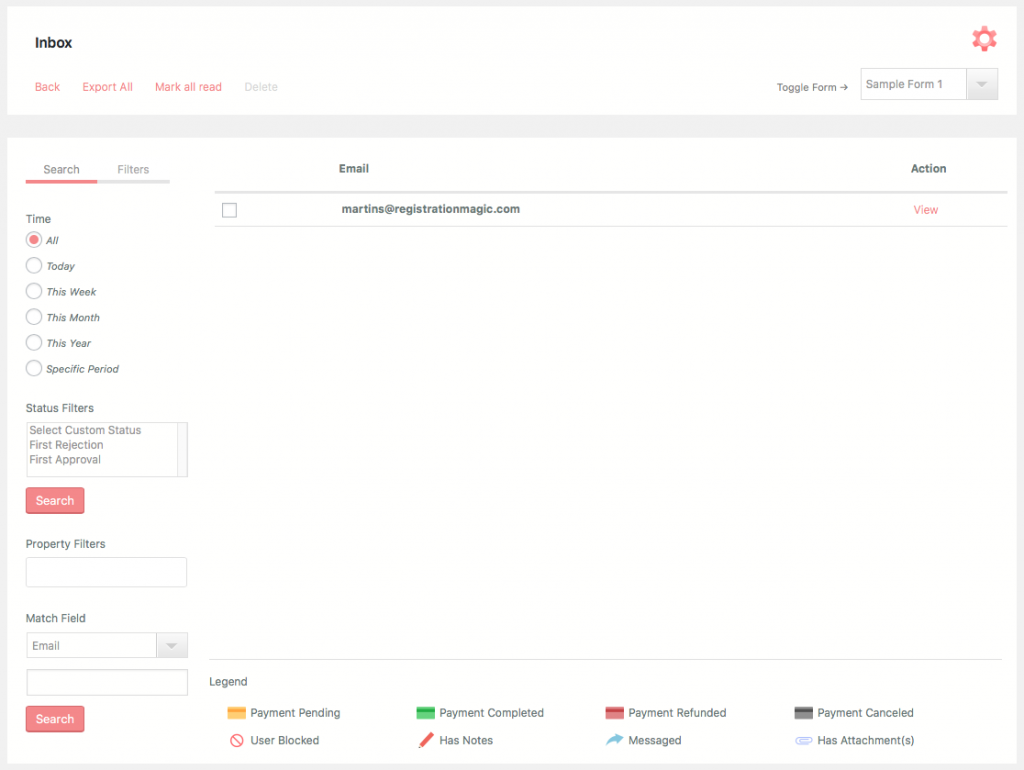
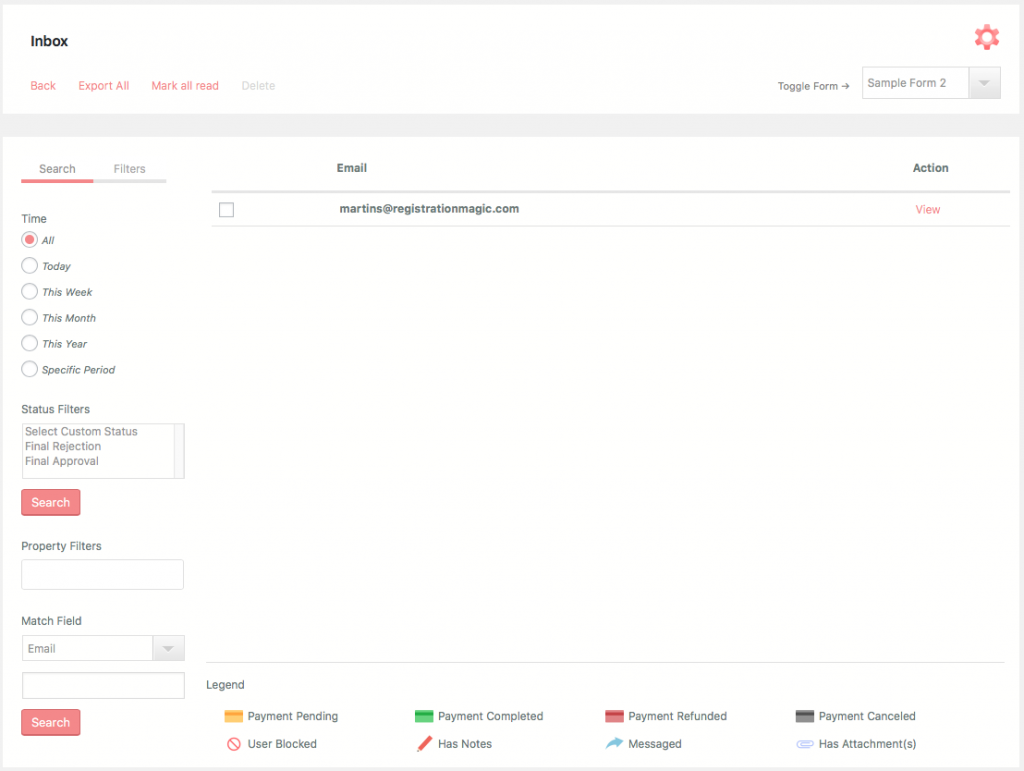
Admin 2 logs in and filters the forms marked ‘First Approval’.
-
User receives email. Admin 2 vets the form and marks it ‘Final Approval’
-
User receives email.
-
Both admin receive email that a form has been marked ‘Final Approval’.
As you can see from this fairly simple demonstration that Custom WordPress User Registration Status provide a pretty solid framework to align form submissions and user registrations with your backoffice workflow. We have not yet touched all the feature available inside WordPress User Registration Status extension, or things that can be done in combination with other 50 odd extensions, including our advance WordPress user login plugin extension. This workflow can be branched and extended into multiple steps. Hopefully this provides ample hint of power hidden beneath many layers of RegistrationMagic. Until next time, and stay connected with us on Facebook!
- RegistrationMagic Starter Guide - August 4, 2024
- WordPress Registration Shortcodes List - July 10, 2024
- WordPress Payment Form Guide: Setup Payments on Registration Form - July 8, 2024
- Experience the Unfolding Magic! - August 4, 2023
- List of Guides for WordPress User Registration Process - July 28, 2023
- Frequently Asked Questions About WordPress User Registration Forms - July 28, 2023
- How to display registration forms on WordPress site? - July 26, 2022
- WordPress User Registration Custom Status Guide - April 9, 2022
- How to add or update user profile fields using WordPress forms - August 5, 2020
- Boost RegistrationMagic User Profiles With ProfileGrid Integration - February 19, 2019





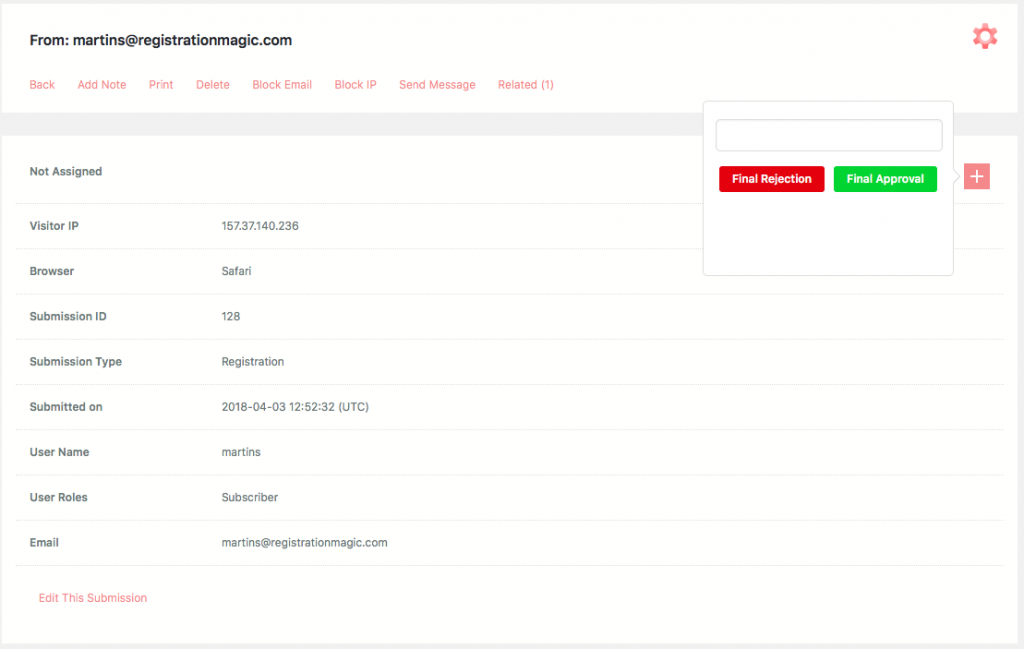
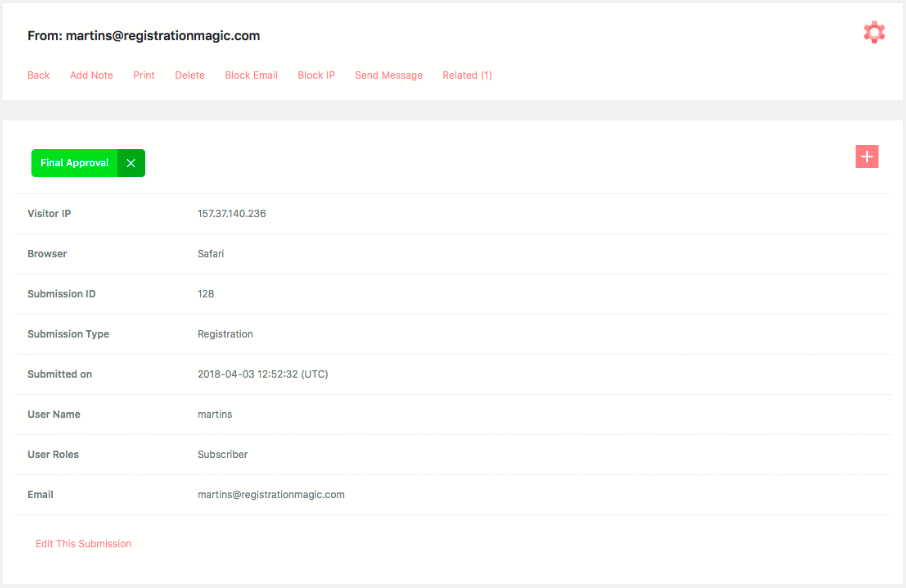

Is there anyway to customize the menu on the submissions page? When I activated the plug in there was not a form for this and I don’t see any options in the global options.
Unfortunately, there is no customization option for the submissions page menu. We have made a note of your requirement for review and analysis.
how we can unblock ip?
To block an IP address from accessing a form, go to RegistrationMagic > global settings > security > set the blocked IP addresses from accessing the forms here and make required changes > save it.
How can we ban email? Can you please tell?
In order to ban a particular email addresses from submitting the forms, go to RegistrationMagic > global settings > security > in ‘Banned Email Addresses from Submitting Forms’, you can ban the required email addresses and save it when done.
I have used Regisrationmagic pro plugin and one fieldset file upload(image) and second field used the mobile number with (OTP Verification) link: https://wordpress.org/plugins/miniorange-otp-verification/
When I am submitting the registration form with filled the attached image and filled mobile number field then one time attached successfully without mobile verification popup.
And second time attached the image with filled the mobile number and verification popup working well but no attachment in the plugin.
Please solve the issue ASAP.
We pushed script optimization in new version and this issue should be resolved now. Please verify.
How can we check if the user is logged in? I mean on the basis of login status, I need to write some PHP code. Something like
<?php
if (is_user_logged_in()) {
echo "Logged In";
} else {
echo "Not Logged In";
}
Please refer to this documentation for details regarding user login: https://developer.wordpress.org/reference/functions/is_user_logged_in/
Do pages with logo of registrationmagic actually appear to the user of the website , or is this just an example.
I do not want the users of my website to be confused with the logo of registration magic.
No logo of RegistrationMagic will ever appear on the site using the plugin.