- /
- /
- /
Setting up payment in form
This article is outdated and has been replaced by Registration Form Payments Guide, available here: Payments Guide: Setup payments on Registration form using Products
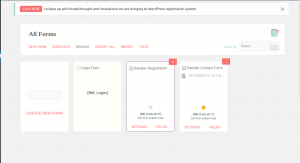
Right now the dashboard area of RegistrationMagic looks something like this. Since we will be accepting payments, let’s first make sure we have payments system properly set up. Head over to Global settings using page options icon on top right.
On the new page, click “Payments” and check if everything is as expected. For details about configuring it, please visit Global settings >> Payments.
Time to get back to RegistrationMagic Forms Manager and create fields for our forms. Before we do that, we need to do one more thing – set and configure two Price Fields for accepting payments for lunches and one time registration fee. This is handled through “Price Fields” tab on the left menu.
First, we will create lunch price field. This field will be multi-select checkbox with one checkbox each for every weekday, and with 5$ value. Hit Multi-Select button in red on Operations Bar and you’ll see a new page to configure the options.
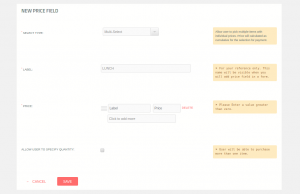
Keep clicking “Click to Add Option” until you have enough options for each checkbox you want to use in this field. In this case, we need 5 options with $5 value each. Once you are done it will look something like this:
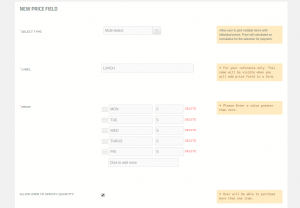
Name it something you can remember easily. Please note, Name is not the actual field label. Price fields are like sub-fields that need to be inserted into a Custom Field of a specific form to show on the front end. You will soon see how it works. Save and control will be directed back to Pricing Fields page.
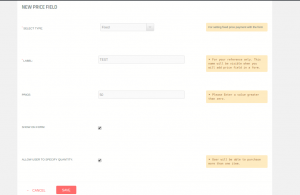
Now, click Fixed button on the operations bar and set up one time fee on the next dialogue box. Check the box if you want users to see the price on the form while filling it up. Save it.
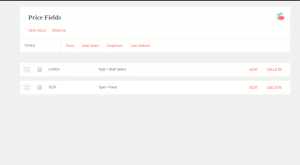
Price Fields Manager will look like this now:
Now we are ready to add custom fields to the form. Go back to the form manage and click on “Fields” on the form card. This will take us to the field manager page where we can add more fields. Click on the “Special Fields” tab on operation bar and then click on “Pricing” field.
The usual field editor screen will show up. Give a label to the field (note that this is the label that will show on the form). In a dropdown labeled as “Price Fields”, our previously created price field will show up. Select a price field. Feel free to edit other settings if you wish. Save when finished.
Add another price field following same procedure. Once done, field manager would look like following:
Now our form is ready to accept the payments. User will be charged during submission.
Tip: You can enable “Show total price” in Form settings >> General to enable a real-time display of the total price on the form.
