The new inbox screen introduces enhanced features for managing user registration submissions. To access the inbox, simply click on the “Inbox” option in the left menu. An innovative solution has emerged, offering users an inbox tailored for maximum efficiency. This inbox seamlessly arranges form submissions into neatly organized columns, providing users with a comprehensive toolkit of features and filters. From advanced search options to customizable labels and the ability to block unwanted content, this inbox empowers users to take control of their digital communication.
An Inbox Designed for Enhanced Productivity
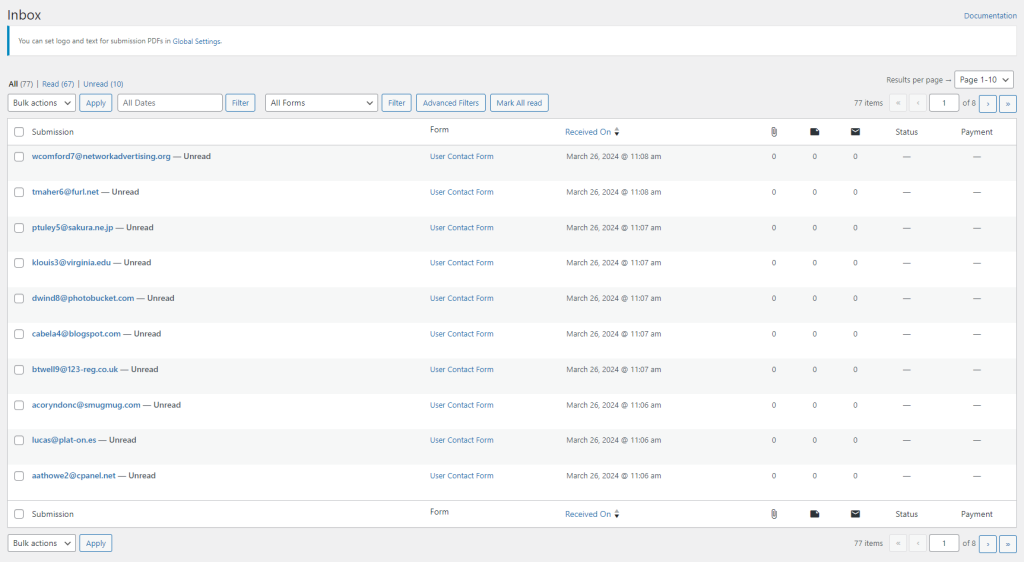
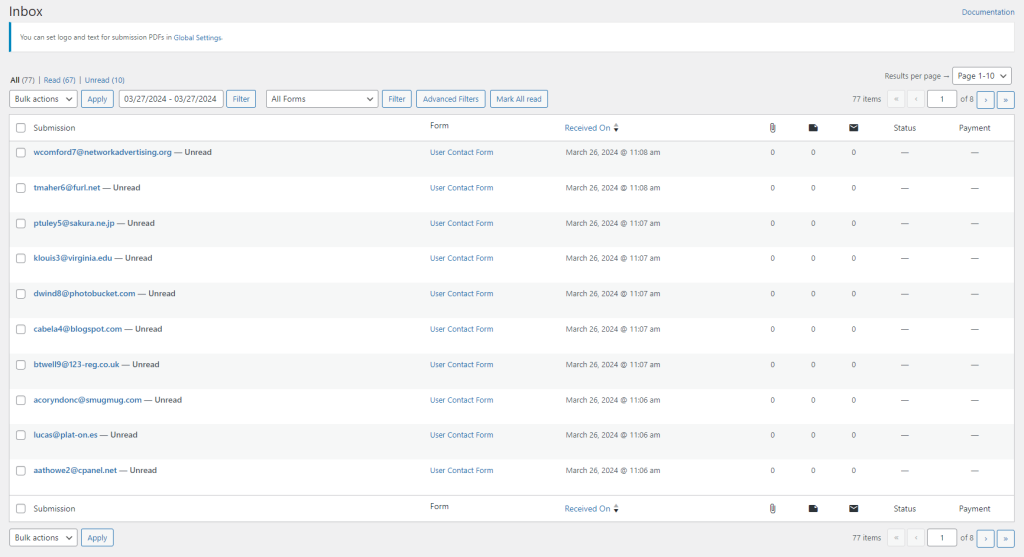
Form submissions are neatly organized in columns. “All” displays all form submissions, both Read and Unread, each accompanied by a count. The users can perform bulk actions, including Delete, Mark Read, and Mark Unread, on all form submissions within the inbox.
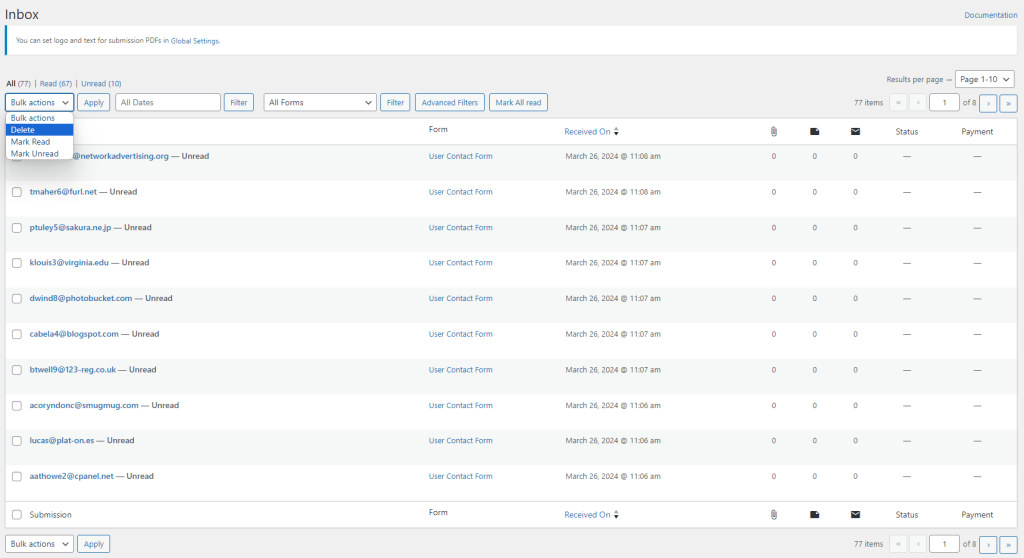
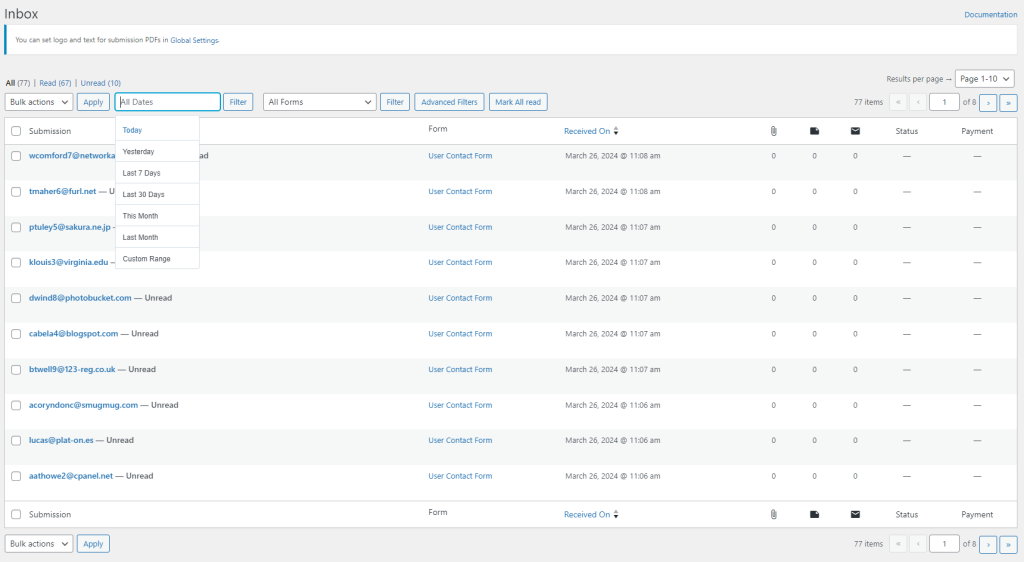
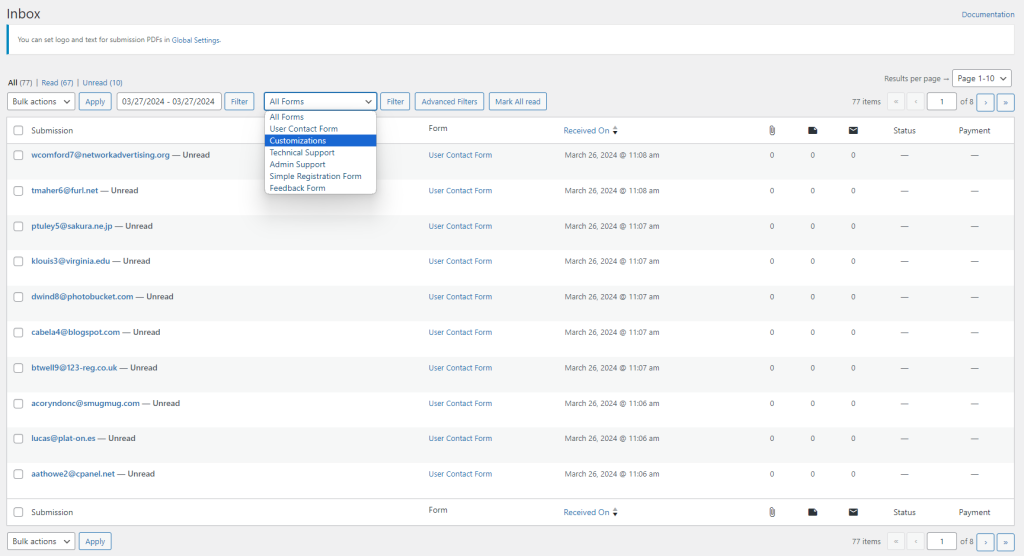
The date filter allows one to sort form submissions based on date, with options such as Today, This Week, This Month, and This Year. Additionally, the form filter categorizes submissions according to the specific form they were submitted to, listing all forms created by a user. In the premium version of the new inbox, advanced filtering options are available, including property filters such as has note, user block, attachment, no attachment, payment received, payment pending, and offline pending payment. Furthermore, the users can also save a search as a filter for future use, customizing their filtering preferences. Mark All Read option marks all the form submissions as read. It makes the count of Unread submissions 0.
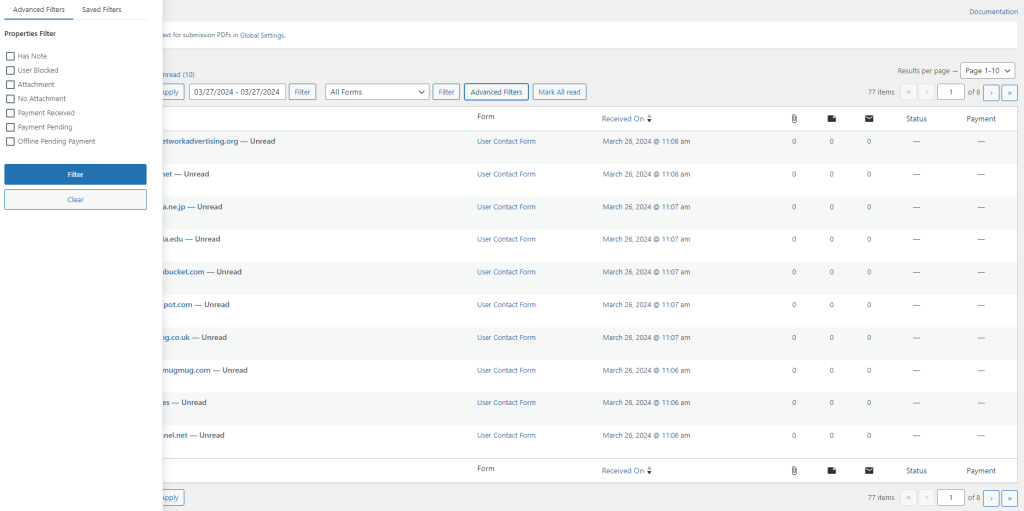
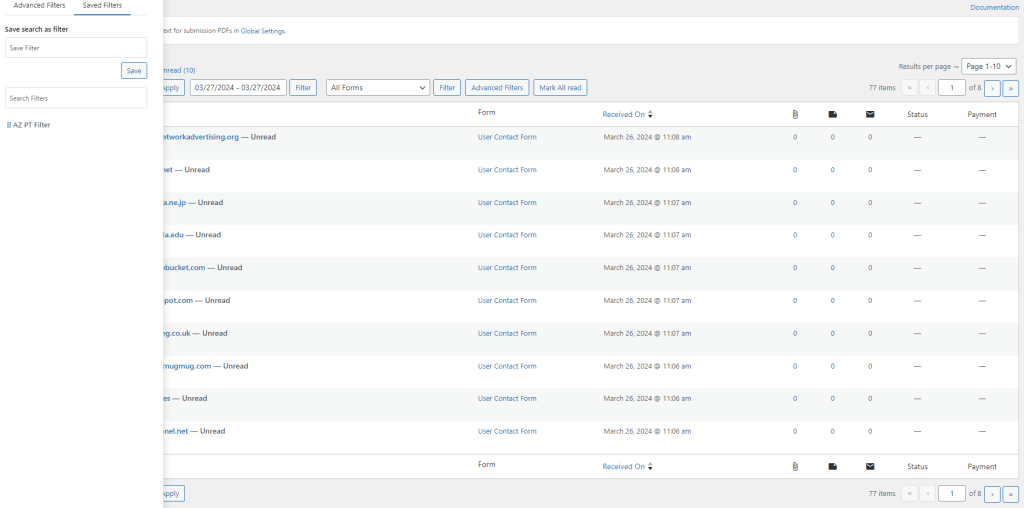
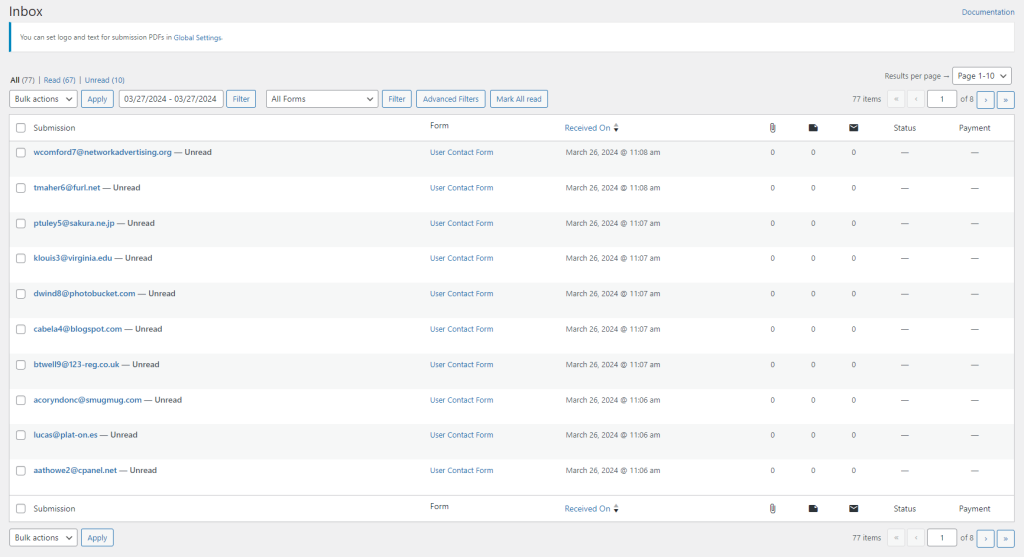
User Registration Menu & Filters
All form submissions appear in columns titled Submission, Form, Received On, Attachments, Notes, Outbox, Status, and Payment. The Submission column displays the email addresses used for the submissions. The Form column indicates the specific form used for each submission. In the Received column, submissions can be sorted by either the earliest or latest date. Attachments, notes, and outbox columns provide counts of the respective items associated with each submission. The Status column employs color-coding to represent custom statuses, which are customizable through the viewing options. Lastly, the Payment column indicates any pending payments, if applicable.
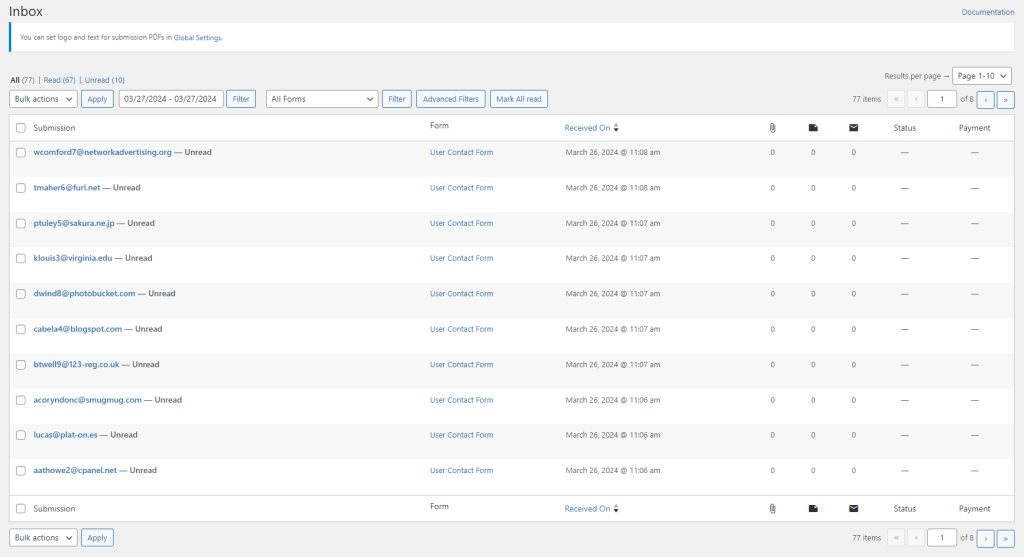
User Registration Controls at your Fingertips
Each form submission in the inbox presents a range of options for users. These options encompass View, Quick View, Block IP, Block Email, PDF, Read/Unread, and Delete.
- The View option is detailed under Submissions View Manager.
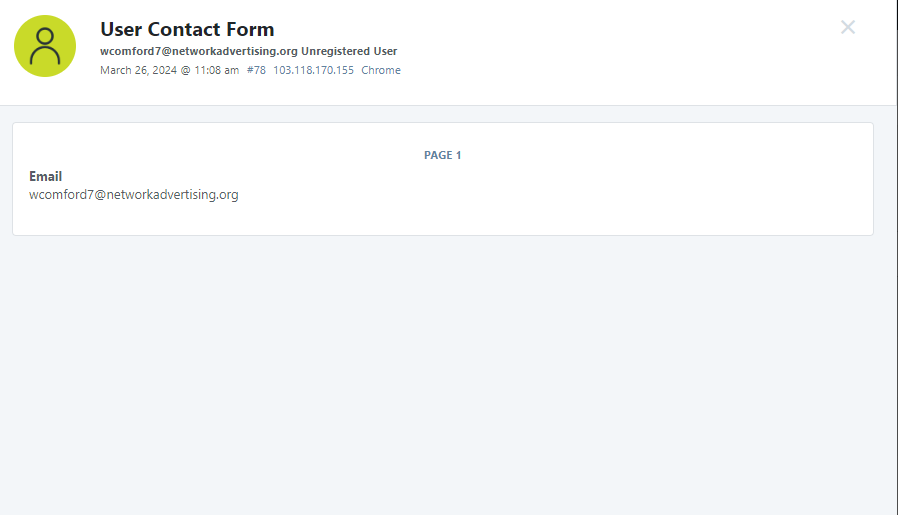
- Quick View offers a rapid display of the form submission, including essential information such as name, attached screenshots (if any), email, website, and description.
- Block IP and Block Email functions allow users to block individuals based on their IP or email addresses.
- The PDF option generates a PDF document of the complete form submission and saves it locally on the user’s PC.
- The Read/Unread option serves to label form submissions as read or unread.
- Finally, the Delete option removes the form submission from the inbox.
User Registration Submissions – Detailed View
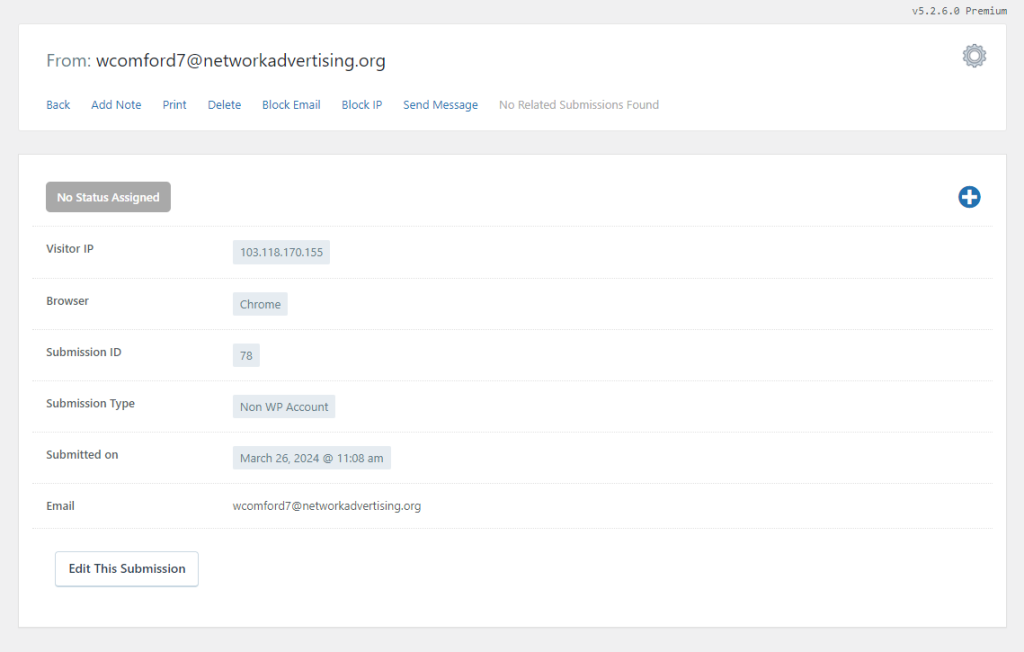
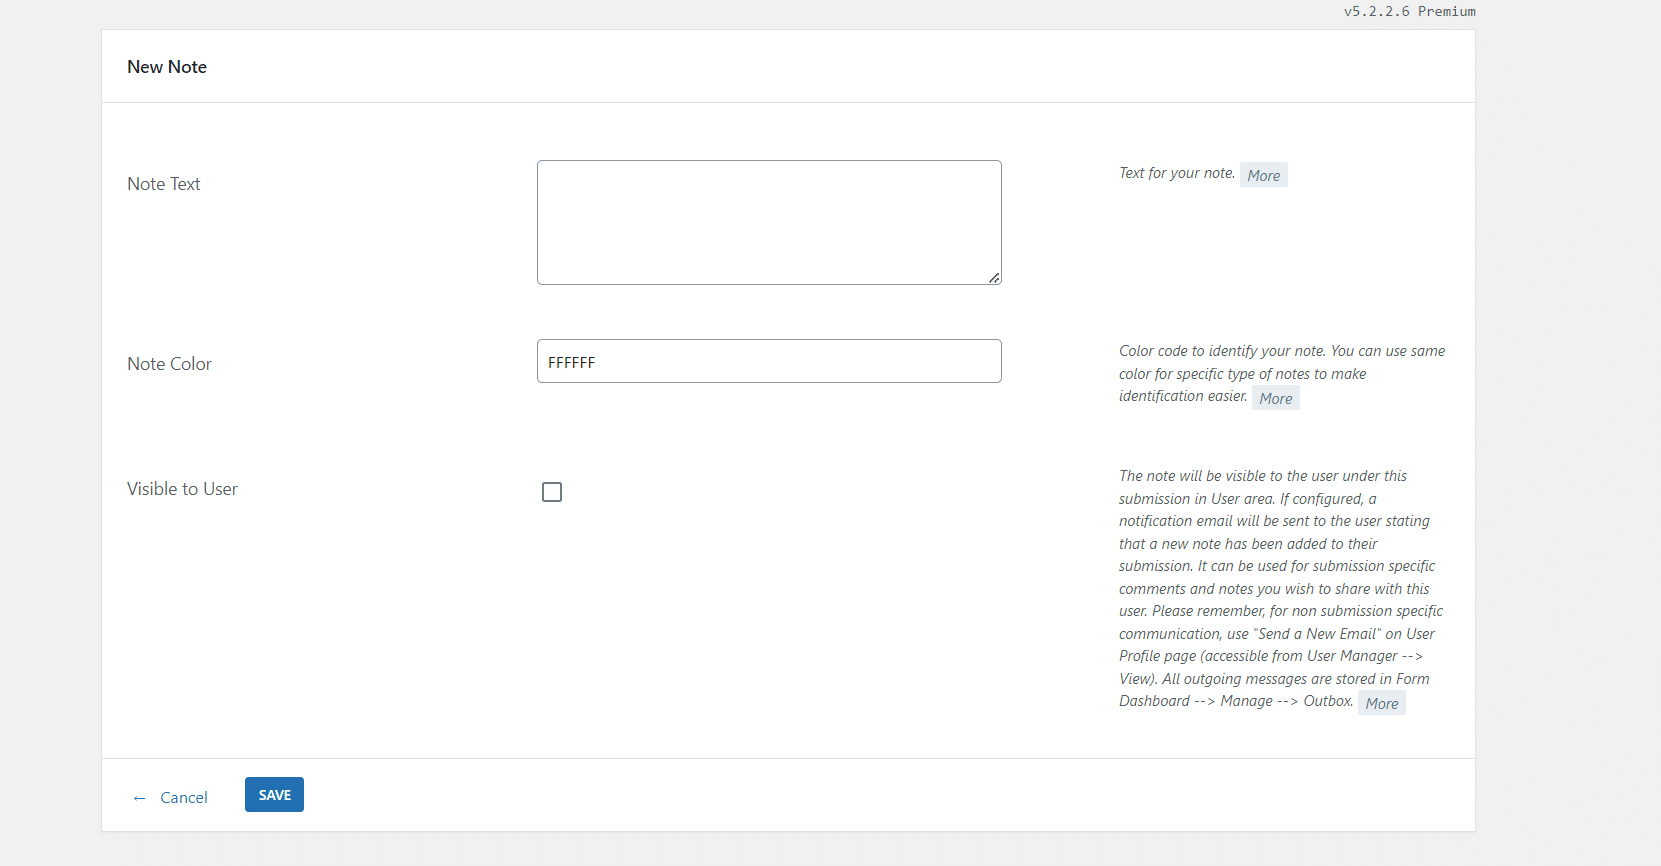
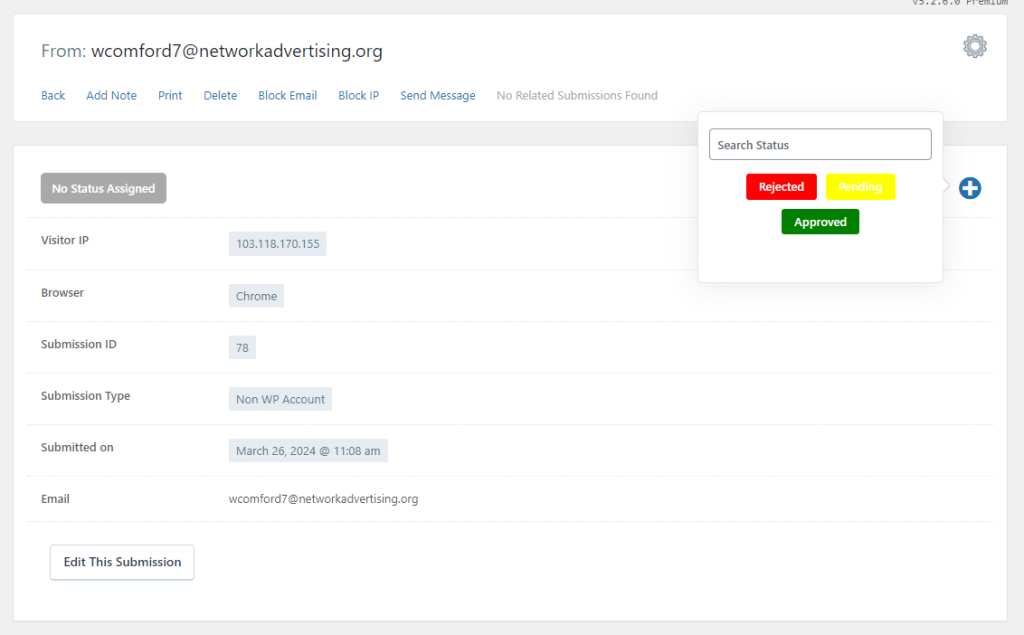
The Submission View option provides additional functionality beyond the main page menu. The Add Note feature enables users to personalize notes by adding text, choosing note colors, and deciding whether it should be visible to the user. The Send Message feature allows users to compose new messages for recipients. Another useful feature is the ability to add a custom status label from the available options. If there are any related submissions, they can be viewed under “Related Submissions Found.”

In a world flooded with data, this specialized inbox revolutionizes productivity and organization. Its user-friendly design and rich feature set enable efficient form submission management, reducing chaos and saving time. Whether filtering by date, form type, or advanced properties, it provides the flexibility and control for streamlined communication. It’s a valuable tool that empowers users to handle their inboxes with precision and ease.

How can I publish a list of subscribers on the website in front end and show to other members?
Hi Klaas,
Inside your form’s Dashboard, look for the option User Directory under the Publish section. That’ll give you a shortcode to display list of subscribers on the frontend.